The GravityKit Welcome page and GravityView guided tours
This guide shows how to open the GravityKit Welcome page and GravityView’s own Welcome page, what the sample View creates, and how to restart, finish or turn off GravityView’s guided tours.
The GravityKit Welcome page #
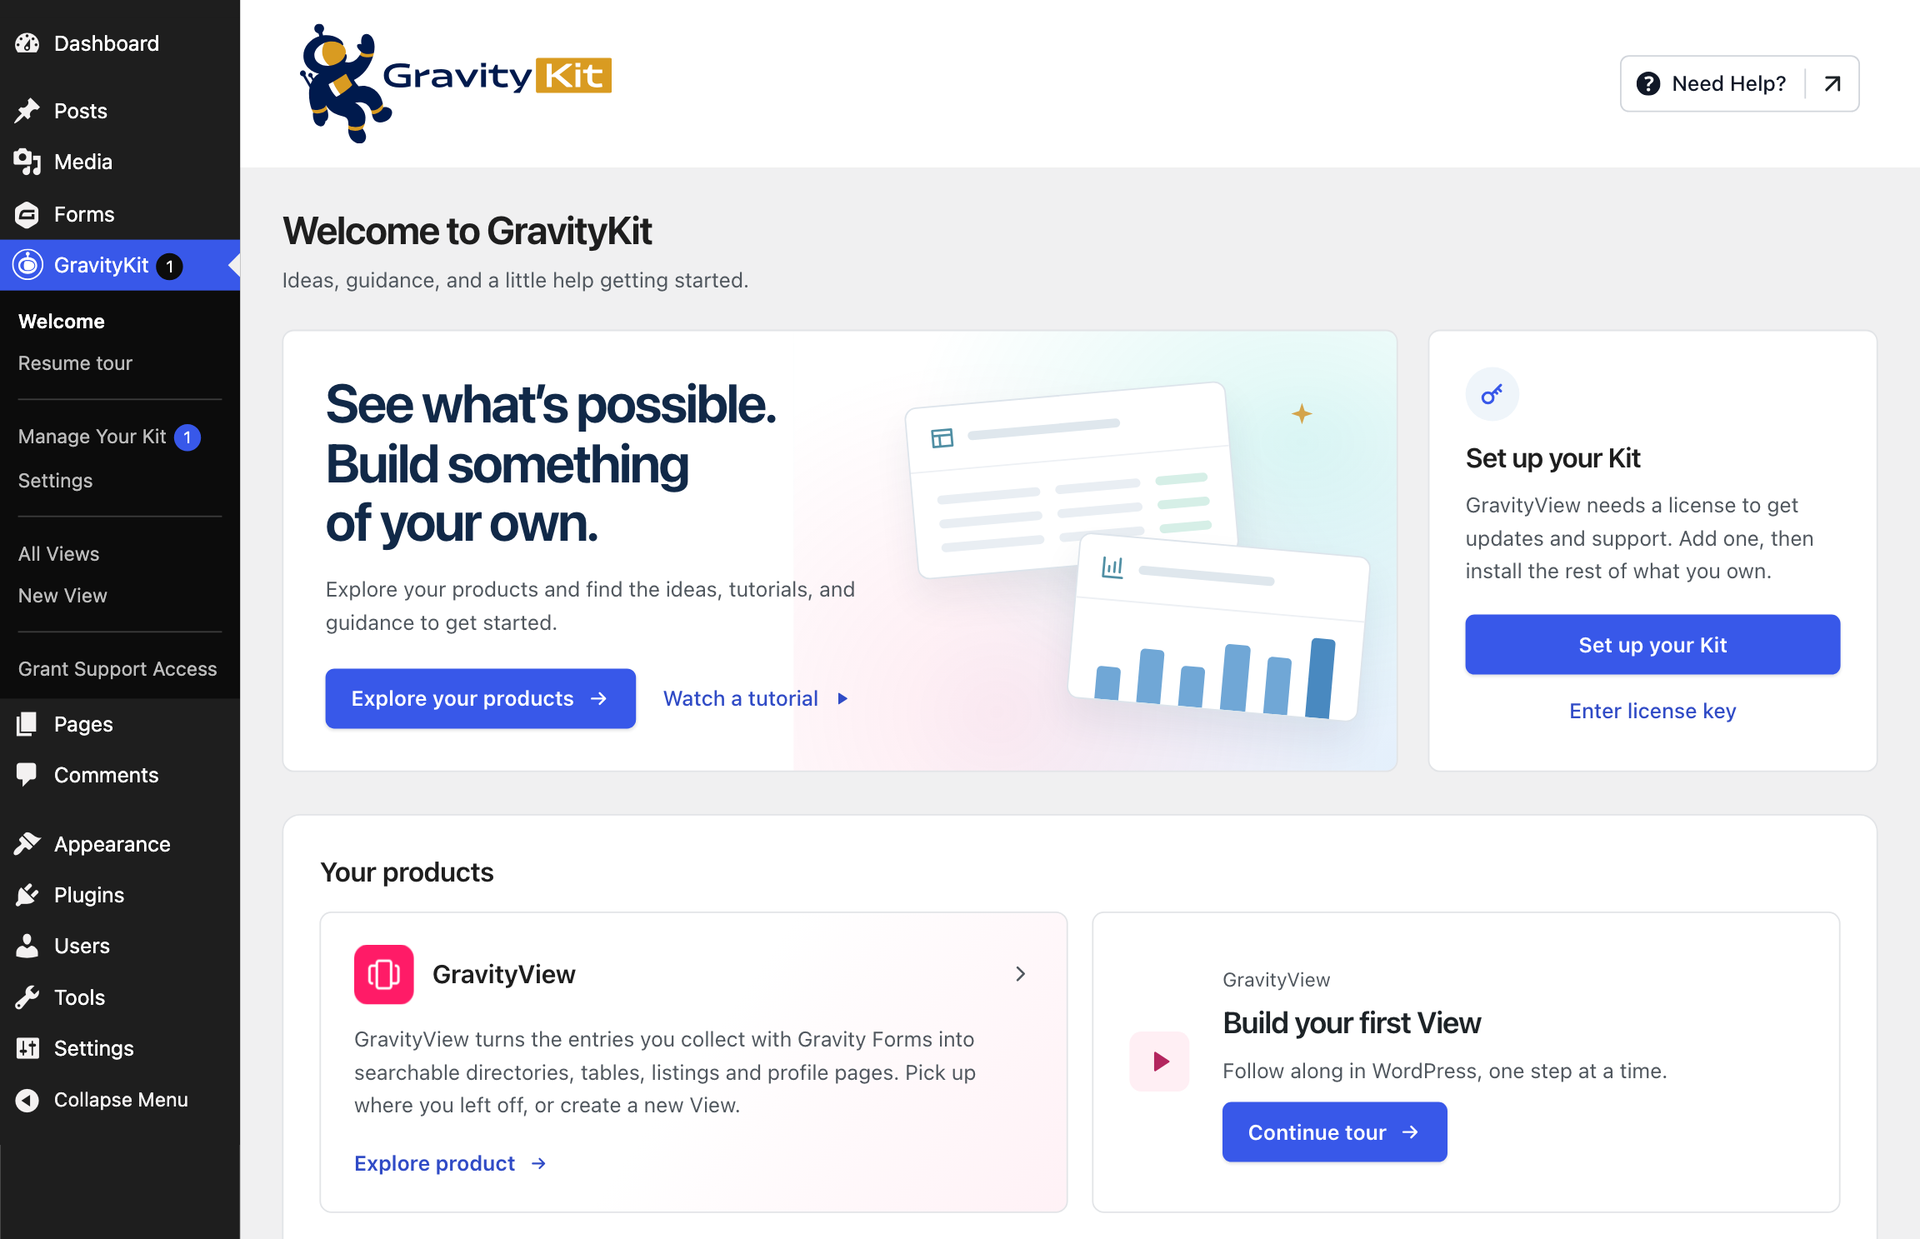
The Welcome page is GravityKit’s starting point in WordPress, with ideas, guides and your license setup in one place. To open it, hover over GravityKit in the WordPress admin menu, then click Welcome.
Products that have a Welcome page show a card under Your products. Click Explore product on a card to open that product’s page.
Set up your Kit
Administrators also see a card on the Welcome page that shows where the site’s licenses stand. When the site has no license yet, the card’s Set up your Kit button opens a short tour of Manage Your Kit: add a license key or connect your GravityKit account, then install and turn on your products. When your license covers products you haven’t installed, the same tour opens from Install your products. Click the button again to restart the tour, or pick up a paused one with Resume tour under GravityKit.
GravityView’s Welcome page #
GravityView’s Welcome page has a suggested next step, a Get set up checklist, guides and courses, and two guided tours. The first time you activate GravityView, this page opens on its own. After that, open it from the GravityView card on the GravityKit Welcome page.
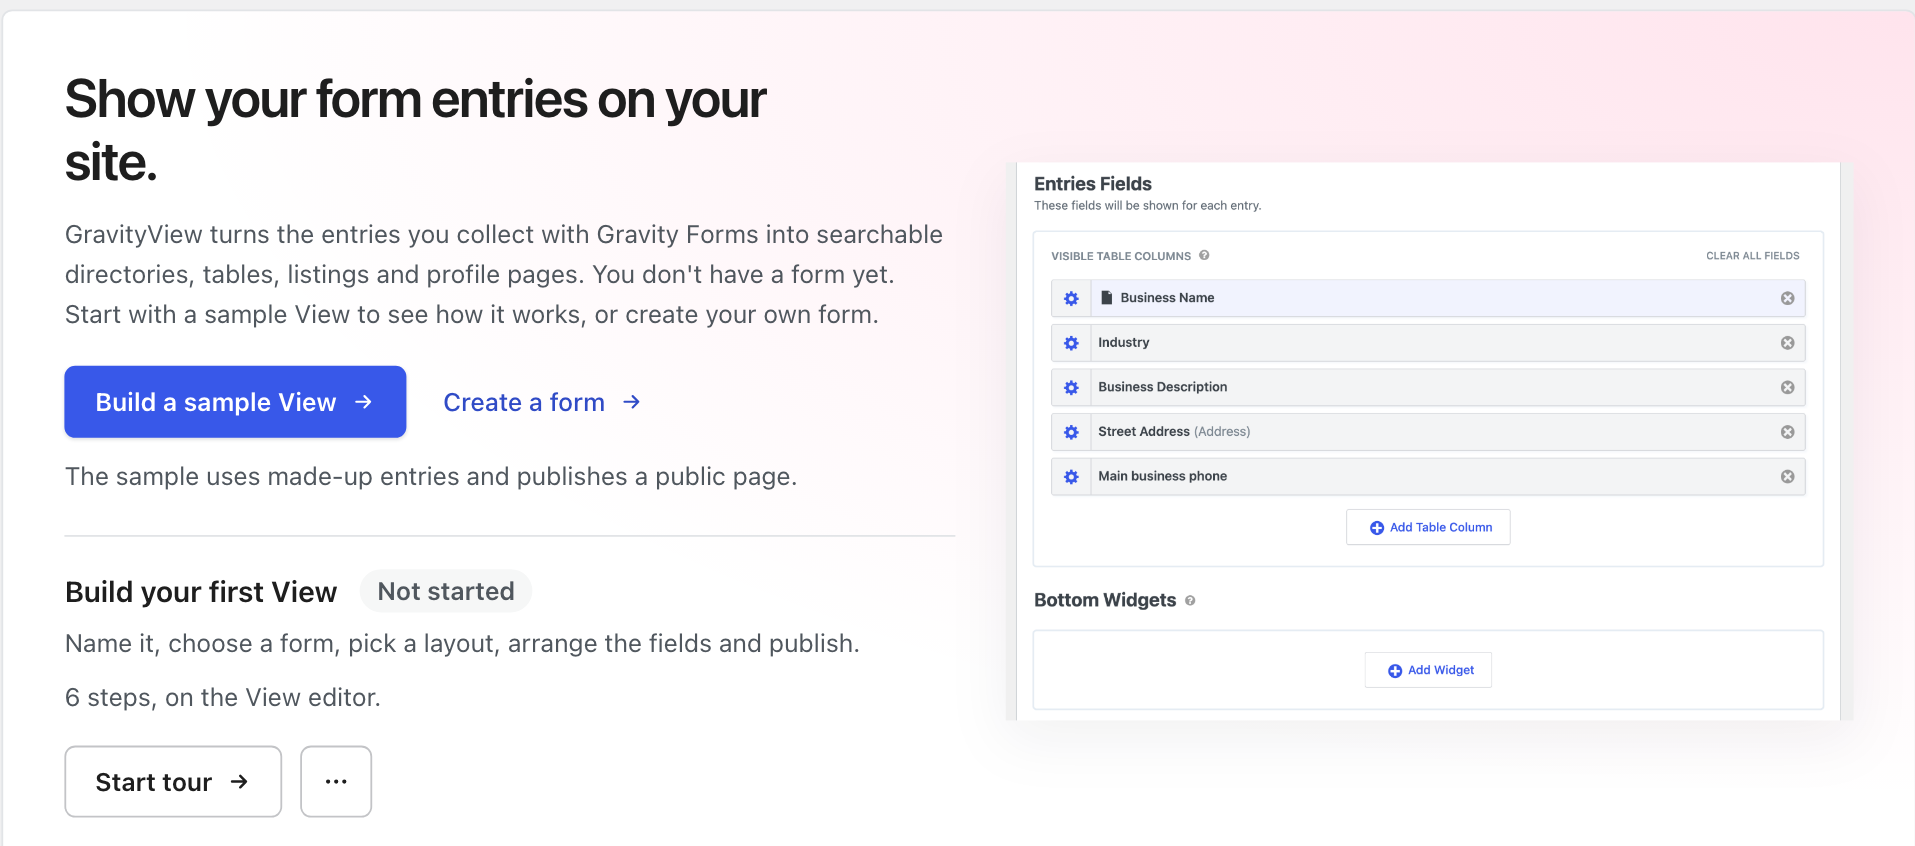
GravityView’s page shows for users who can edit Views. GravityView capabilities explains which roles that includes.
Note: With GravityView Pro, the card and the page are named GravityView Pro. After you update to GravityView Pro, the page opens once with a What’s new in GravityView Pro section.
Build a sample View #
While your site has no Views, GravityView’s Welcome page offers a Build a sample View button. Click it, and GravityView creates:
- A form named Sample Contact Submissions, with five made-up entries.
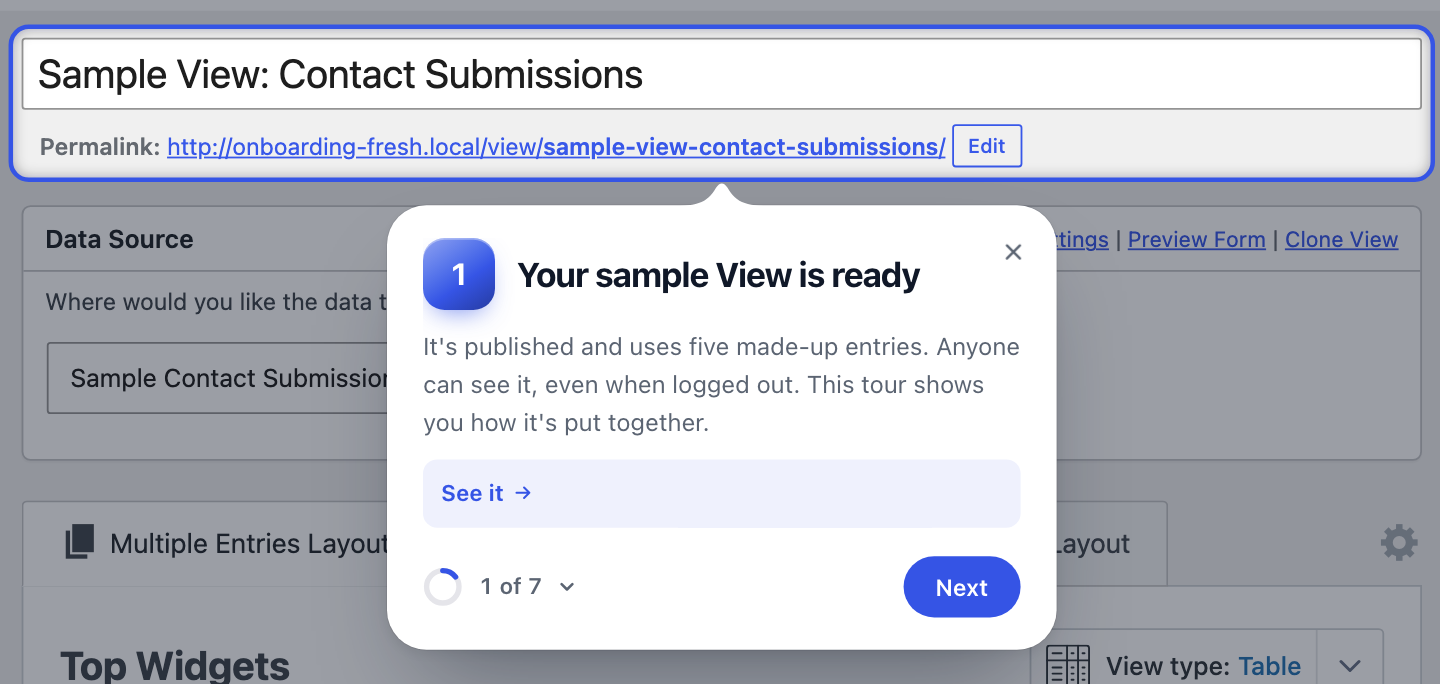
- A published Table View named Sample View: Contact Submissions, which anyone can see, even when logged out.
The sample View then opens in the View editor with a tour of how it’s put together.
When you’re done with the sample, delete it like any other View and form:
- Hover over GravityKit, click All Views, then click Trash under Sample View: Contact Submissions.
- Hover over Forms, click Forms, then click Trash under Sample Contact Submissions.
The guided tours #
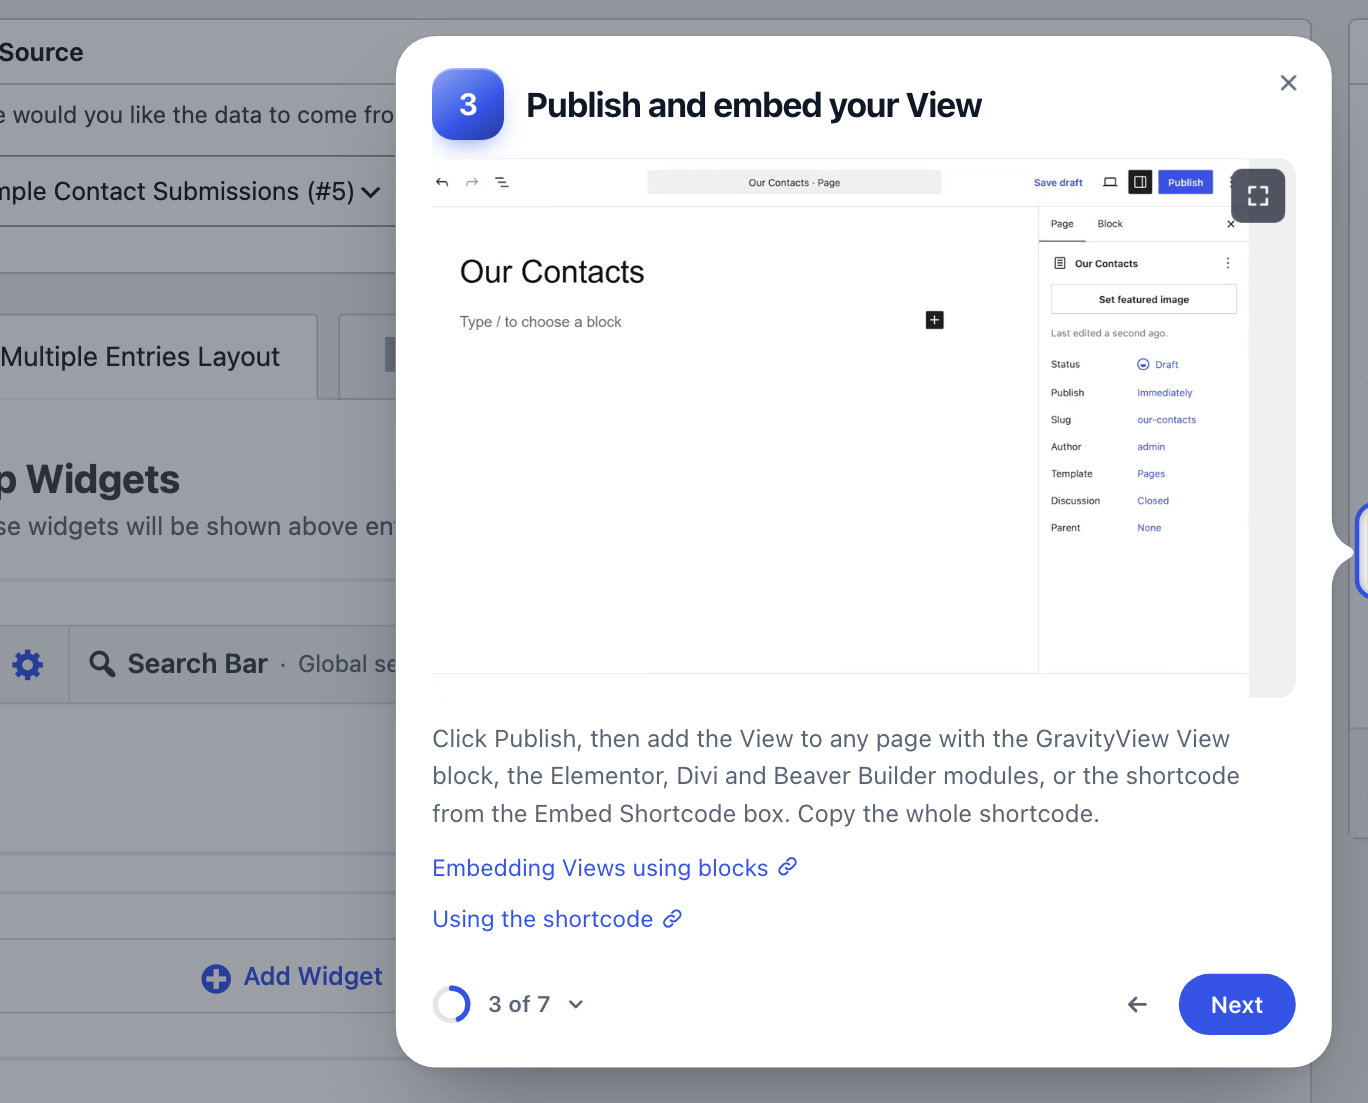
The tours run on the View editor, and their cards tell you what to do at each step. Build your first View takes you through naming a View, choosing a form and layout, arranging the fields, then publishing and embedding the View. See how it works shows the parts of a finished View, with a short clip for each step.
Start either tour from GravityView’s Welcome page. Until you’ve published a View of your own, the New View screen also offers Build your first View with a button in the bottom-right corner.
Get a tour back #
Closing a tour card pauses the tour. To pick it up again, click Continue the GravityView tour in the bottom-right corner of the View editor, Resume tour under GravityKit in the admin menu, or Resume tour on GravityView’s Welcome page. The X on that corner button turns the tour off, the same as Don’t offer this tour again.
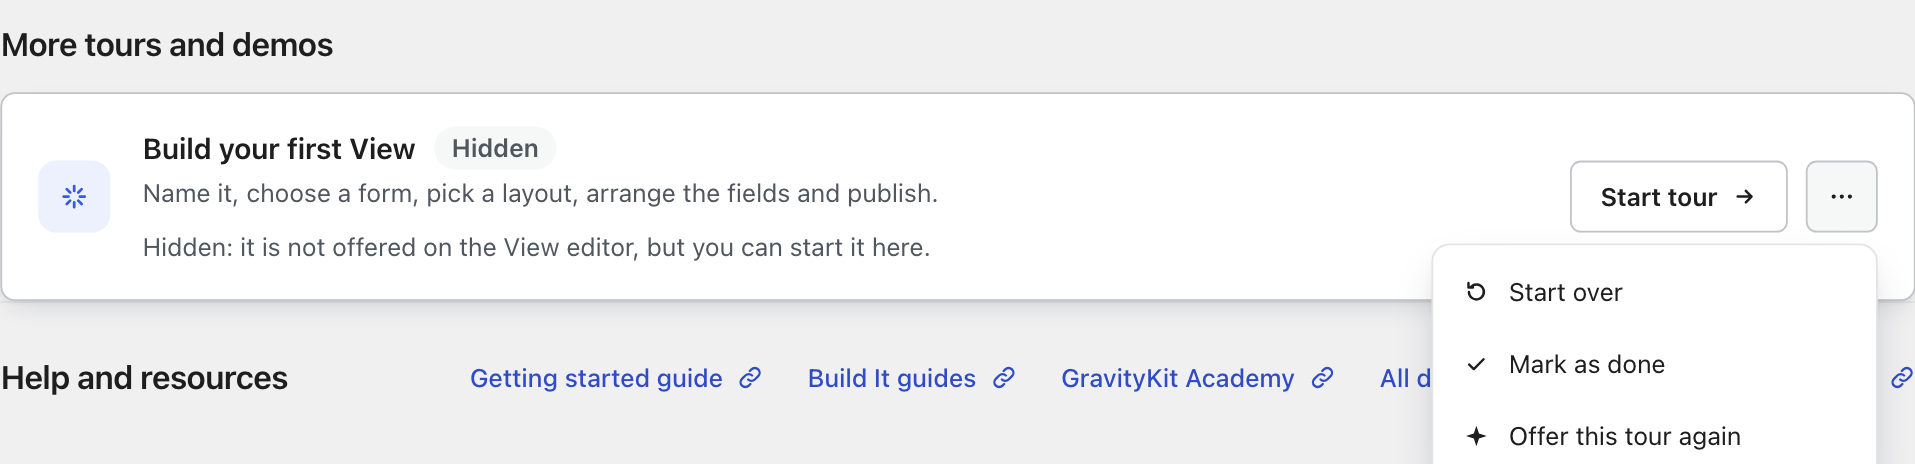
Each tour on GravityView’s Welcome page has a More options button (⋯) with these choices:
- Start over: begin the tour again from the first step.
- Mark as done: mark the tour as finished without going through it.
- Don’t offer this tour again: stop offering the tour on the View editor.
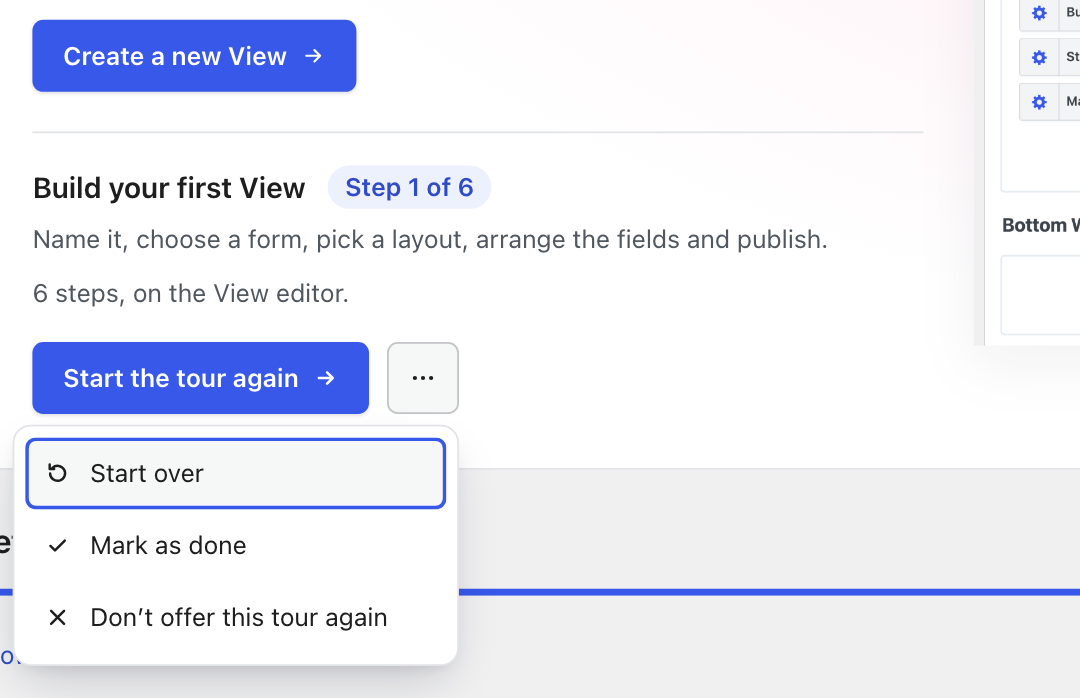
A tour you turn off stays on GravityView’s Welcome page, marked Hidden, and you can still start it from there. To have the View editor offer it again, click More options, then Offer this tour again.