
Embedding Views in Divi, Beaver Builder, and Elementor
GravityView 3.0 and later add widgets for Divi, Beaver Builder, and Elementor. You place a View in a builder layout and set it up in the builder’s own panel, without a shortcode.
Watch a brief demo #
The GravityView widgets #
In each builder, GravityView adds five widgets, one for each GravityView block, with the same settings as the block.
| Widget | What it embeds |
|---|---|
| GravityView | A full View. This is the main widget for displaying your entries. |
| GravityView Entry | A single entry from a View, for detail pages or a featured record. |
| GravityView Entry Field | A single field value from a specific entry. |
| GravityView View Details | A number about a View, such as its number of entries or its page size. |
| GravityView Entry Link | A link to view, edit, or delete a specific entry. |
All five come with GravityView, so you don’t need GravityView Pro to use them.
Embedding a View #
The steps below use the GravityView widget, which has the same name and settings in all three builders.
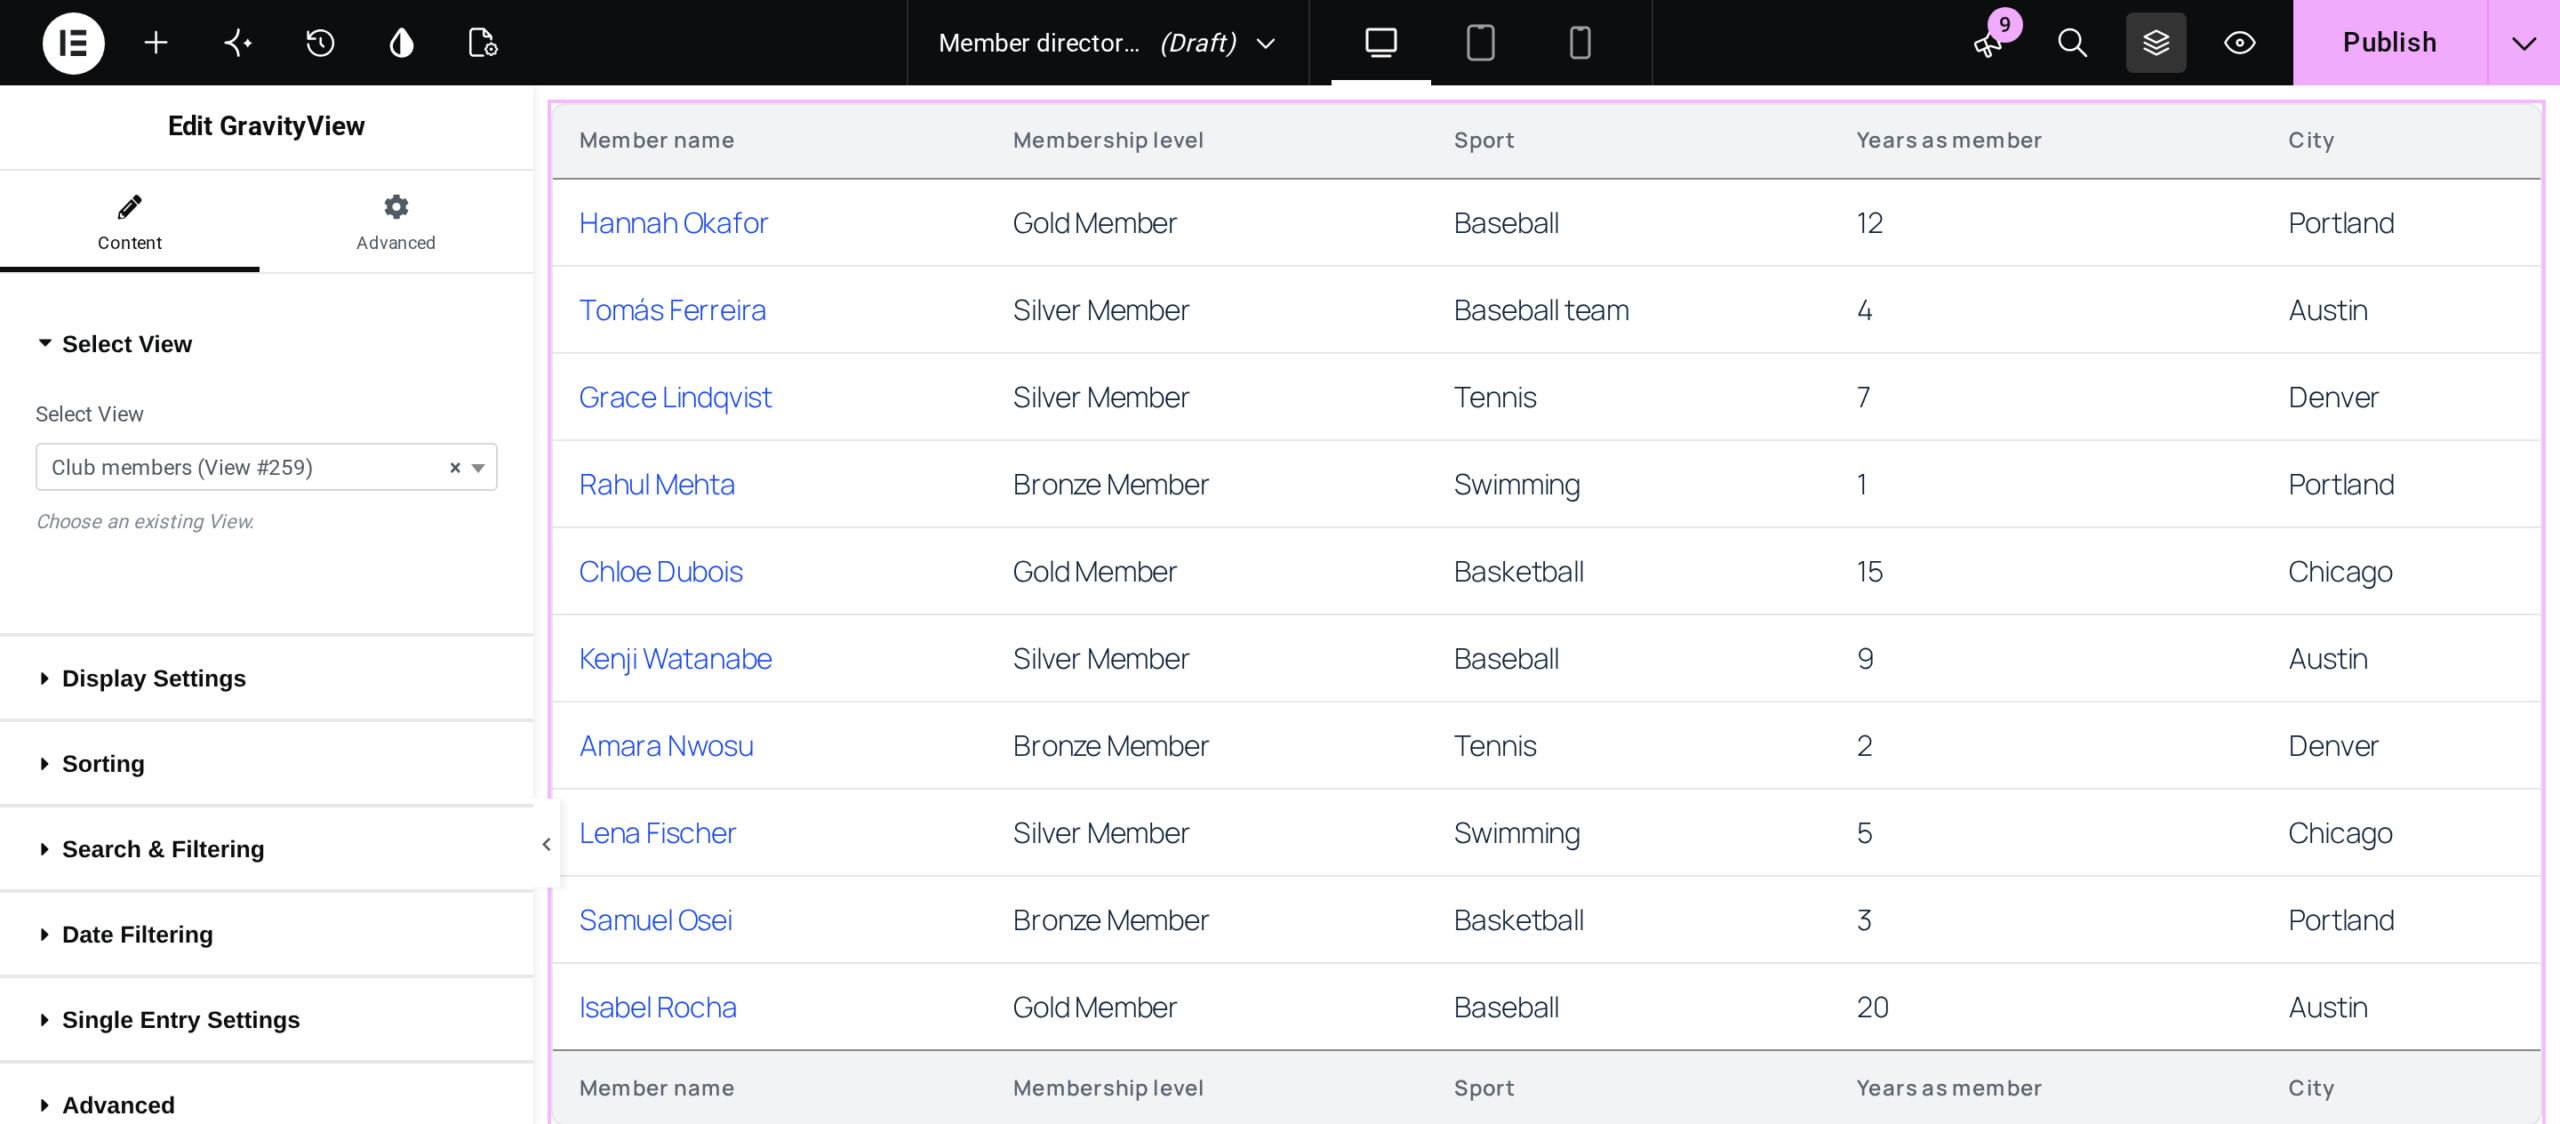
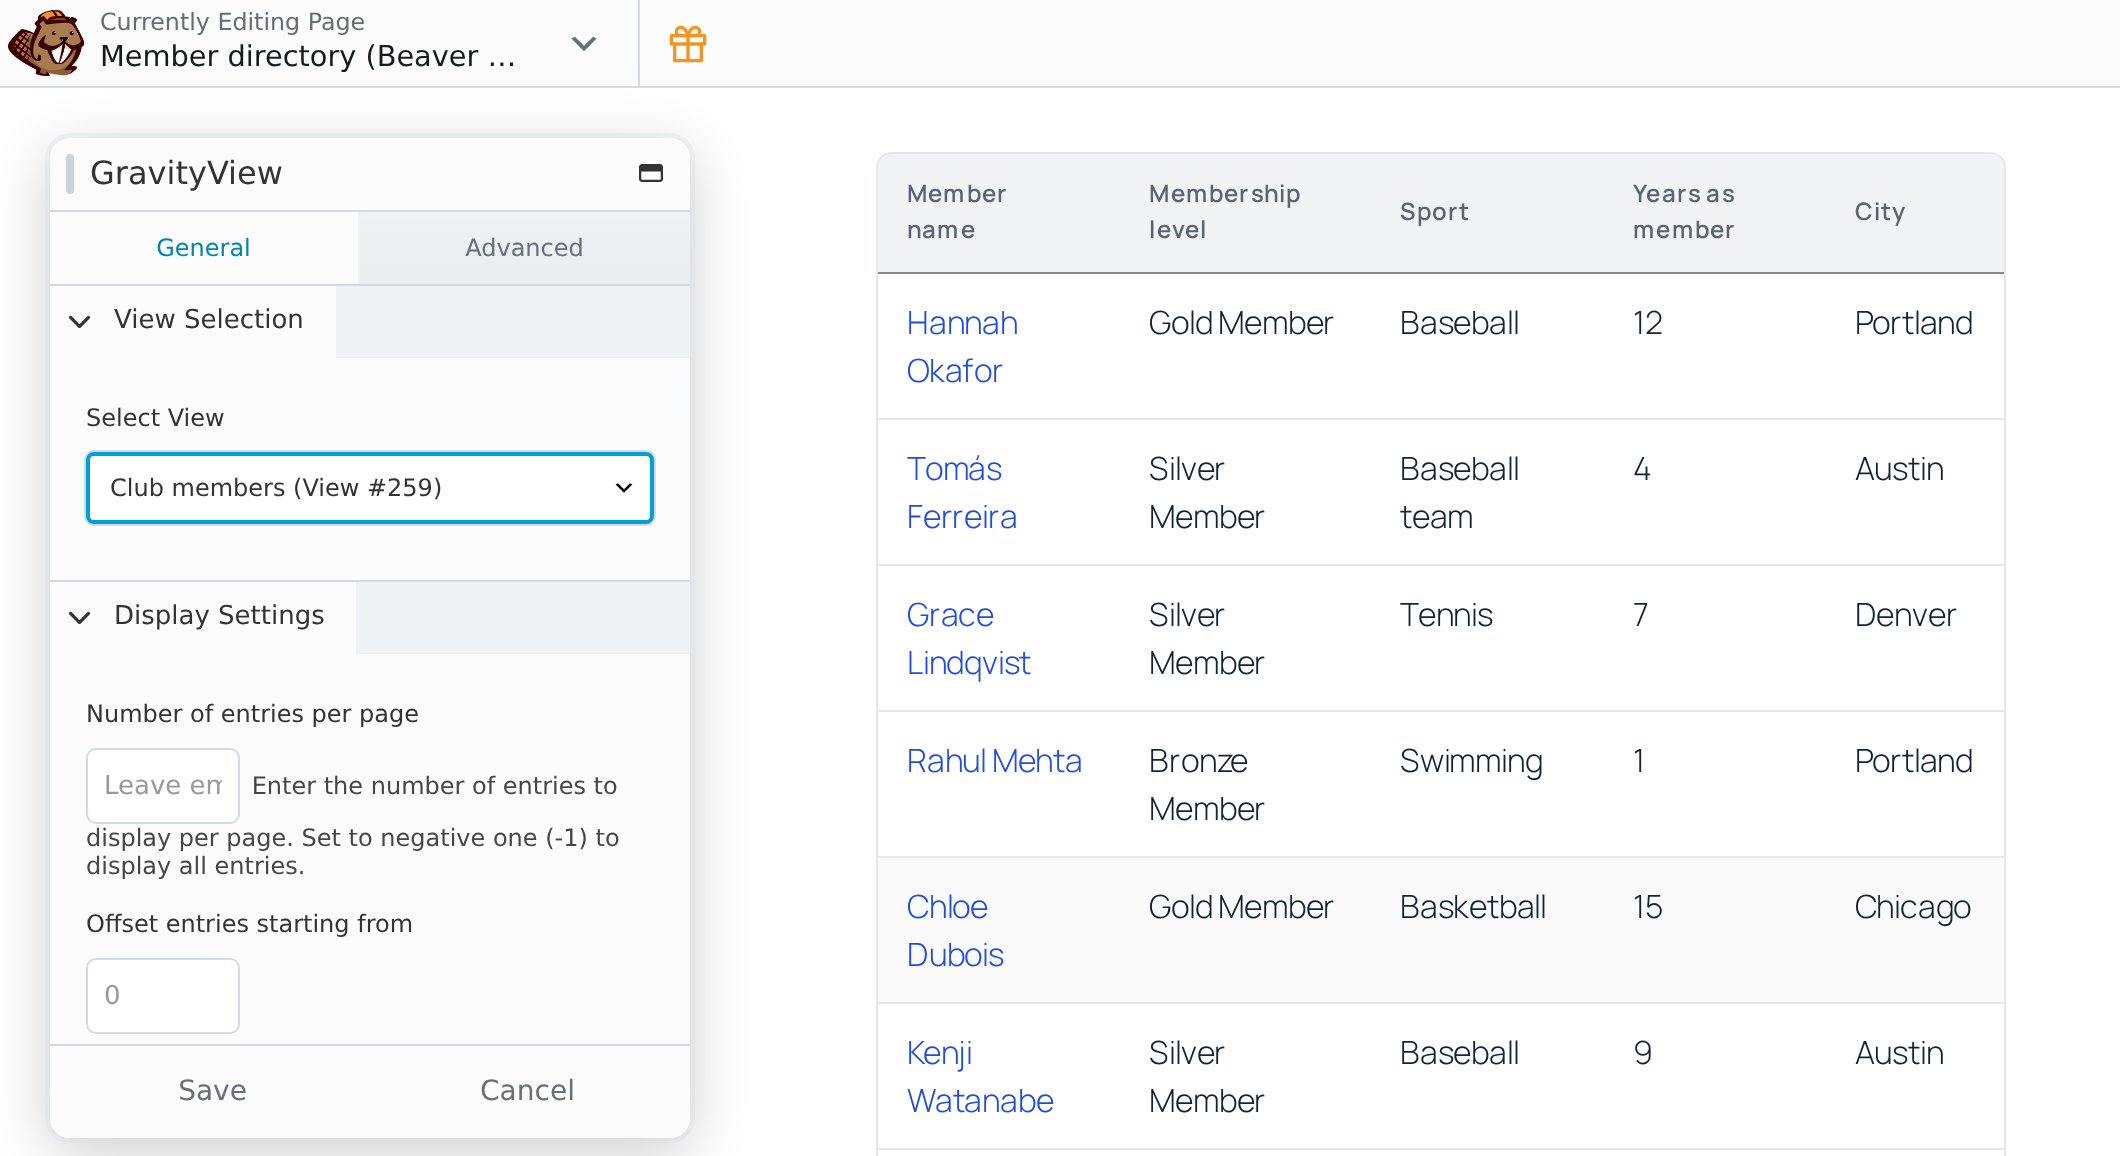
- Edit your page in your page builder, and add a new widget or module to your layout.
- Find and add the GravityView widget. (See Finding the GravityView widgets in each builder below for where it lives in each one.)
- In the widget settings, choose the View you want to display from the Select View dropdown.
- Save or publish the page.
Configuring the View
The GravityView widget has its settings in sections. In all three builders, they are the settings of the GravityView block, which match the main parameters of the [gravityview] shortcode. The names below are Elementor’s; Beaver Builder uses the same names, except that its first section is called View Selection:
- Select View: Choose which View to embed. This is the only required setting.
- Display Settings: Set the Number of entries per page, an Offset entries starting from value to skip entries at the start, and a CSS Class to add to the View’s wrapper.
- Sorting: Set a field to sort by and a sort direction (Ascending, Descending, or Random). In Elementor, type the field’s ID in the Sort by field box. To sort by entry ID or by the date entries were submitted, type
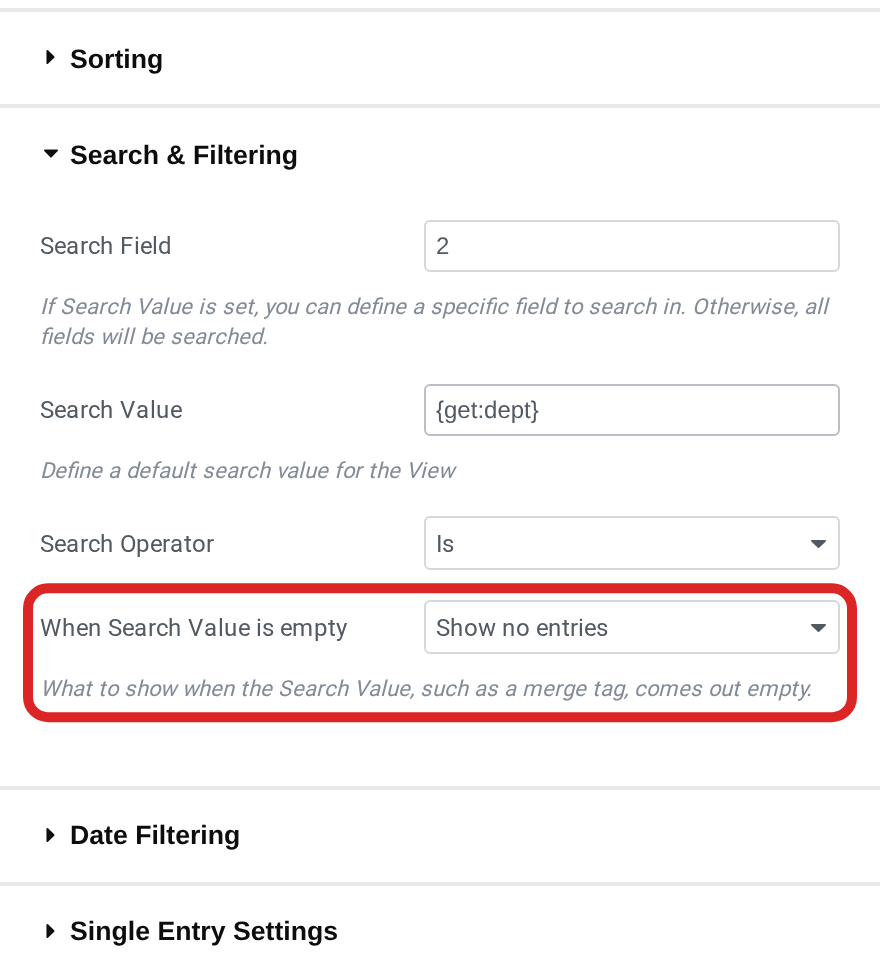
idordate_created. - Search & Filtering: Pre-filter which entries the View shows using a Search Field, a Search Value, a Search Operator (for example, Is, Is Not, Contains, Greater, or Lesser), and When Search Value is empty. This setting decides what the widget shows when the Search Value is a merge tag that comes out empty: Show no entries or Show all entries. Widgets added before GravityView 3.8.0 keep Not set (shows all entries). In Elementor, a new widget starts at Show no entries once you choose its View.
- Date Filtering: Limit entries to a range of submission dates with Filter by Start Date and Filter by End Date. Each takes a date as
YYYY-MM-DDor a relative date, such as-1 month. - Single Entry Settings: Set a custom Single Entry Title for the single-entry page and a custom Back Link Label for its “go back” link.
- Advanced: This section holds Post ID, which you can leave empty. Entry links point to the page the widget is on.
Finding the GravityView widgets in each builder
Where to find the widgets, and what they are called, differs between Elementor and Beaver Builder:
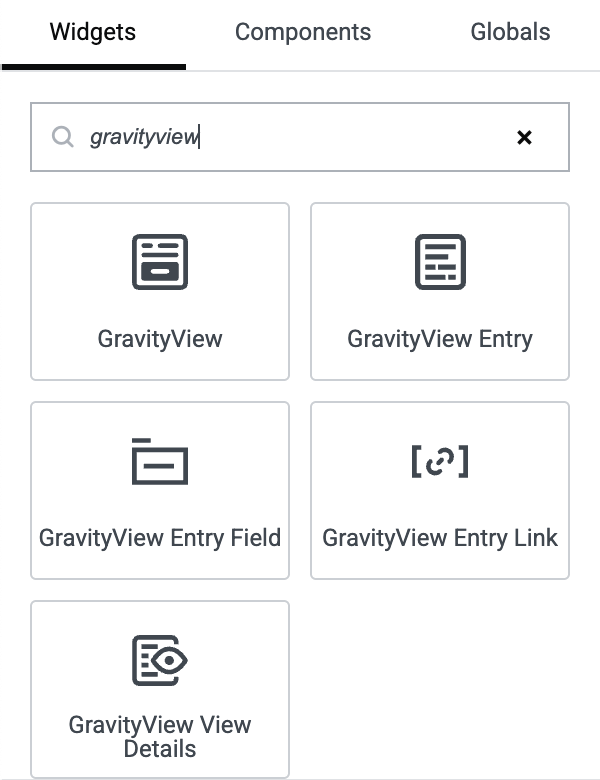
- Elementor: Open the widgets panel and look under the Basic category, or type
GravityViewin the widget search. The widgets use their full names: GravityView, GravityView Entry, GravityView Entry Field, GravityView Entry Link, and GravityView View Details. The search also lists GravityView Recent Entries and GravityView Search, GravityView’s classic WordPress widgets from Elementor’s WordPress category. - Beaver Builder: Open the content panel and choose GravityKit in its Group menu. The main module is GravityView, and the others use shorter labels: GV Entry, GV Entry Field, GV Entry Link, and GV View Details.
For example, here are the five widgets in Elementor’s Widgets panel, filtered to GravityView:
Styling your View #
The widgets have no style settings of their own. A View’s look comes from the View itself: its theme and any custom CSS you’ve added. The Advanced tab that Elementor and Beaver Builder give every widget, with settings such as margins, applies to the box around the View.
To style a View inside Elementor, use the GravityView Advanced Elementor Widget, a GravityView Pro extension. It adds Elementor controls for colors, spacing, typography, columns, and responsive settings. For setup details, see Getting started with the Advanced Elementor Widget. It works in Elementor only. In the other builders, style the View in its own settings or with CSS.
Note: If the GravityView widgets don’t show in your builder, check that GravityView 3.0 or later and the builder are both active, then reload the editor.

