Getting Started With the DIY Layout
In this article, we’ll show you how to get set up with the DIY Layout.
Note: The DIY Layout is included in the GravityKit All Access license.
Installing the DIY Layout #
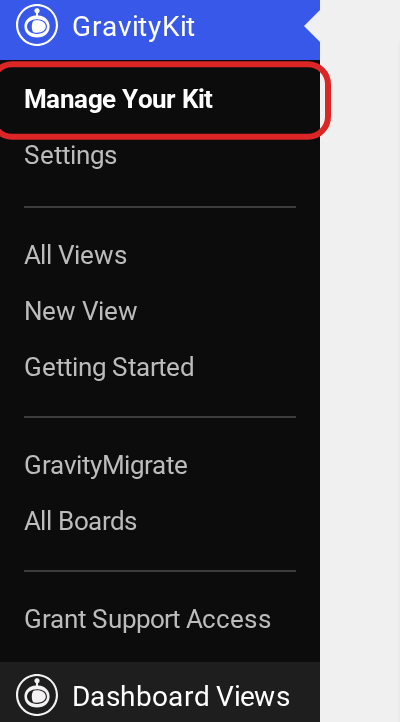
You can install the DIY Layout from inside WordPress. First, hover over “GravityKit” and click “Manage Your Kit”.
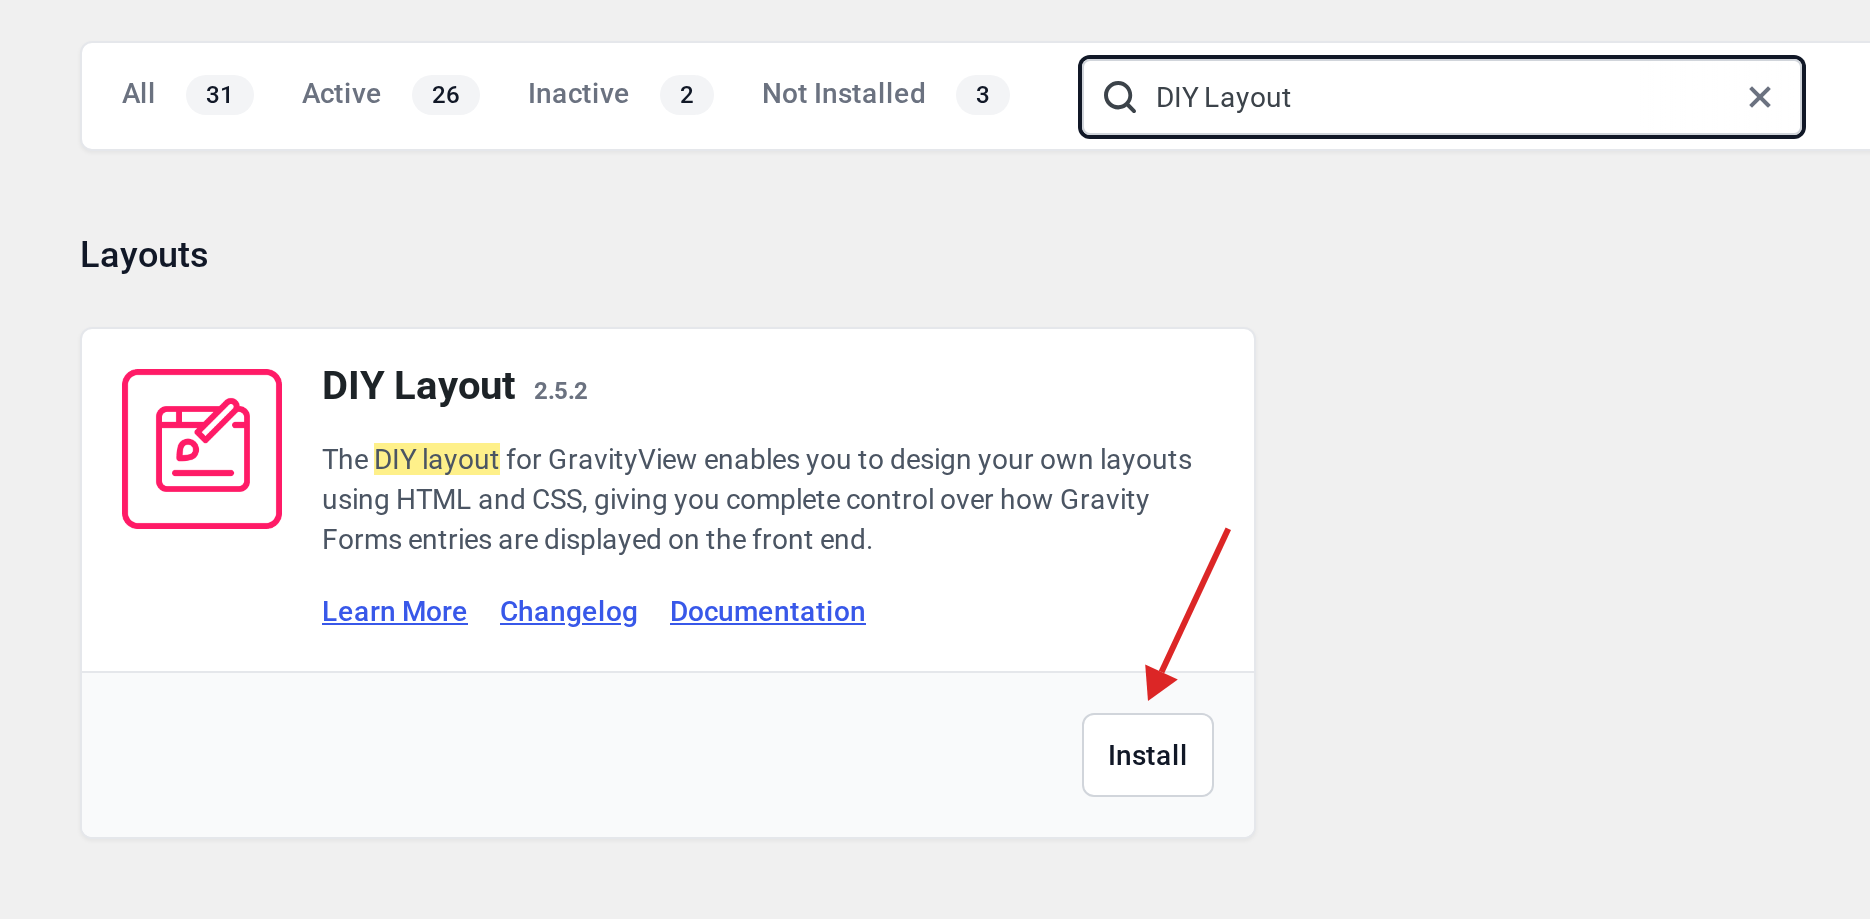
Then find “DIY Layout” under “Layouts” (the search at the top of the plugins list helps) and click “Install”.
You can now start creating your custom View designs!
Creating a View Using the DIY Layout #
Hover over GravityKit and click New View. Next, give your View a name and select a data source. Now, under “Choose a View Type”, select “DIY”.

You can now begin adding fields to the View editor, just as you would with one of GravityView’s default layout types.
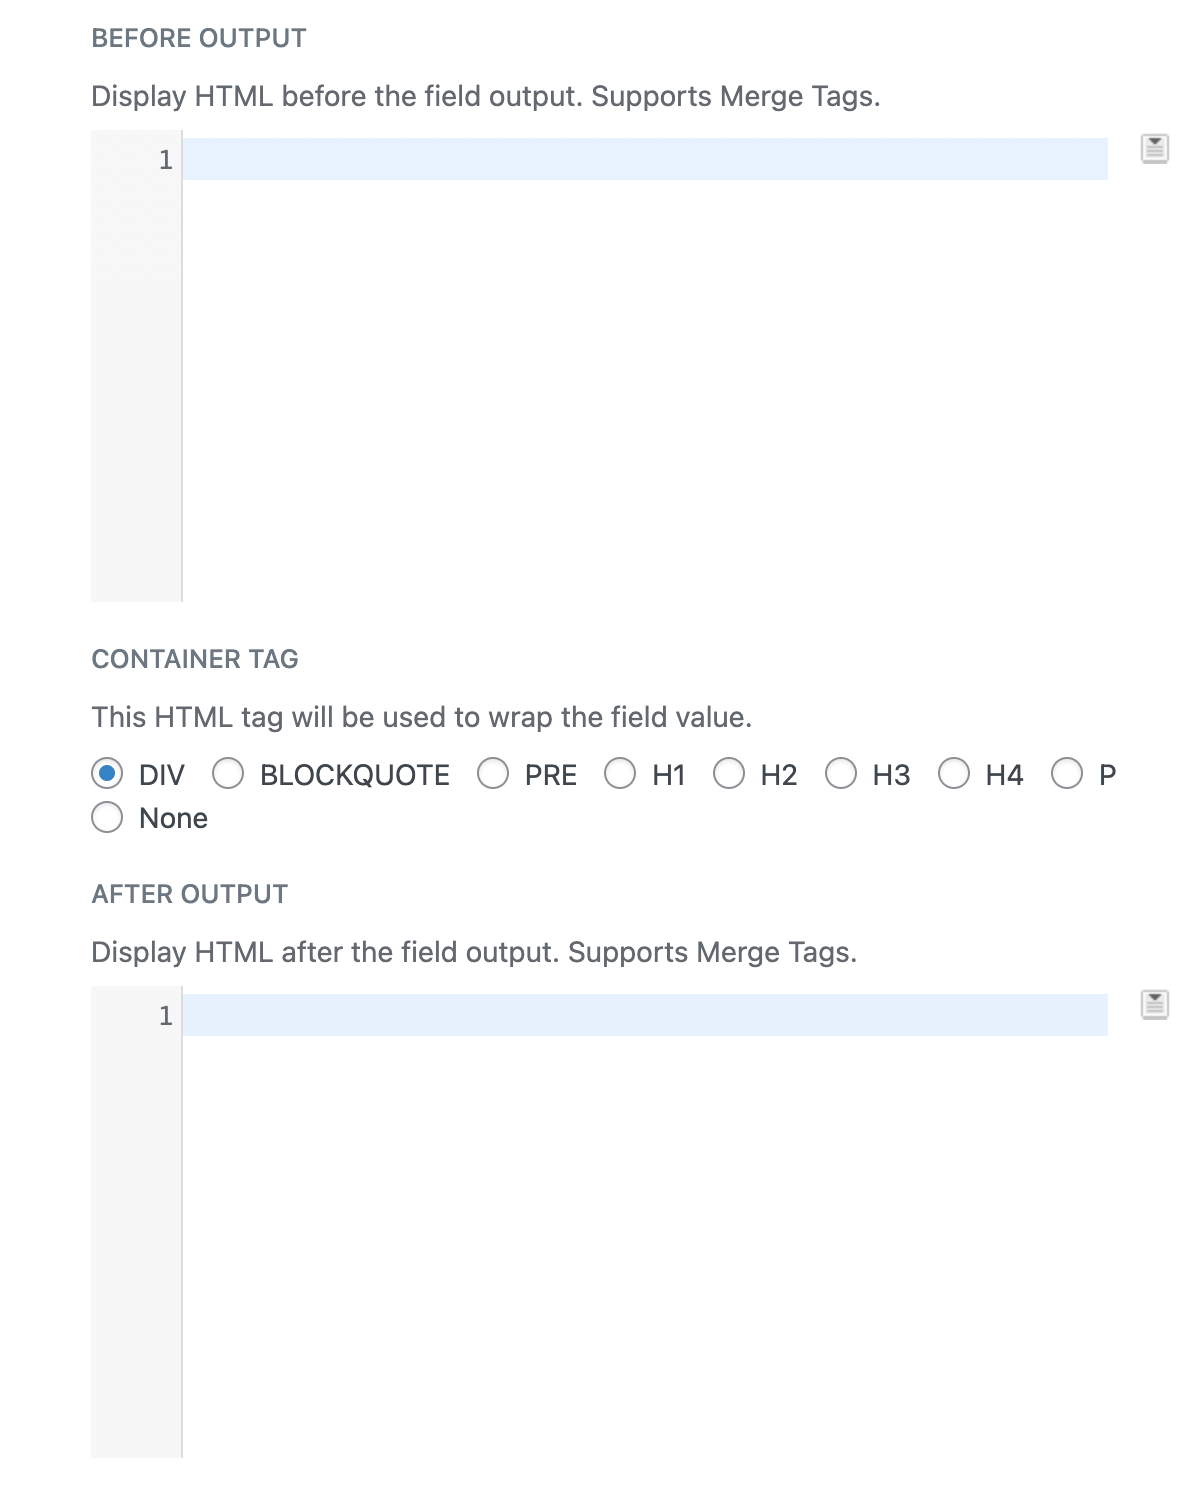
After adding a field to your View, click on the gear icon to open the field settings. Here you’ll see three new options unique to the DIY layout.
- Before Output – Add HTML, shortcodes, and Merge Tags that will appear before the field content but inside the Container Tag.
- Container Tag – Choose which HTML tag to wrap the field with, or select “None” to remove the wrapper.
- After Output – Same as Before Output, but this appears after the field content.
On the Edit Entry layout, the Custom Content field is the only “field” allowed to be customized with the wrappers above.
To create your custom field wrapper, open the HTML tag in the Before Output box and close it in the After Output box.
We hope you enjoy creating custom designs using the GravityView DIY Layout!
