Getting started with Dashboard Views
In this article, we’ll show you how to get set up with the Dashboard Views extension for GravityView.
Perfer to watch the video?
Installing Dashboard Views #
If you have a GravityView Pro license, you can install Dashboard Views directly from your WordPress site by hovering over “GravityKit”, clicking “Manage Your Kit” and scrolling down to “Extensions”.
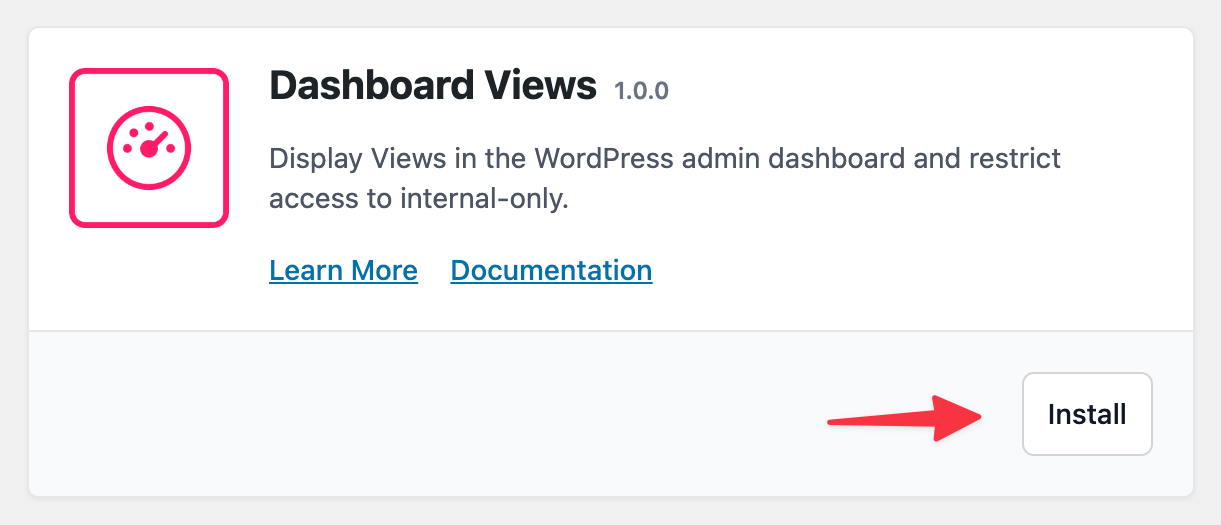
Alternatively, you can download the Dashboard Views plugin file from your GravityKit account and upload it to your site through the WordPress “Plugins” page.
Showing a View in the WordPress admin dashboard #
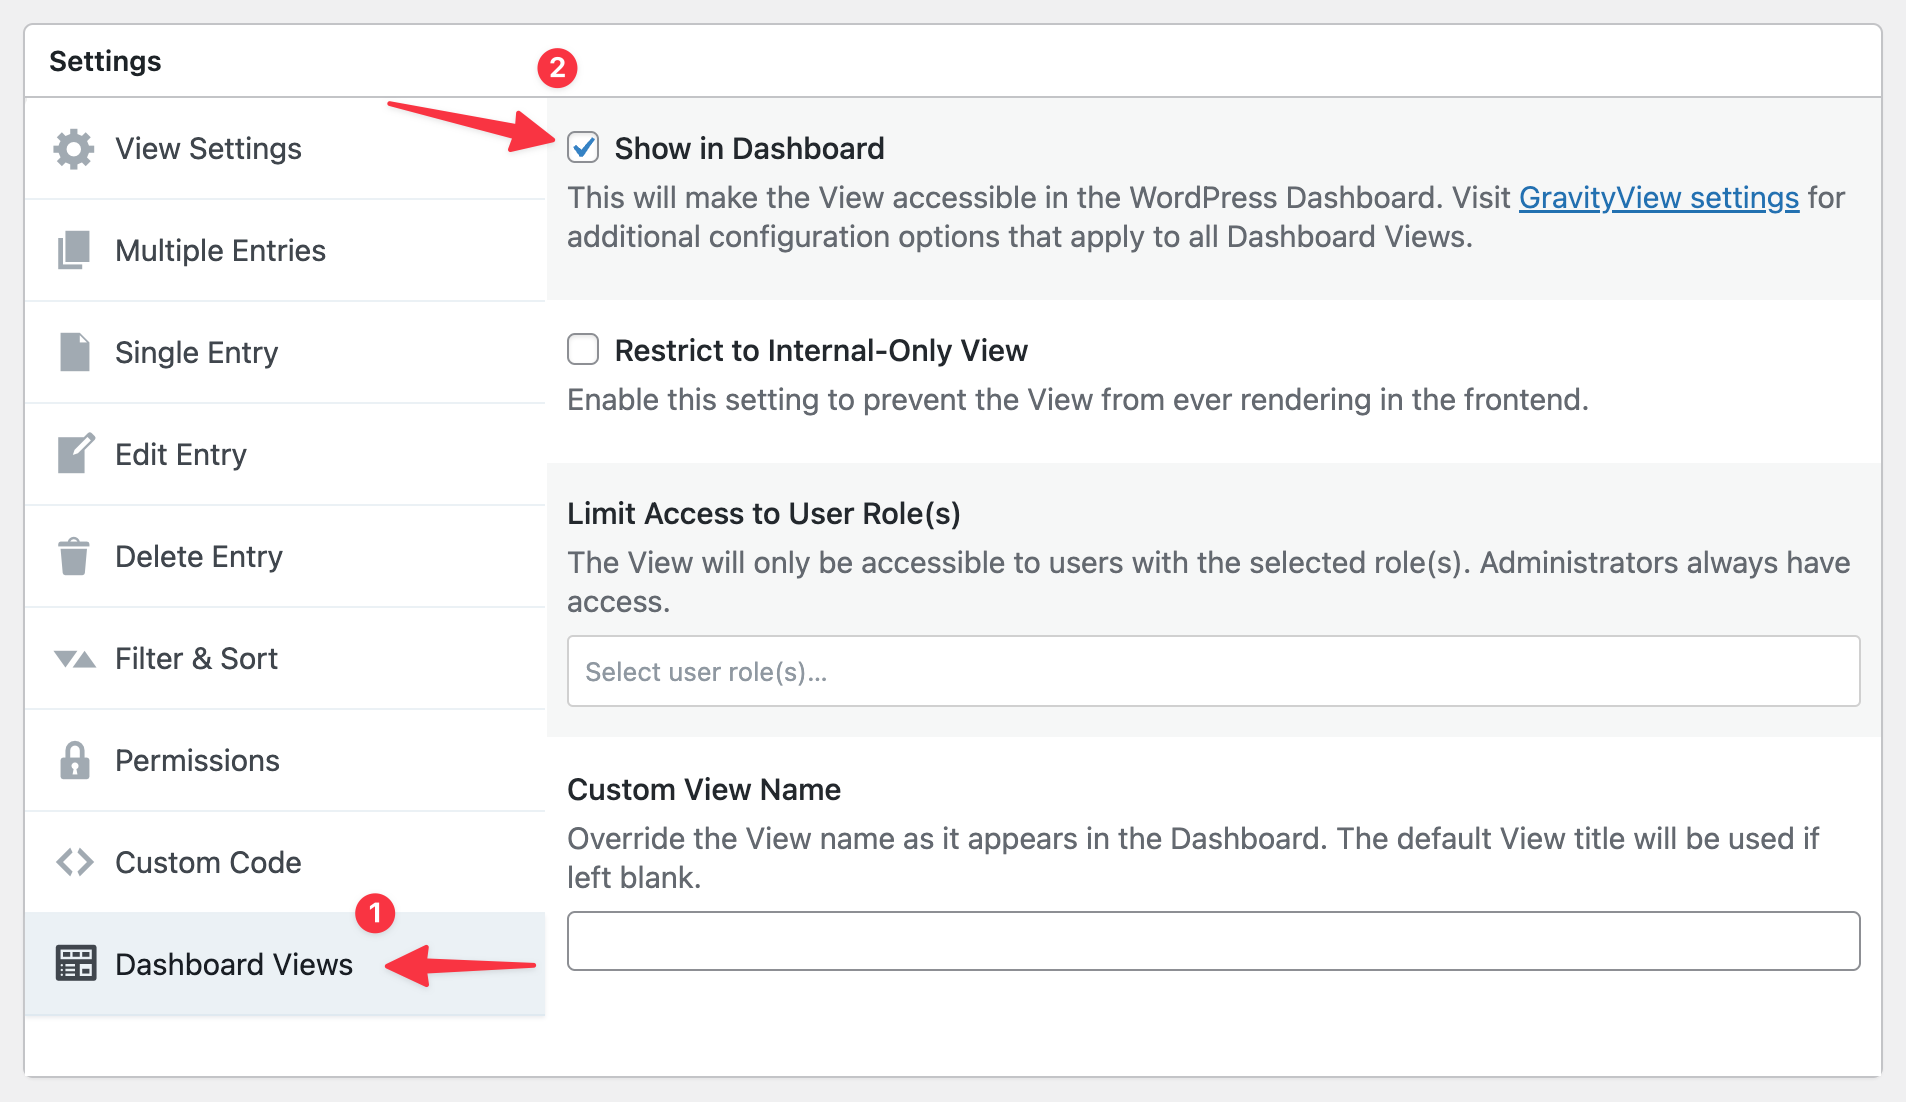
After installing the Dashboard Views extension, edit an existing View, scroll down to the View settings and click on the “Dashboard Views” tab. Next, check the box labeled “Show in Dashboard”.
Enabling this option will reveal several other settings. For example, you can restrict a View to “Internal-Only”, ensuring it never renders on the front end of your site or appears in any of your sitemaps. You can also limit dashboard View access by user role, and enter a custom View name.
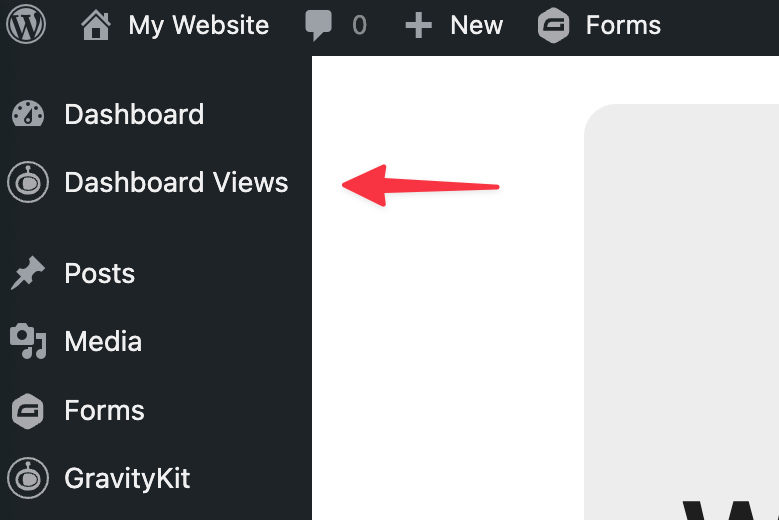
When you’re finished configuring the settings, save your View and refresh the page. A new menu item will appear under “Dashboard” labeled “Dashboard Views”. All Views with the “Show in Dashboard” option enabled will appear here!
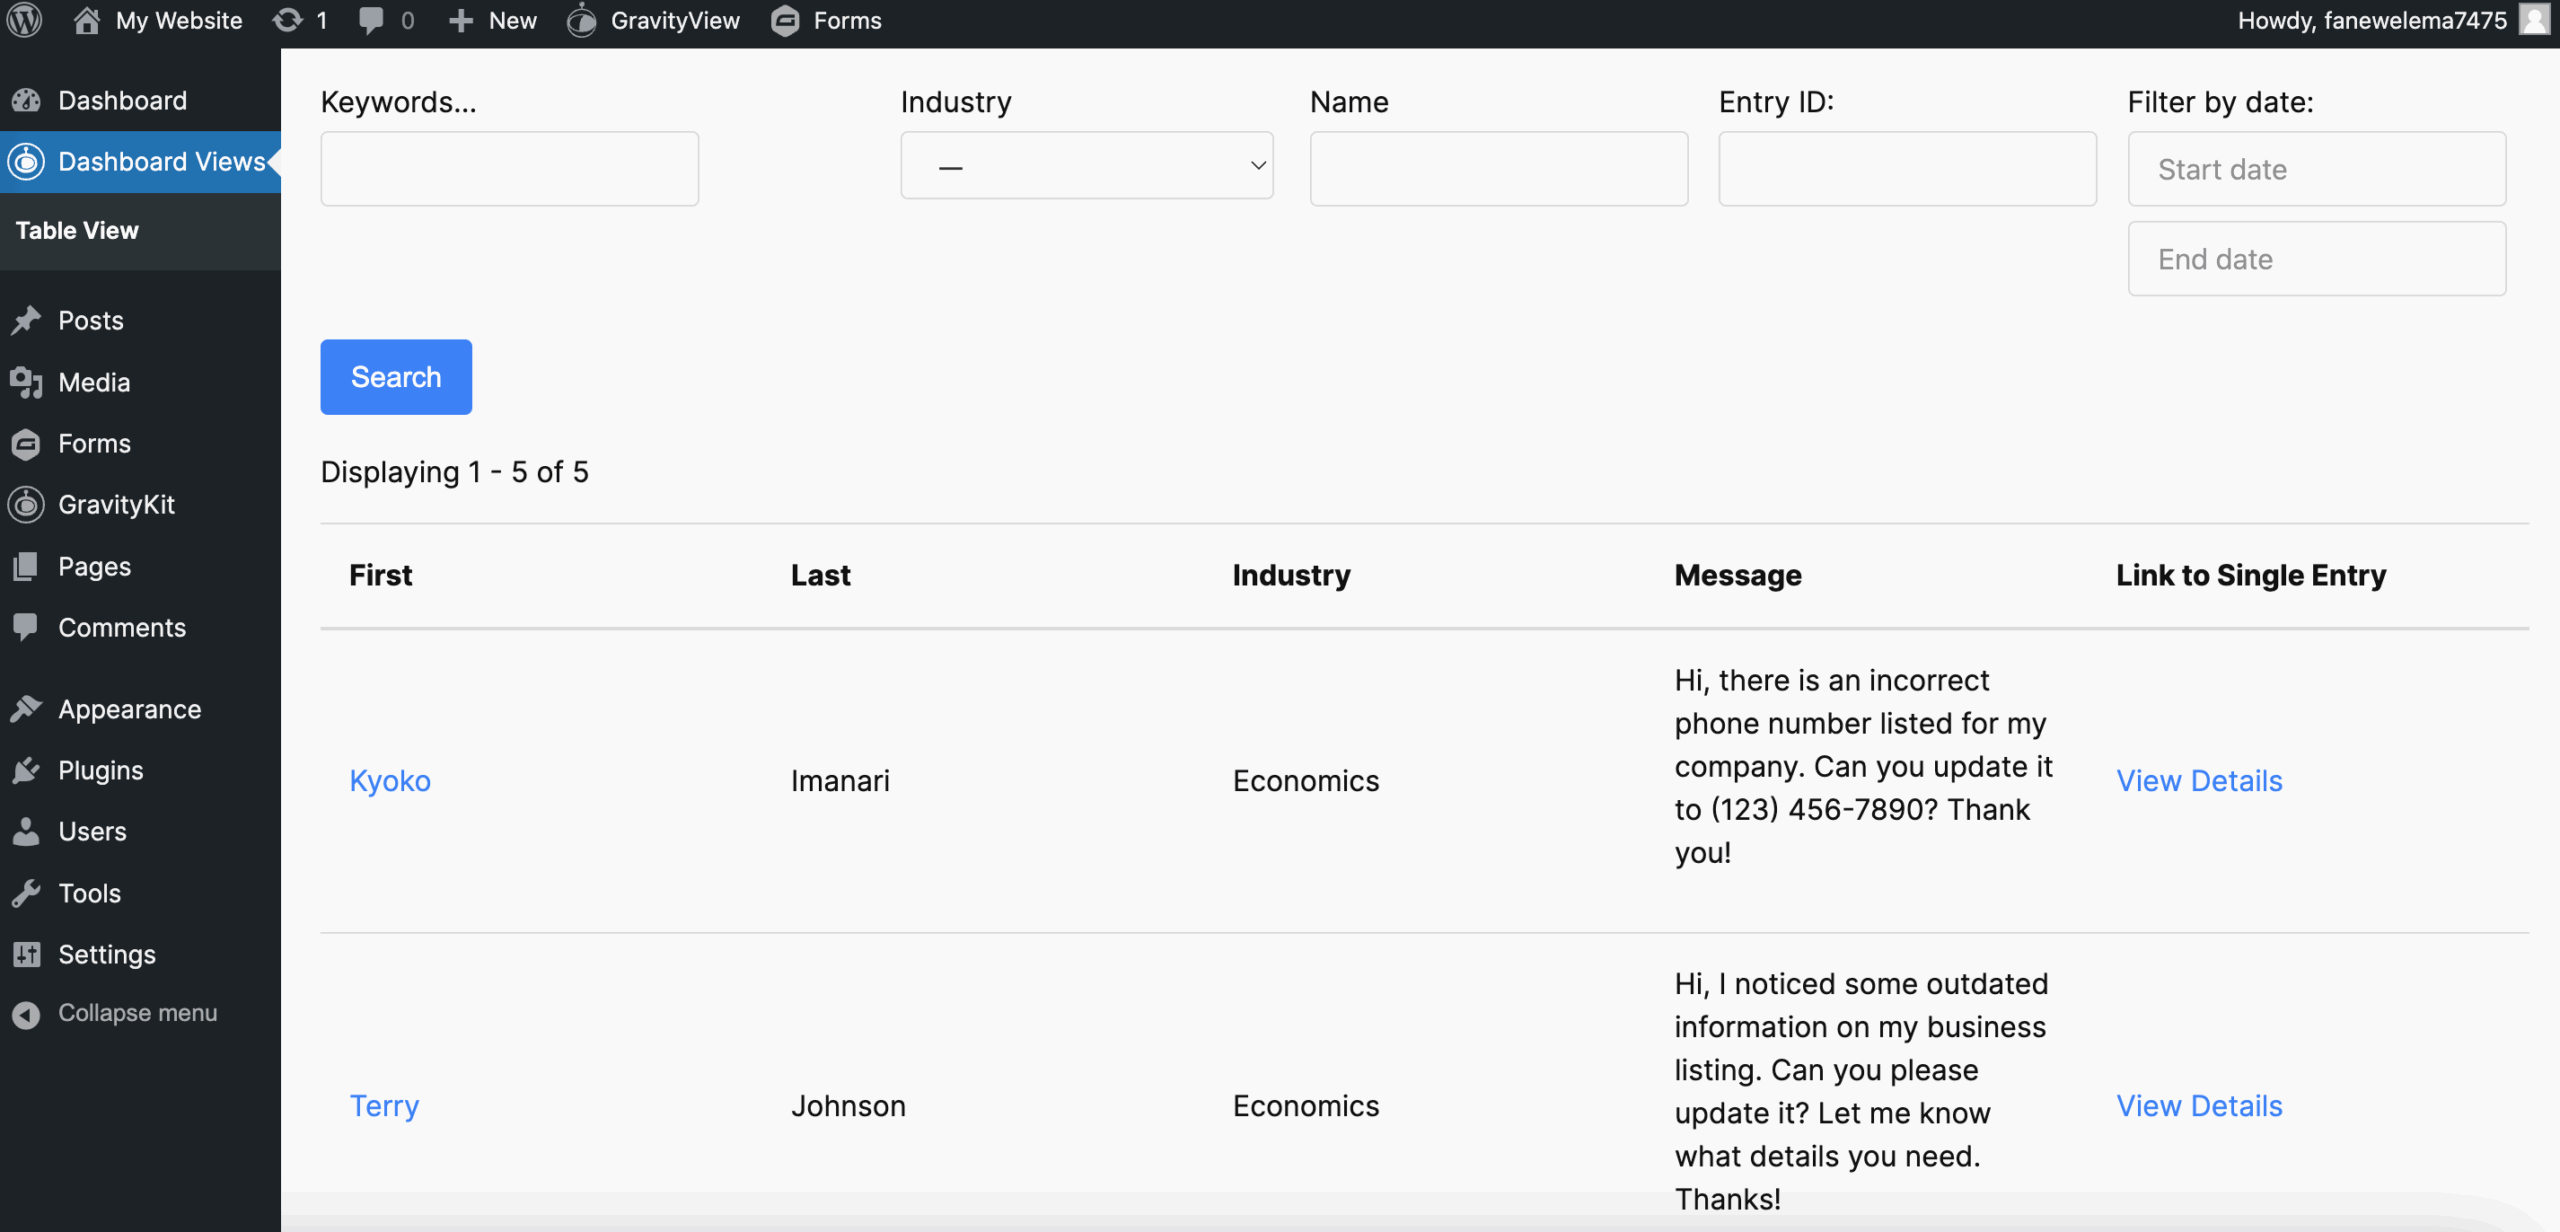
Click on this link to see your View inside the admin dashboard.
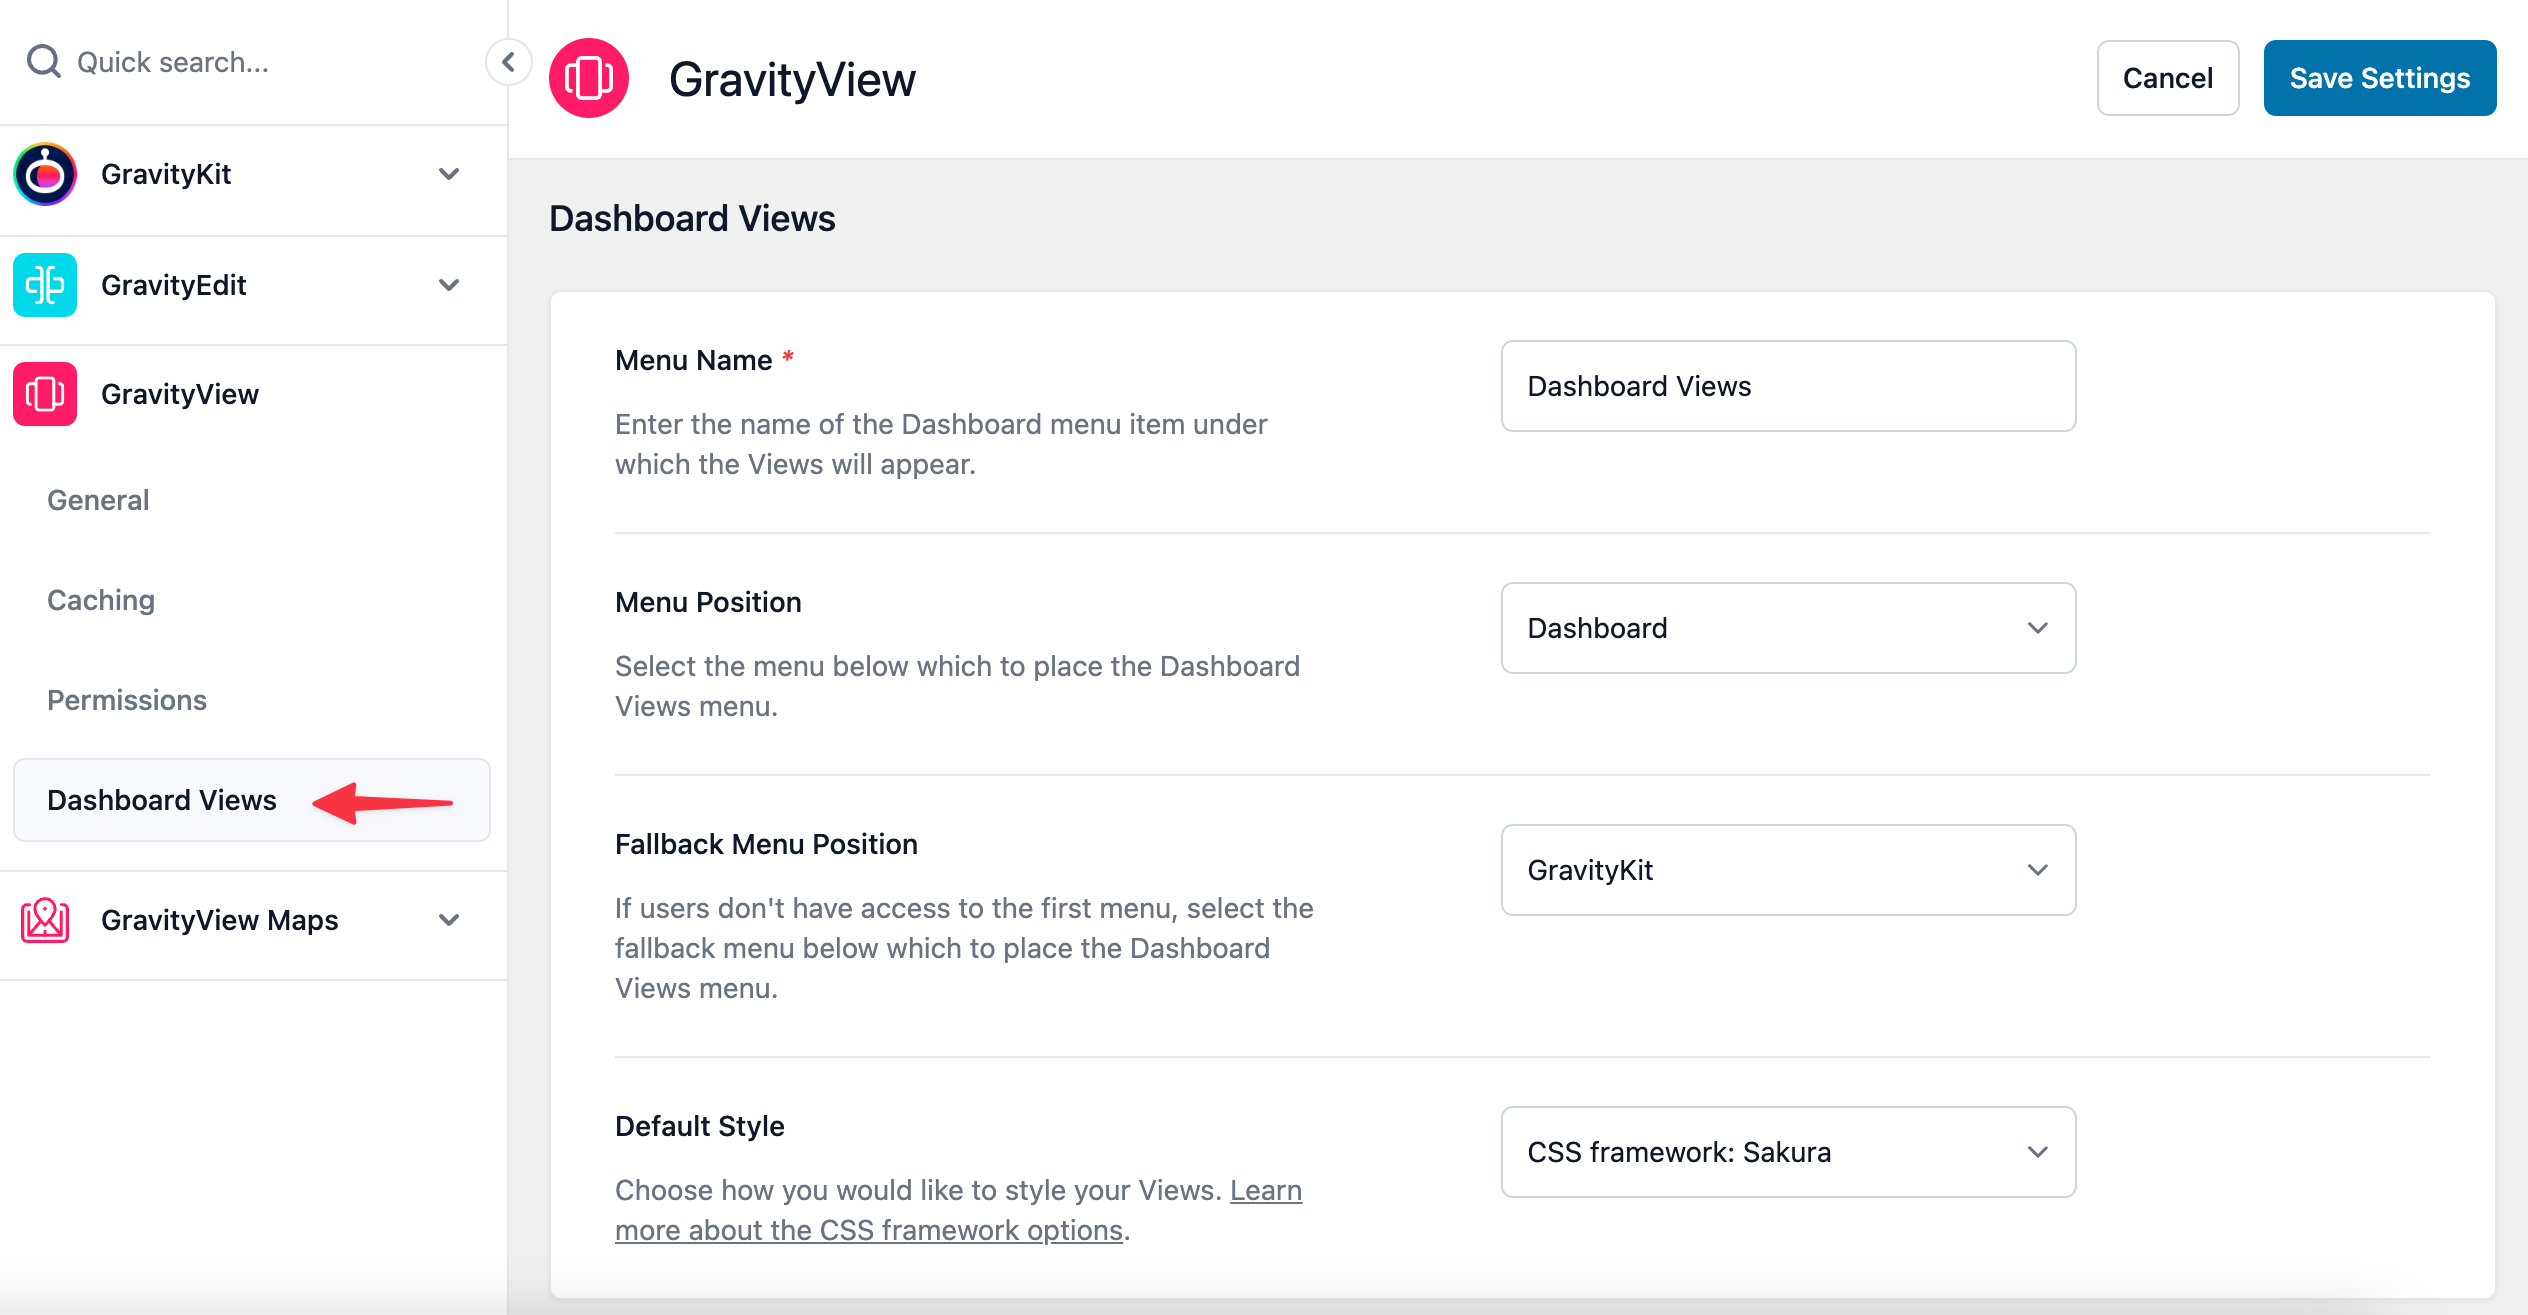
Optional: Configure the global settings #
On the GravityKit settings page (“GravityKit” > “Settings”), you’ll find several global options for Dashboard Views. Here you can modify the menu label, change its position, and select a default stylesheet for all Views displayed in the dashboard.
You can learn more about preset styles in Dashboard Views here.
