Published
•
Updated
How to restrict your Views by login status or user role
Six ways to restrict GravityView access by login status or user role. Protect sensitive data, build private portals, and control who sees what on your website.
If you’re building a web application with GravityView, you may need a way to restrict access to your Views.
GravityView is a powerful plugin that extends Gravity Forms by allowing you to display Gravity Forms entries on the front end of your website. Using GravityView you can build directories, job boards, databases, and more!
In this post, we’re going to look at 6 different ways to protect your Views by login status or user role. No matter what you’re working on, you’re bound to find a method that suits the needs of your project.
Are you ready? Let’s get started.
Wanna try it?
Spin up a demo
See what you can build with GravityView — explore the live demo.

Why restrict your Views?
Having the ability to restrict access to Views is helpful for a number of reasons.
For example, you may want to create an in-house database that contains sensitive information related to your brand or business. Having that information exposed to the public might cause privacy issues for you and your employees!
Here are some further examples where restricting access to your Views may be necessary:
- You’re building an application review system and only want certain user roles to be able to view submitted applications.
- You’re creating an internal database of talent and you don’t want search engines to index it.
- You’re creating people profiles for a directory, and you only want registered users to be able to view them.
Before we show you the different ways to restrict your Views, it’s important to understand the different ways that users and search engines access a View.
Direct access vs embedded access
Views are registered on WordPress as Custom Post Types, and they are accessible directly via a permalink containing the /view/ slug in the URL. By default, all Views are accessible to users and search engines via this link.
However, you can also embed Views on pages or posts. If you decide to do this, you may want to update the View’s settings to ensure it is only accessible via this location, and not via the /view/ permalink.
To do this, you can modify the “Direct Access” setting on the “Publish” metabox.
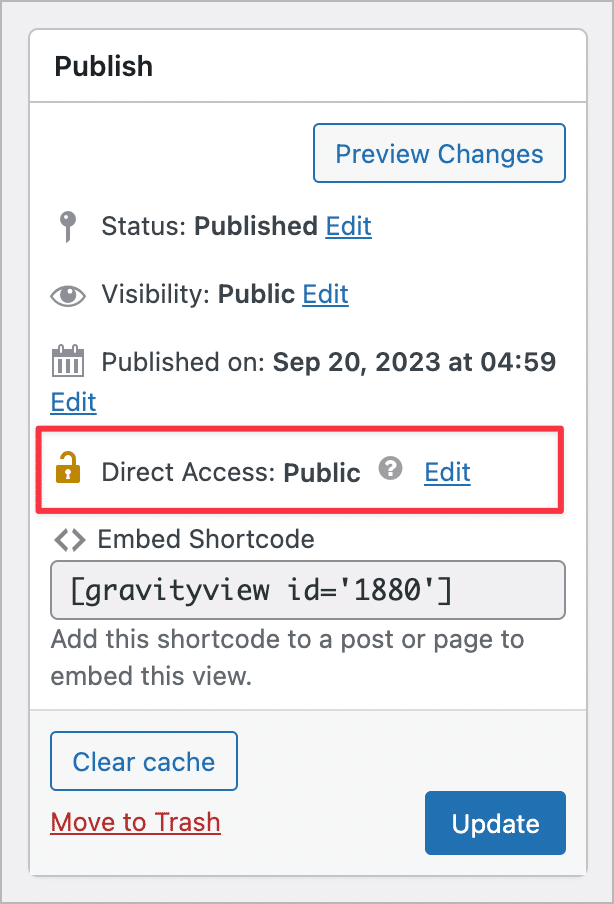
Clicking the “Edit” link will allow you to select between two options: “Publicly Accessible” or “Embedded-Only”.
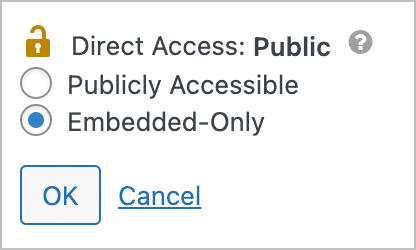
- Publicly accessible: Your View will be accessible directly to website visitors and search engines via the permalink containing the
/view/slug. - Embed-only: Your View will only be accessible via the location where it has been embedded using a block or shortcode. It will not be accessible directly via the permalink.
You can find this same setting in the “Settings” box below the View editor. Simply click on the “Permissions” tab and check the box that says “Prevent Direct Access”.
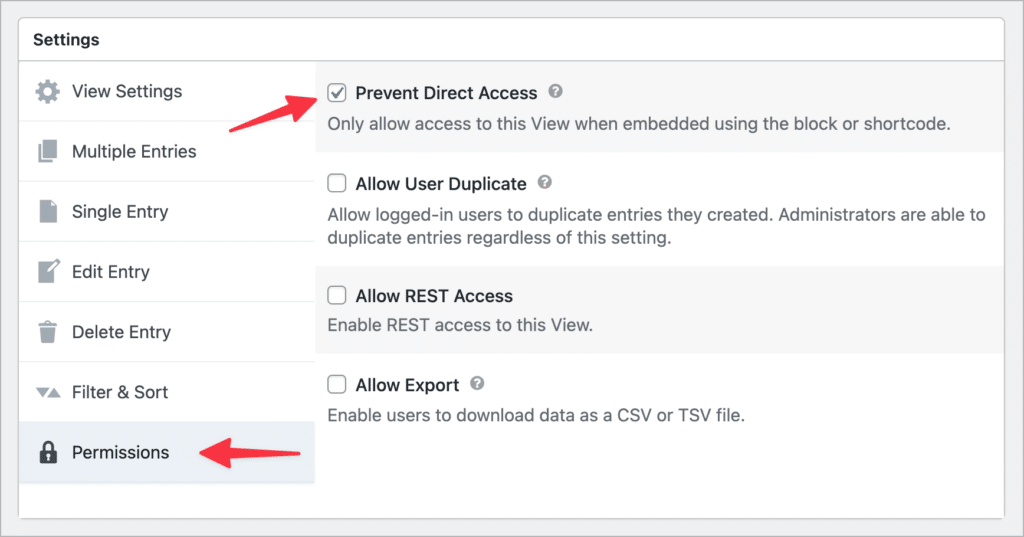
This has the exact same effect as setting the direct access option to “Embedded-Only”.
Okay, now let’s look at a few different ways to protect your Views.
1. Password protecting your Views and pages
WordPress gives you the ability to password protect pages, posts, and other custom post types (like Views).
To password protect your View (or a page where your View is embedded), go to the Publish meta box, and click on the “Edit” link. Next, check “Password protected” and enter your chosen password.

Now, when a new user visits your View, they’ll be asked to enter the password. Only after entering it correctly, will they be able to see your View and its associated content.
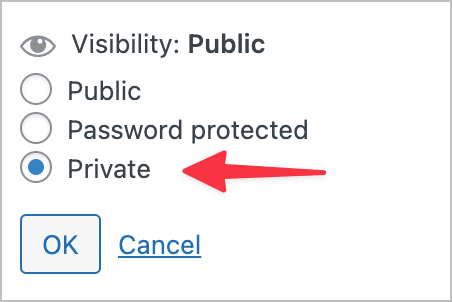
2. Make your View “private”
You can also restrict access to your View by making it “Private”. If you select this option, only Administrators and Editors will be able to access your View.
Options 1 and 2 work well as a basic means of protection. After all, this is standard WordPress functionality that doesn’t require a third-party plugin or any complicated setup. However, if you’re looking for a more sophisticated and flexible solution, check out the options below.
3. Using the Members plugin
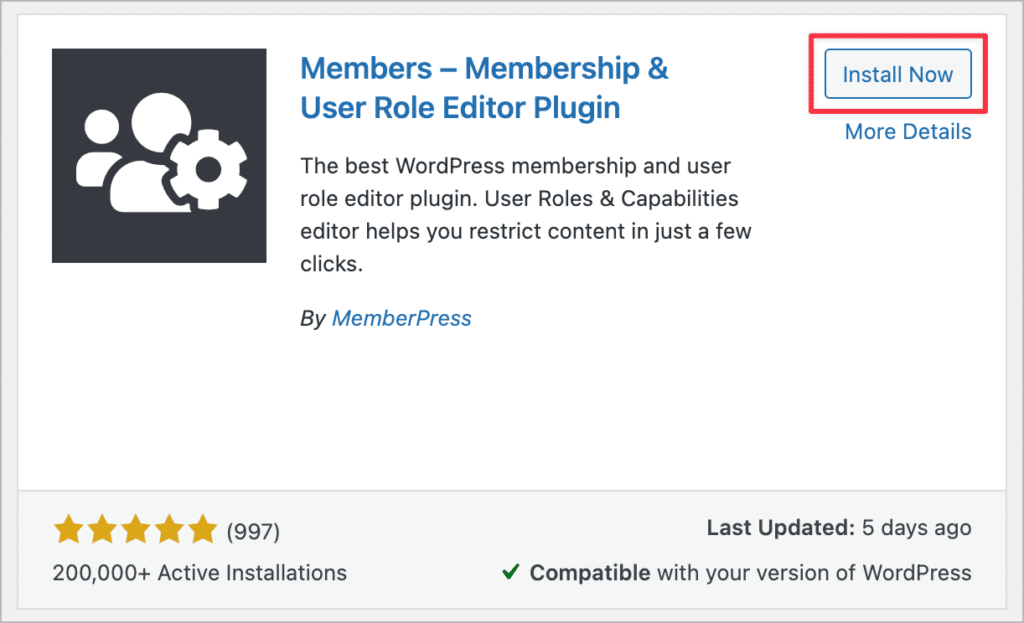
The WordPress Members plugin by MemberPress gives you an easy way to restrict access to content on your website. It’s effective, powerful, and best of all, free!
To get started, log in to your WordPress site, hover over “Plugins” in the left-hand menu, and click “Add New”. Next, search for “Members – Membership & User Role” and install the plugin.
After activating the plugin, you’ll see a new meta box at the bottom of all your pages and posts allowing you to limit access to that page/post’s content to specific user roles.
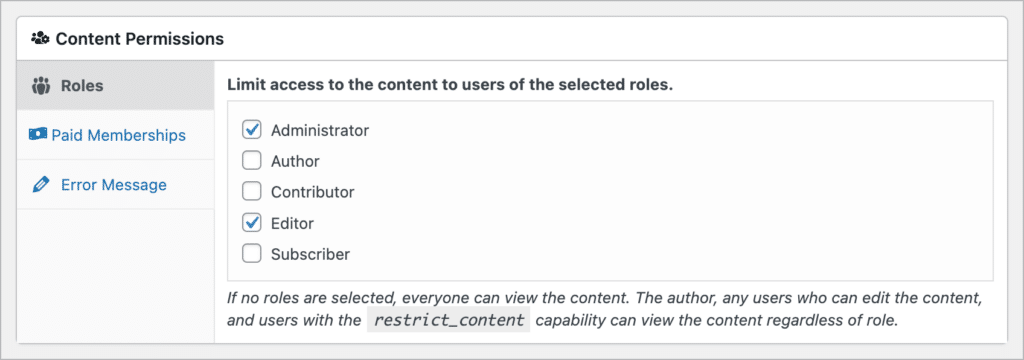
In this example, we’ve limited access to users with the Administrator or Editor role.
Using the shortcode
If you only want to restrict access to your View and not other content on the page, you can use the Members shortcode to do so.
For example, to restrict your View to logged-in users, use the [members_logged_in] shortcode:
[members_logged_in]
     [gravityview id='47']
[/members_logged_in]
To restrict your View to certain user roles, use the [members_access] shortcode and define a user role, like so:
[members_access role="editor"]
     [gravityview id='47']
[/members_access]
Pro tipThe Members plugin also gives you the ability to restrict your entire website! This is helpful if you’re running a private membership site.
4. Using the Block Visibility plugin
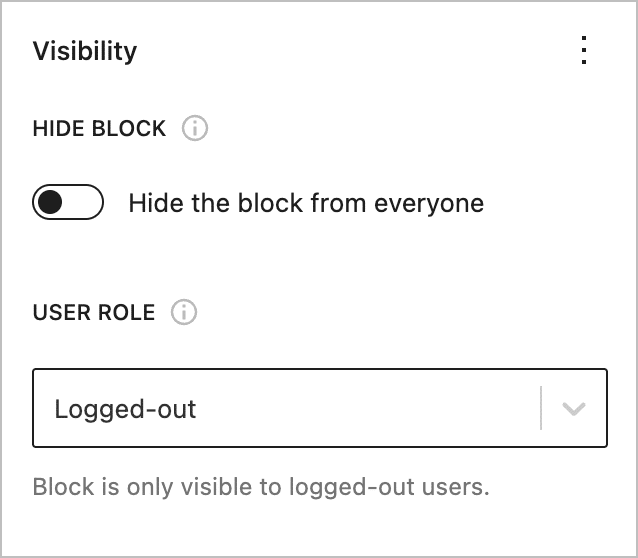
If you embedded your View on a page or post using the GravityView block, you can restrict access to that specific View using the free Block Visibility plugin by Nick Diego.
After installing the plugin, you’ll be able to control the visibility settings for any WordPress block. To adjust the visibility settings for your View, edit the page or post where your View is embedded using the “GravityView View” block and open the tab labeled “Visibility”. You can restrict visiblity based on login status, or user role.
Now let’s take a look at how to limit access to a View using redirects.
5. Using the Redirection plugin
Finally, you can restrict access to your Views by using the Redirection plugin to redirect users based on login status or user role. Redirection is a free WordPress plugin that allows you to create different types of redirects for URLs on your website.
After activating the plugin, create a new redirect rule for the page where your View is embedded. Next, click on the gear icon to bring up the additional options.
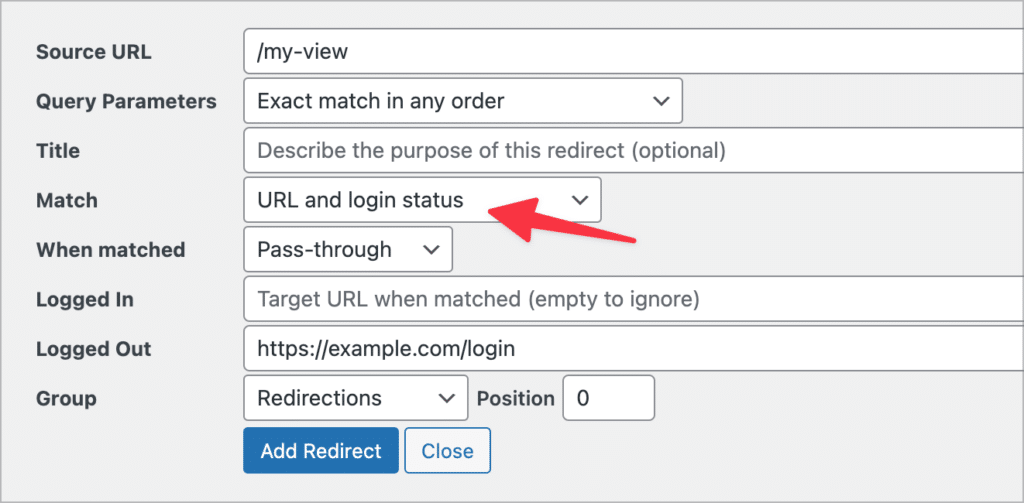
The “Match” dropdown menu allows you to configure redirects based on the user’s login status or user role.
The dropdown menu next to “When Matched” allows you to choose the type of redirect you want to set up. For this particular use case, it’s best to select “Pass through”.
This will ensure that logged-in users can acess your View while non-logged-in users get redirected to the login page.
Pro tipFor more information on HTTP status codes and redirects, check out httpstatuses.com.
6. Hiding certain fields in your View using field conditional logic
You may find yourself in a situation where you only want to restrict access to certain fields in a View, not the entire View. This is possible using GravityView’s field conditional logic settings! Using this powerful feature, you can restrict access to certain fields based on login status or user role.
This is a great option if you want some information in your View to be public and other information to be private. For example, some product marketplaces allow the public to access product listings but restrict seller information to registered users.
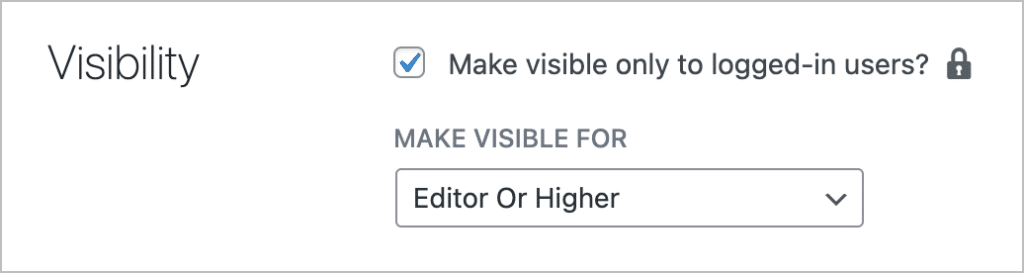
To set this up, edit your View and click the gear icon next to the field you want to restrict. This will bring up the Field Settings window. Under “Visibility”, check the box that says “Make visible only to logged-in users?”.
To restrict visibility to specific user roles, select a role from the dropdown menu below. The different options are:
- Any Logged-In User
- Author or Higher
- Can View Gravity Forms Entries
- Editor or higher
- Can Edit Gravity Forms Entries
- Administrator
Pro tipTo take things a step further, use the GravityView Advanced Filter Extension to restrict specific fields based on conditional logic.
Restricting Views in GravityView: Final thoughts
With numerous layout options and extensive customizability, the GravityView plugin is the best way to display Gravity Forms entries on your website.
If you use GravityView on your website, you may be looking for a way to protect your Views based on login status or user role. In this post, we shared with you 6 ways to restrict your Views.
Password protect your Views using default WordPress functionality or restrict certain fields in your View using GravityView. And for a more flexible solution, use a plugin like Members or Redirection to protect your pages and posts!
If you enjoyed this post, Read our guide on creating a Gravity Forms login form next!

Helpful tips right in your inbox.
Subscribe to get the latest articles, information on releases and helpful Gravity Forms tips!
More articles

10 things you can ask AI to do with Gravity Forms (using the free GravityKit MCP)
See 10 practical things you can ask AI to do with Gravity Forms using the free GravityKit MCP: create forms, manage entries, build Views, and more.

Launch Log: theme template editing in Block MCP, Shield silentCAPTCHA for Zero Spam, and GravityView fixes
Block MCP adds safe theme template editing, Gravity Forms Zero Spam gains Shield silentCAPTCHA support, and GravityView fixes lightbox and notice bugs.

GravityKit turns 12: a year in review, and 30% off Lifetime All Access
GravityKit turns 12. A look back at a year of GravityView 3.0, GravitySearch, and AI-assisted building, plus a birthday sale on the Lifetime All Access Pass.
