Published
•
Updated
Turn Gravity Forms into a powerful database solution
Use GravityView to turn Gravity Forms into a searchable front-end database. Store, filter, edit, and export entries without custom code or third-party database software.
Have you ever wanted to build your own Gravity Forms database system for collecting, storing and managing data?
Using GravityView you can do just that!
GravityView gives you a way of storing, searching, and organizing your form data in a table layout so that it’s easily accessible from the front end.
In this post, we’ll show you how to use GravityView to turn Gravity Forms into a powerful database solution. We’ll also show you how to export database entries, edit entries from the front end and combine data from multiple forms into a single table.
Sound interesting? Keep reading to find out more! 👇
Check out a live demo of a Gravity Forms business database and get your own free trial site preloaded with all GravityKit add-ons!
Sneak peek
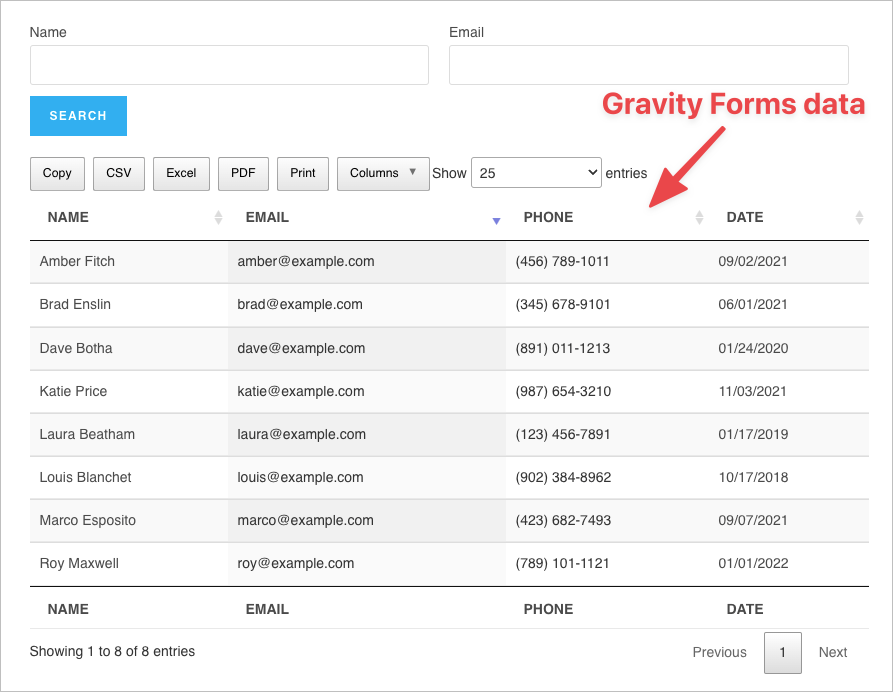
Here’s an example of a database application built using Gravity Forms and GravityView:
What is a database?
A database is an organized collection of structured information (data) stored electronically on a computer system. The most typical database structure is a series of tables with rows and columns. This makes it easy to retrieve the required information from the database for managing, updating or deleting.
WordPress database application builder for Gravity Forms
Are you wondering how to use WordPress to create a database application?
Database systems allow you to easily manage large amounts of information. Any functioning database should allow you to do the following:
- Collect data
- Retrieve data
- Manage/organize data
- Update entries
Using Gravity Forms and GravityView, you can build a custom database application — a full CRUD app for creating, reading, updating, and deleting entries!
GravityView is an add-on for Gravity Forms that allows you to build powerful applications using your form data. GravityView table layouts make it the perfect Gravity Forms database plugin.
The rest of this tutorial will focus on building a front-end database system. Our database app will have the following components:
- A form where users (or Admins) can enter information into the database
- A Table layout displaying database entries on the front end
- A search feature making it easy to find information in the database
- An “Edit Entry” page where users can update entries from the front end
Let’s get started 🙌
Creating a form for inputting data
The first step is to create a form that allows you to add new entries to the database. You can also create multiple forms and then connect them to a single table (but more on this later).
Pro tipIf you already have a form and entries, all you need to do is connect it to a View. We’ll cover this in the next step!
Your form will have different fields depending on the data you’re working with. For example, if you’re building a database to store survey responses, you’ll probably want to include fields for the person’s contact information, as well as the relevant survey fields.

Pro tipIf you want to transfer data from another website or application to Gravity Forms, you can use our Import Entries plugin.
Creating a View to display entries in a table
The next step is to create a View for harnessing the data that users input via your form.
Using GravityView you can display Gravity Forms data in a Table layout. This allows you to read, search and edit the data added to your database.
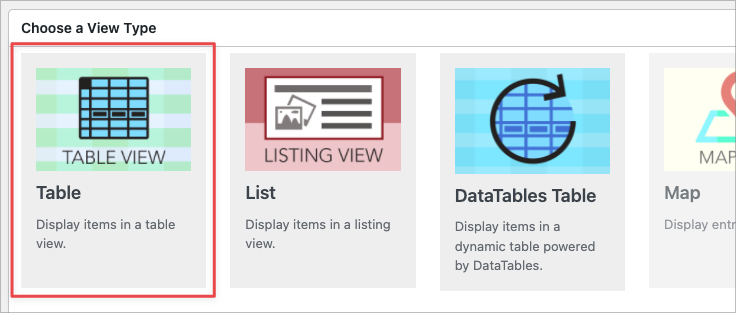
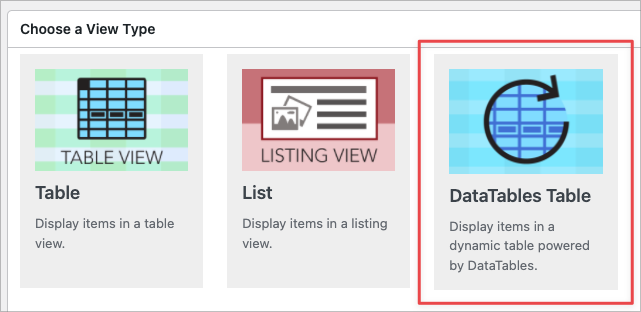
Create a new View by hovering over “Views” and clicking “New View”. Now select your input form as the data source and choose “Table” as your View Type. The Table layout allows you to display information in columns and rows.
Pro tipThe two layout options best suited for a database application are the “Table” and “DataTables Table” layouts. We cover the DataTables layout below.
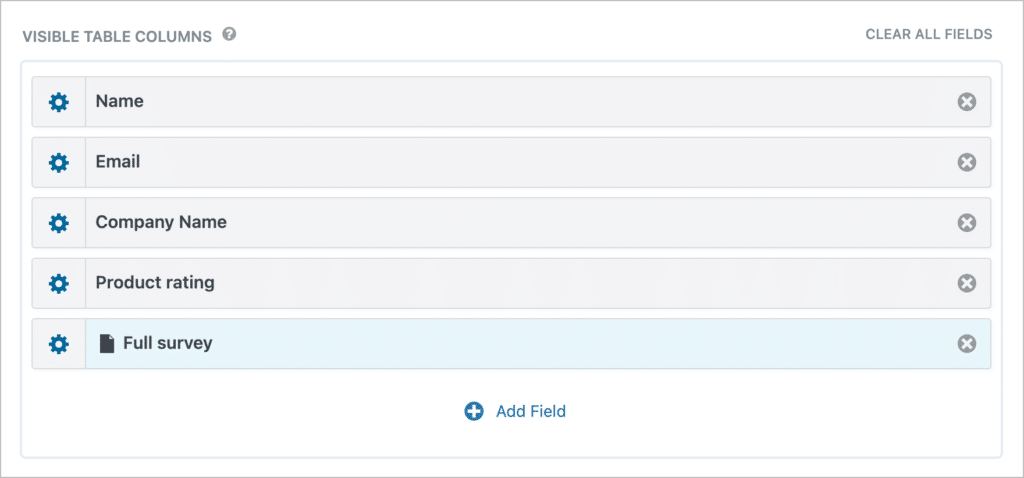
Now you can start constructing your database application using the GravityView drag-and-drop editor. To add columns to your database, click on the “Add Table Column” button and select the fields you want to add.
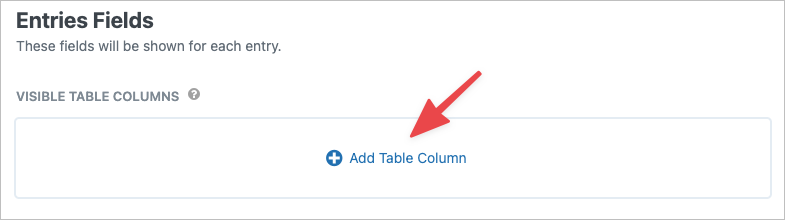
As you can see below, we’ve added four fields to our database – “Name”, “Email”, “Phone” and “Date”. To change the field label text, modify the visibility settings and more, click on the gear icon to the left of the field name.
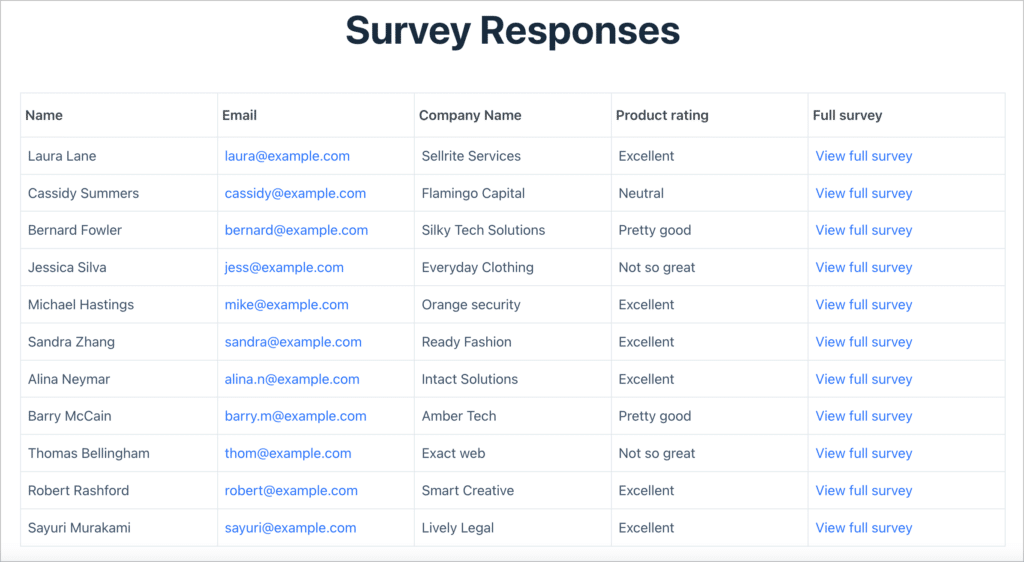
Here’s what our simple survey database looks like on the front end:
So what if you need to update or delete entries from the database? That’s what we’re going to cover in the next section!
Making your database editable from the front end
GravityView gives users the ability to edit entries from the front end. To enable this functionality, all you need to do is enable the “User Edit” option and then configure the Edit Entry layout.
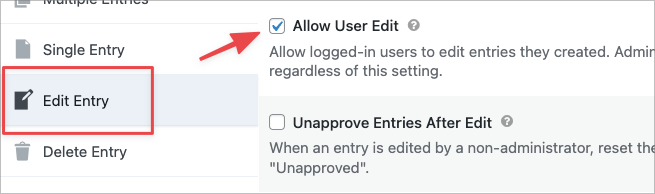
To enable User Edit, scroll down to the View Settings meta box, click on the “Edit Entry” tab and check the box to allow user edit. This will ensure that logged-in users can edit entries they create.
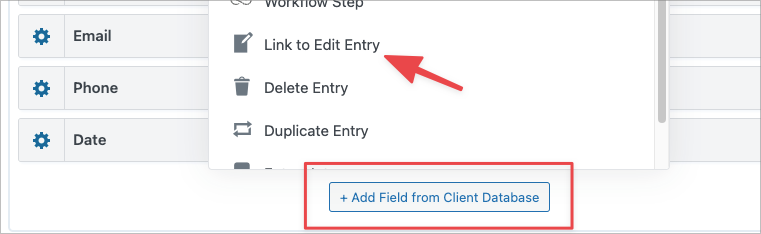
Now you need to add a link to the Edit Entry layout from the Multiple Entries page. To do this, click on the “Add Fields” button and select the “Link to Edit Entry” field.
Finally, click on the “Edit Entry Layout” tab at the top to configure the edit entry page. The fields you add here will be editable front the front end.

That’s it! Users will now be able to edit their own entries from the front end (Admins can edit all entries, as usual!).
Pro tipAlthough not covered in this post, the Single Entry Layout allows you to display additional information about an entry. Check out our documentation to learn more about the Single Entry Layout.
Now let’s look at how you can search through database entries to quickly find the information you need.
Searching through database entries
GravityView includes a handy Search Bar widget that allows you to add search fields to your View layout. This makes it easy to construct a searchable database from your Gravity Forms entries.
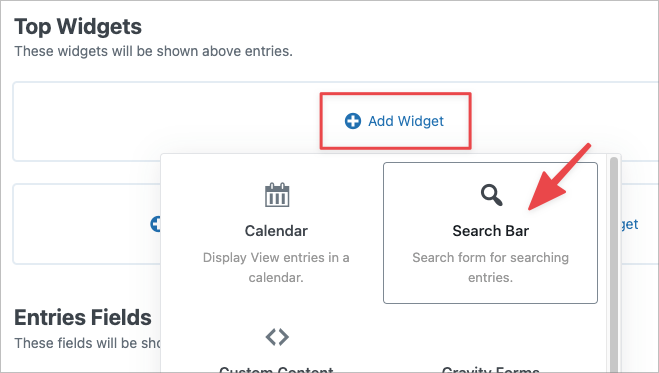
To add a search bar to your database, go to one of the widget areas, click on the “Add Widget” button, and select “Search Bar”.
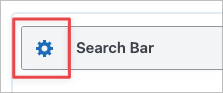
To configure the search settings, click on the gear icon.
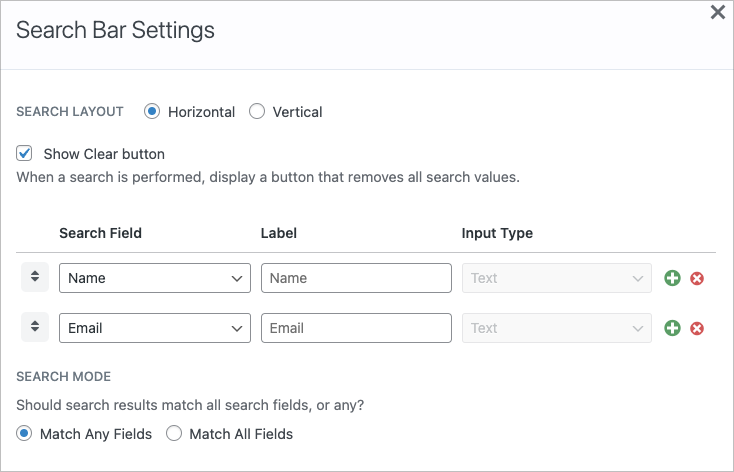
Here you can add multiple search inputs, update the search mode and more.
Not only can you search for entries based on specific field values, you can also filter and sort entries.
Filtering and sorting database entries
GravityView includes a range of built-in filtering and sorting options. To access these, scroll down to the Settings meta box and click on the “Filter & Sort” tab.

Here you’ll find a range of options for sorting and filtering the entries in your table. For example, by enabling “sorting by column”, you can sort entries by clicking on the column headers.
So far we’ve covered how to create a database, add a search bar and configure the sorting options. Now you’re probably wondering how to export that data for use in other applications.
Exporting database entries
GravityView includes a built-in export feature that allows you to export your database entries to either CSV or TSV.
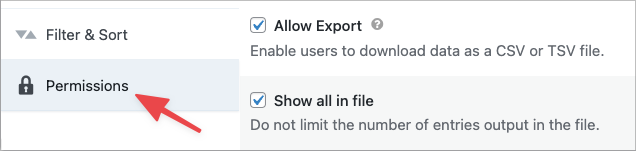
To enable the export feature, head over to your View Settings, click on the “Permissions” tab and check the box that says “Allow Export”. If you want the export file to contain all the entries in the database, not just those displayed on the screen, ensure that you check the box that says “Show all in file”.
Users will now be able to export database entries by adding /csv or /tsv to the end of the View URL.
Now let’s take a closer look at the GravityView DataTables layout and why it’s the perfect layout option for building Gravity Forms database applications.
Displaying entries using the DataTables layout
The GravityView DataTables layout includes advanced filtering and sorting options, making it easy to work with dense, numerical data. DataTables makes it easy to manage statistical, scientific or business data!
With DataTables, you also have the option to add a range of buttons to the top of your tables for exporting data to different file types and showing/hiding columns.
Now let’s see how we can combine data from multiple forms for displaying in a single table.
Combining data from multiple forms in one table
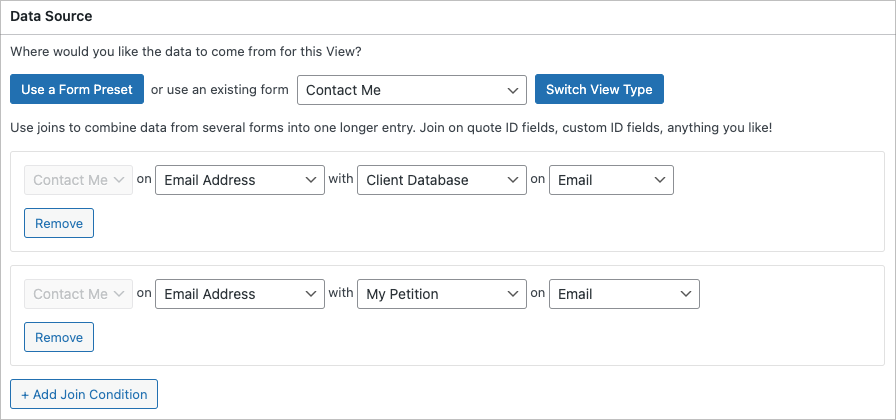
With the GravityView Multiple Forms add-on you can combine data from one or more Gravity Forms and display it in a single table.
Multiple Forms works in a similar way to an SQL “join” operation, allowing you to combine individual entries from multiple forms into one, longer entry.
Pro tipCheck out our documentation to learn more about our Multiple Forms add-on.
Start building your Gravity Forms database today
Gravity Forms is a powerful WordPress plugin for collecting all kinds of data. However, managing that data can be difficult. In this post, we showed you how to build a Gravity Forms database application using GravityView.
GravityView allows you to display Gravity Forms data in a table layout using rows and columns. You can also export, filter, and sort the data you collect! What are you waiting for? Learn more about front-end entry management in Gravity Forms.

Helpful tips right in your inbox.
Subscribe to get the latest articles, information on releases and helpful Gravity Forms tips!
More articles

Launch Log: Row headers for screen readers, smarter conditional logic, and multi-View fixes
GravityView 3.1 adds row headers for screen readers, plus smarter conditional logic in GravityCalendar and fixes for DataTables, Maps, and Dynamic Lookup.

Ecommerce platform market share 2026: WooCommerce leads the web, Shopify leads the top tier
Ecommerce platform market share in 2026, from HTTP Archive data. WooCommerce leads the whole web at 6.64%, but Shopify already leads the top 1M sites.

Launch Log: 3D map enhancements, smarter filtering, and improved performance on large data sets
GravityKit’s July 9 launch log: 3D map starting views and viewport loading, searchable field-to-field filtering, and fixes across DataTables and more.