
Uploading a CSV file
Uploading your CSV is the first stage of the import wizard. This article covers what the file needs to look like and what happens once it’s uploaded.
Upload your file #
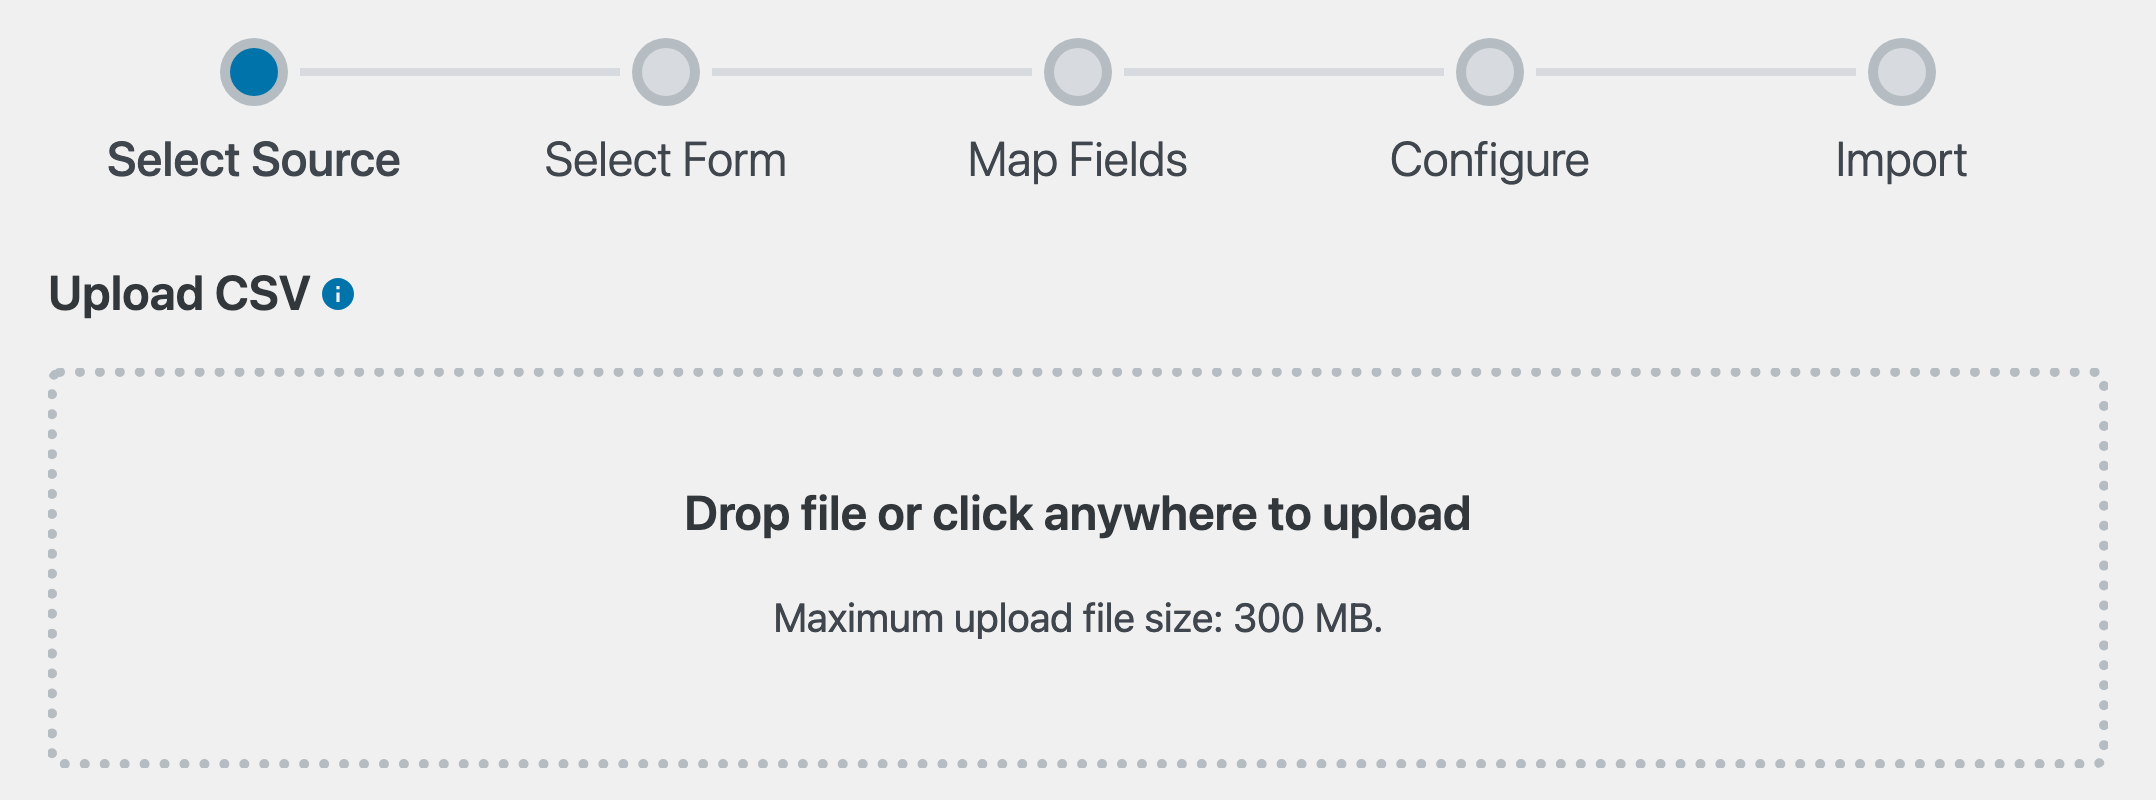
Open the importer by going to Forms, then Import/Export, and clicking the Import Entries tab. The wizard opens on the upload screen.
Drag your CSV onto the drop zone, or click anywhere inside it to choose a file from your computer. Files up to your site’s maximum upload size are accepted; the wizard shows the limit below the drop zone.
What your file needs #
- A CSV (comma-separated values) file. GravityImport imports CSV files only. If your data lives in a spreadsheet, export it as CSV first: see our guides for Excel, Google Sheets, Apple Numbers, and LibreOffice.
- Column names in the first row. GravityImport uses the header row to label each column on the Map Fields stage, and columns whose names match your form fields are mapped automatically. See Naming your field columns.
- Commas as the separator, by default. Tab, pipe, and semicolon delimiters are detected automatically, and you can set a custom one: see How to change the CSV delimiter.
There is no limit on the number of rows. See Does GravityImport limit the number of entries I can import?
What happens next #
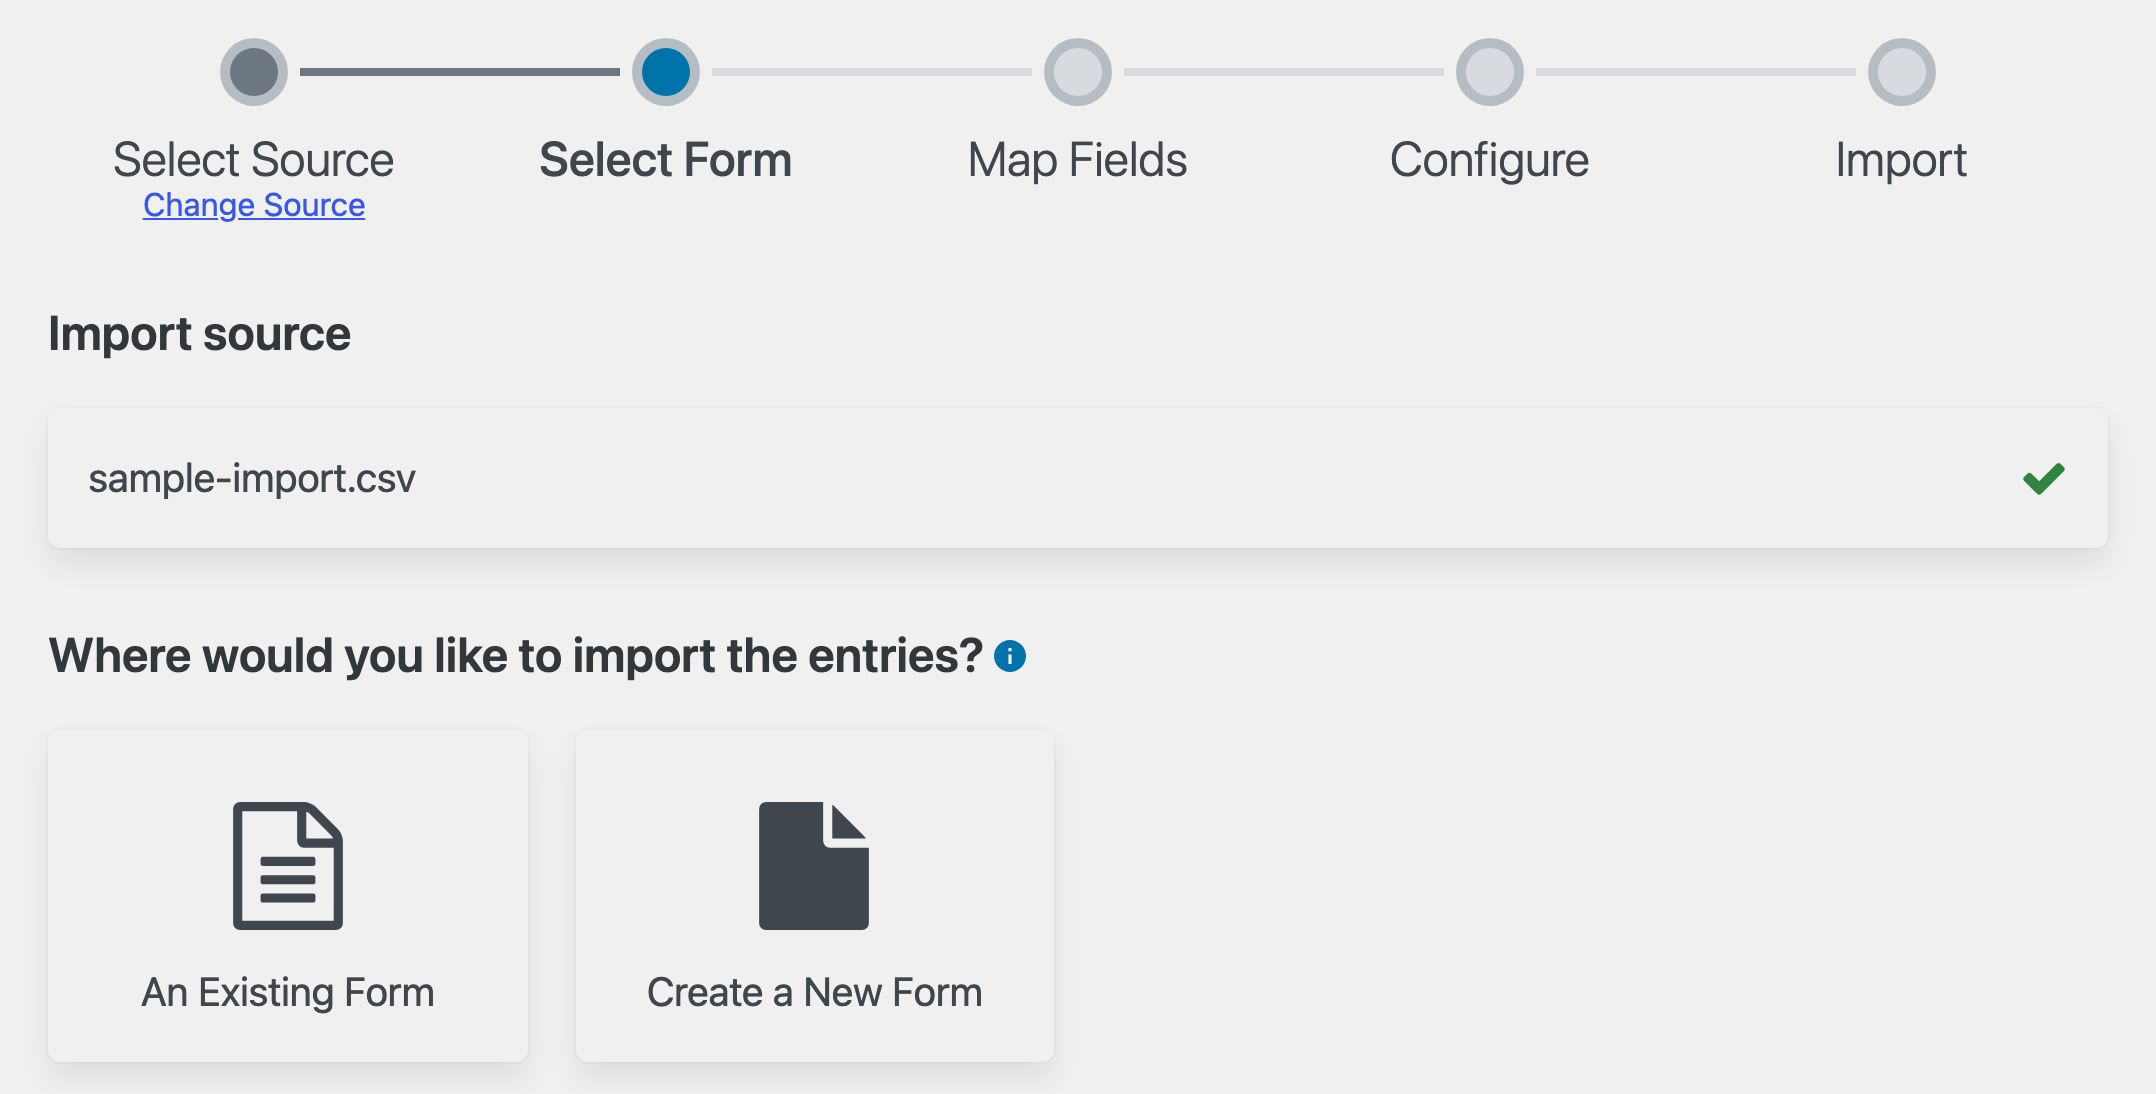
When the upload finishes, the wizard moves to the Select Form stage automatically. Your file shows under Import source with a green check mark, and a Change Source link at the top lets you swap the file at any point.
Troubleshooting #
- “Sorry, this file type is not permitted for security reasons”: the file isn’t a CSV, or the upload is blocked at the server. See Error: CSV file failed to upload.
- The upload sticks or returns an empty response: a caching plugin or firewall is usually interfering. See Error: Server returned an empty response.

