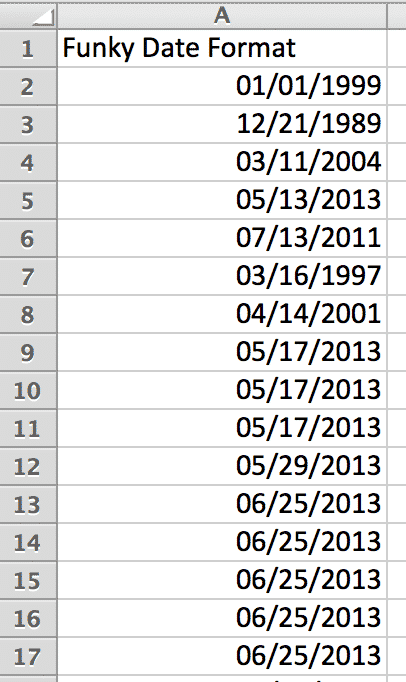
Formatting dates for Gravity Forms in Microsoft Excel
Gravity Forms Date fields accept a specific set of date formats. If the dates in your spreadsheet are formatted differently, the import can misread or reject them. This article shows how to reformat a date column in Microsoft Excel before exporting your CSV.
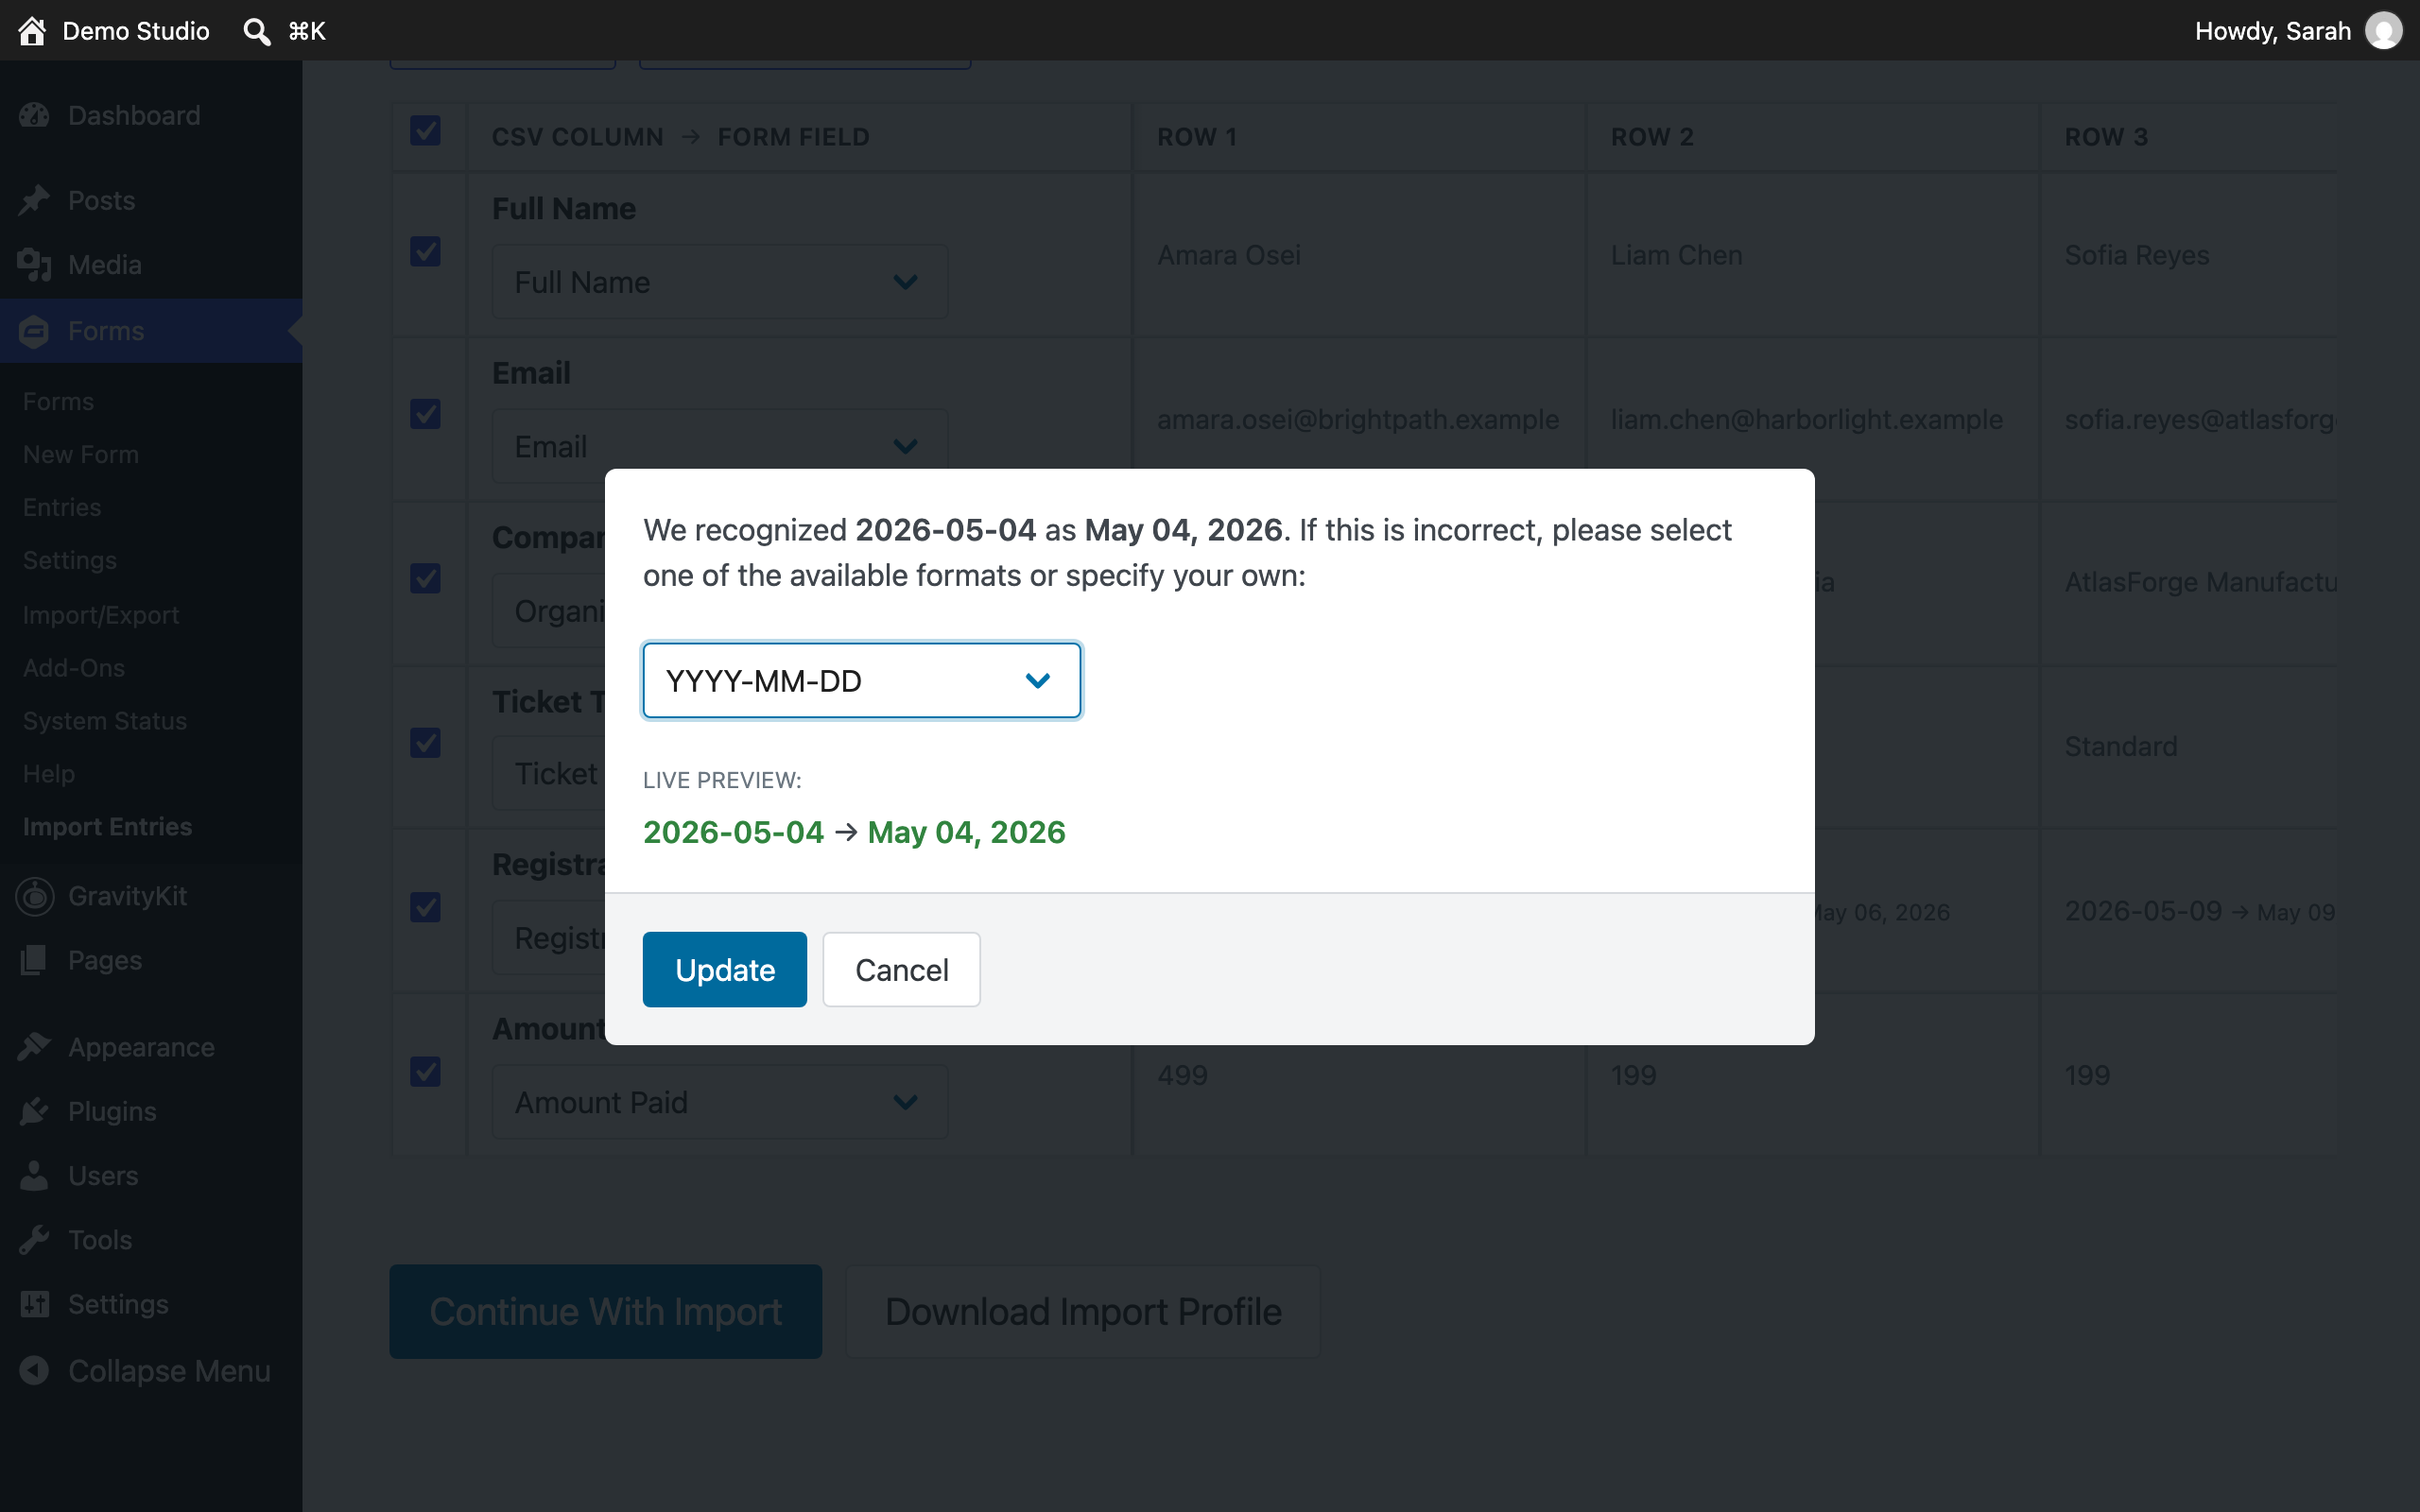
Tip: you can also tell GravityImport which format your dates use without touching the spreadsheet. On the Map Fields stage, click the gear icon next to the date column: a dialog shows the detected format with a live preview, and you can pick a different one.
Date formats Gravity Forms accepts #
mm/dd/yyyy(example: 06/18/2016)dd/mm/yyyy(example: 18/06/2016)dd-mm-yyyy(example: 18-06-2016)dd.mm.yyyy(example: 18.06.2016)yyyy/mm/dd(example: 2016/06/18)yyyy-mm-dd(example: 2016-06-18)yyyy.mm.dd(example: 2016.06.18)
In these formats, dd is the day as two digits (01-31), mm is the month as two digits (01-12), and yyyy is the year as four digits. These are the same options as the Date Format setting on the field itself; see the Gravity Forms Date field documentation for details.
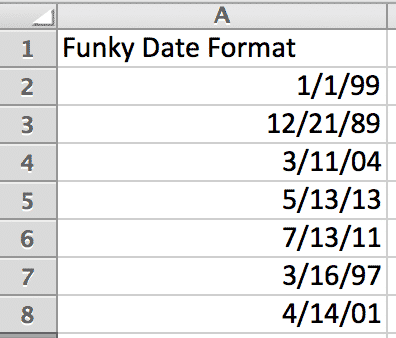
1. Open your spreadsheet in Microsoft Excel #
The screenshots below are from Excel for Mac, so your version may look different. The steps are the same.
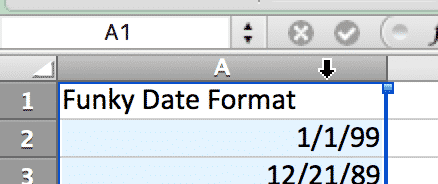
2. Select the date column #
Click the column header to select every cell in the column.
3. Open Format Cells and try the Date category #
Right-click the selection and choose Format Cells, then pick the Date category. If none of its built-in formats match one of the formats listed above, select Custom instead.
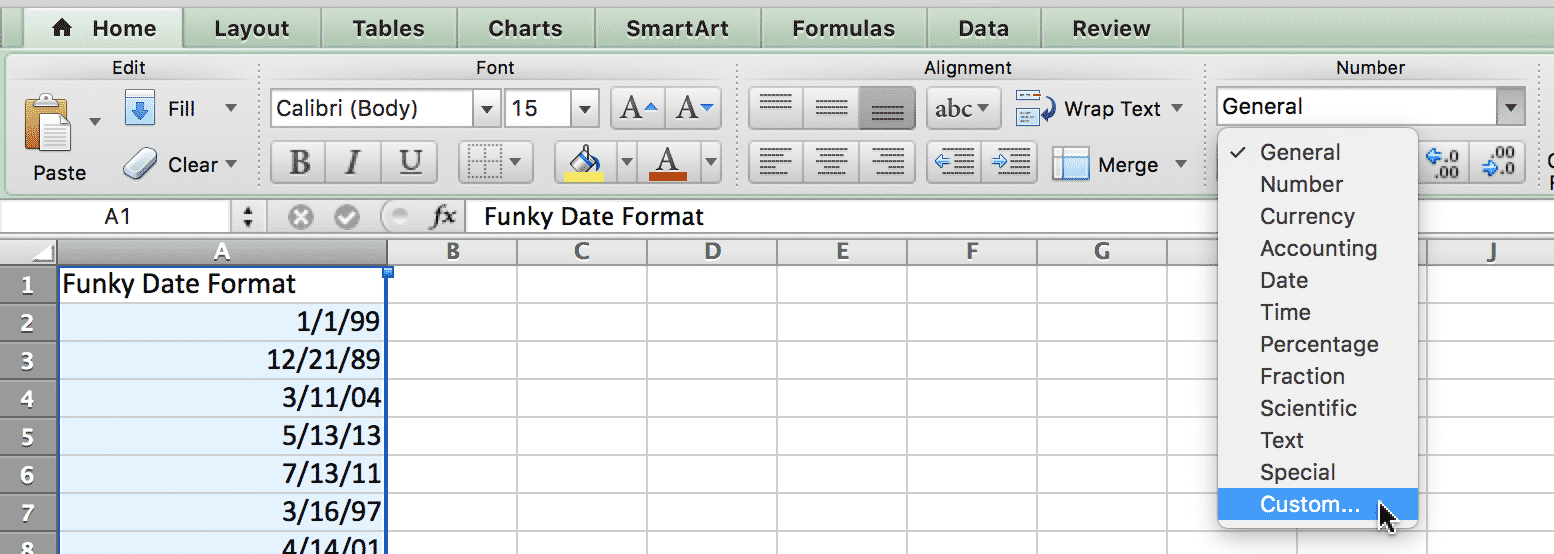
4. Define a custom date format #
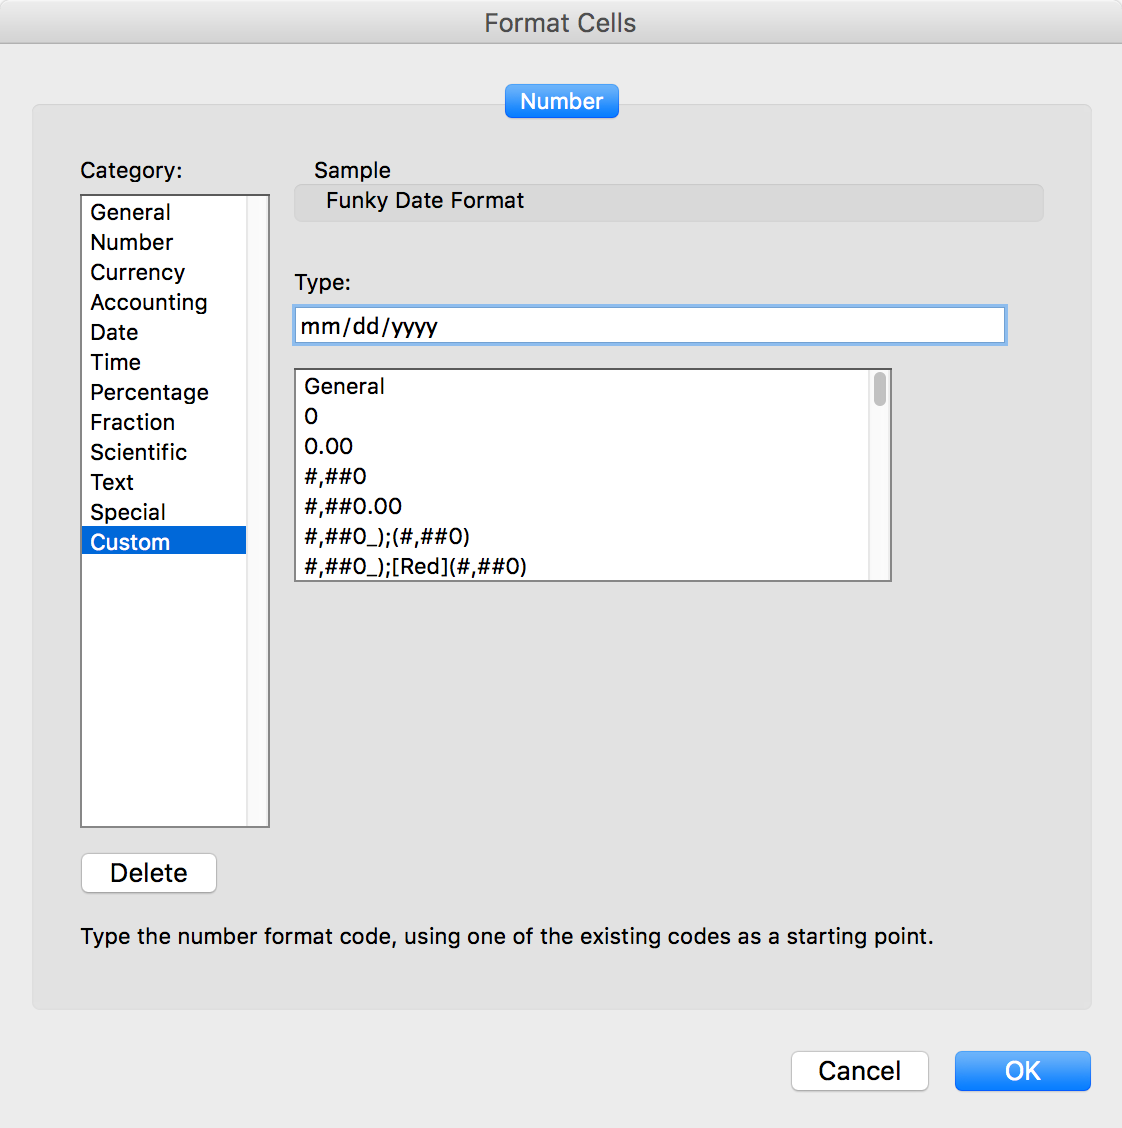
In the Custom category, enter one of the accepted formats into the Type field, for example mm/dd/yyyy. Click OK to apply it to the column.
5. Check the result and export #
The column now shows dates in a format Gravity Forms accepts. Export the file as a CSV (see Exporting a CSV from Microsoft Excel) and run your import.