
Getting started with GravityExport
GravityExport is an add-on for the free GravityExport Lite plugin, so setting it up takes both plugins, a license, and one setting on each form you want to export.
Prefer to watch the video?
1. Install GravityExport Lite #
GravityExport needs GravityExport Lite installed and active. In your WordPress admin, go to Plugins > Add Plugin, search for “GravityExport Lite”, click Install Now, then Activate.

You can also download the ZIP file from the GravityExport Lite page on WordPress.org and upload it under Plugins > Add Plugin > Upload Plugin.
2. Install GravityExport #
Log in to your GravityKit account and open Downloads. Find GravityExport, leave the newest version selected, and click Download to save the ZIP file. Then upload it on your site under Plugins > Add Plugin > Upload Plugin, and activate it.
If another GravityKit plugin is already active on the site, you can install GravityExport from GravityKit > Manage Your Kit instead, as described in Installing, Activating, and Updating GravityKit Plugins.
3. Activate your license #
Go to GravityKit > Manage Your Kit. Click Connect Account to link your GravityKit account, or enter your license key and click Activate License. The license gives you updates and support, and GravityExport needs it to connect to Google Sheets, Dropbox or Box. Managing your licenses has the details.
4. Enable the download URL #
Go to Forms, hover over the form you want to export and click Settings. Open the GravityExport tab and, under Activate GravityExport, click Enable download URL.
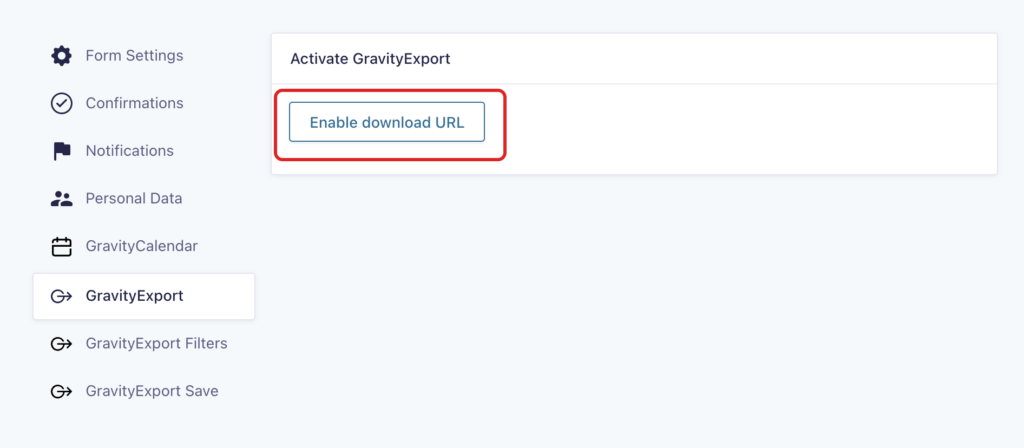
Enabling it creates a download link for the form’s entries, shown at the top of the same tab. The GravityExport Filters and GravityExport Save tabs don’t need it: GravityExport 1.17.0 and newer always list them in the form’s settings. On 1.15 and 1.16, they stay hidden until the download URL is enabled or the form has an active feed of that type.
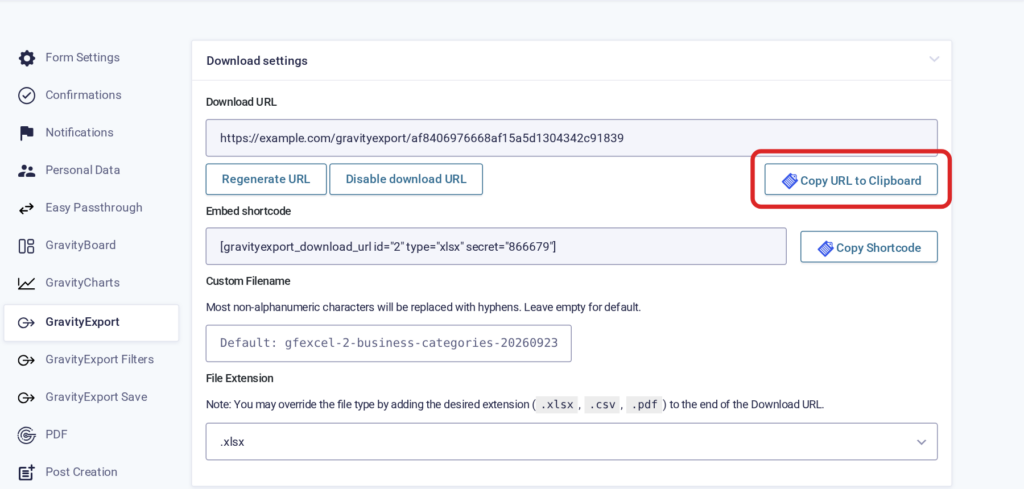
By default, anyone who has the download link can use it. To limit it to logged-in users who can export entries, change Download Permissions on the same tab; see Restricting file access in GravityExport.
5. Set up your exports #
From here, pick what you need:
- Create Filter feeds to export chosen fields and entries
- Schedule automated exports
- Export entries to Google Sheets
- Connect Dropbox
- Connect FTP
- Add a download button to a View

