Published
•
Updated
How to create tables in Gravity Forms (step by step guide)
Three ways to create tables inside Gravity Forms: the List field for variable rows, and two more approaches for structured data collection and improved form UX.
Are you looking for a way to create a table or matrix of fields inside your Gravity Forms? A grid-like input system can help you collect structured data and improve the user experience of your forms!
After nearly five years of building forms and web applications with Gravity Forms, I’ve explored multiple ways to achieve this. In this post, I’ll walk you through three unique solutions that can help you create tables inside your forms—each with its own strengths and ideal use cases.
Let’s dive in!
1. Create a simple table using the “List” field
The “List” field type in Gravity Forms is unique in that it enables the end user to add/remove rows up to a predefined limit. This enables you to collect a variable set of field values per user. In other words, the List field functions similarly to a repeater field.
The List field also supports multiple columns, allowing you to create tables and matrices! This is the “hidden power” of the List field that even some seasoned Gravity Forms users don’t know about.
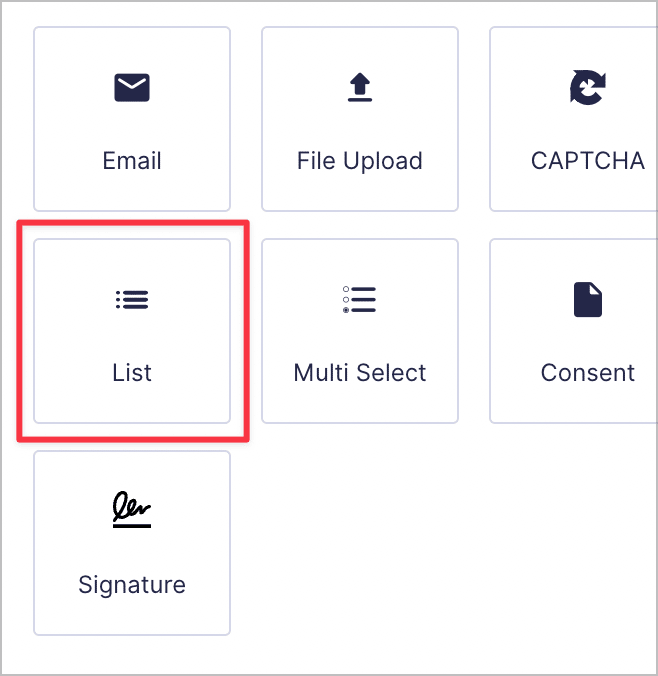
You’ll find the List field under the “Advanced Fields” tab in the Gravity Forms editor.
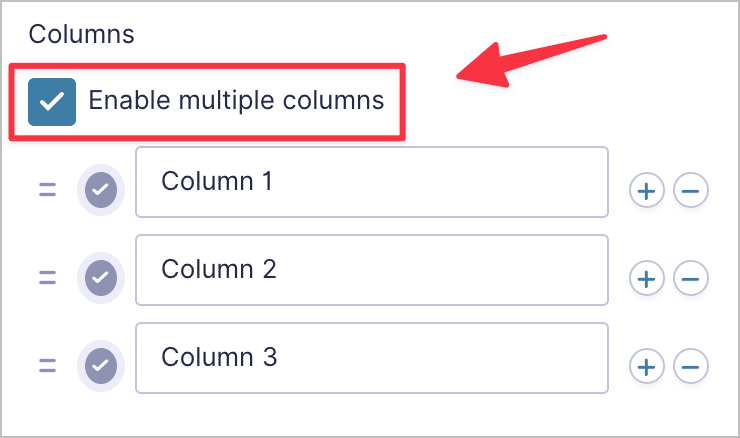
After dragging and dropping the field into your form, enable multiple columns by opening the field settings and checking the box that says “Enable multiple columns”. You can add new columns by clicking the “+” icon and define your column headings using the text inputs.
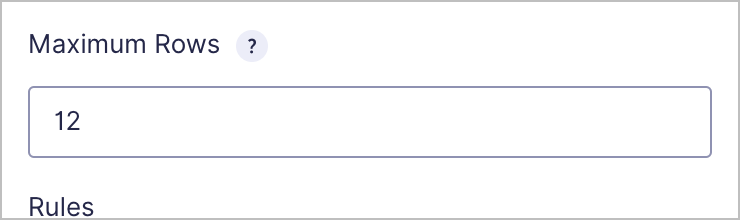
After that, you can also set the maximum number of rows that are allowed. This will limit the number of rows that the user can add when filling out the form on the front end.
Here’s what the List field looks like on the front end with three columns. By clicking on the ‘+’ icon, users can add additional rows.
Here’s what it looks like after adding more rows and filling out the data:

As you can see, enabling multiple columns on the List field allows users to create tables of information! The only downside is that users will always start with a single row—so while you can define the number of columns, you cannot define the number of rows.
Pro tipTo learn more about the List field in Gravity Forms, read this helpful doc.
2. Create a matrix using a “Likert” field
Did you know that you can create a matrix of fields inside your Gravity Forms form using the Survey Add-On? The Survey add-on adds a customizable field to the form editor that supports different input types. Using the “Likert” field type, you can create a grid with a predefined number of rows and columns.
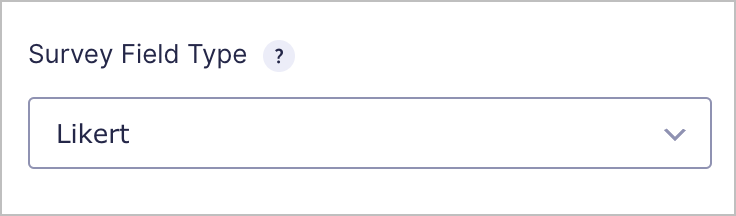
Start off by adding the “Survey” field to your form. Next, open the field settings and select “Likert” as your field type.
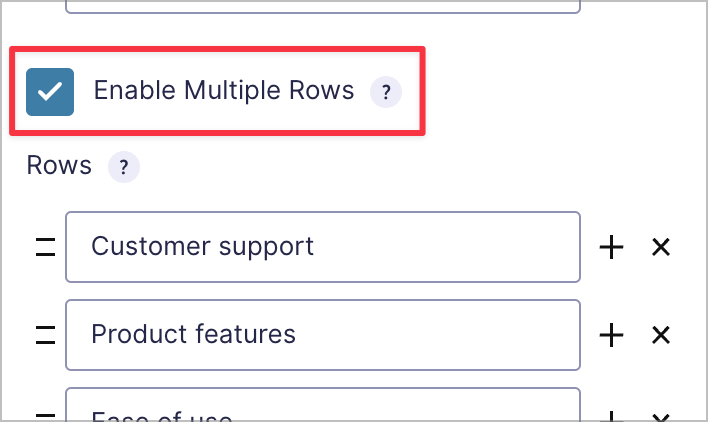
After that, check the box labeled “Enable Multiple Rows”. This allows you to create a matrix with a preset number of rows and columns. Set column names using the text inputs. You can easily add additional rows/columns by clicking the “+” icon. To remove a row or column, click on the “x” icon.
The Likert field is commonly used in surveys to gauge user satisfaction using a rating scale. In this example, I created a 5×5 grid with a rating scale for a fictitious software company.

Using the Likert field, you have full control over the number of rows and columns in the table, but you don’t have control over the field type (i.e., it will always be radio buttons).
Pro tipRead our ultimate guide for everything you need to know about creating and administering surveys in Gravity Forms.
3. Create a grid of fields manually using drag-and-drop
Perhaps the simplest way to create a table or matrix of fields inside a Gravity Forms form is to place different fields next to one another in rows! It’s certainly not the most sophisticated approach, but it works.
After adding a field to the editor, you can hover over it and click on the icon with the six dots to drag and drop it anywhere you like! Using this approach, you can create what ends up looking like a table or a matrix.
Here’s any example where I created a matrix of different field types. To make it look like it’s all one field, you can add a Section break above it with a title and description.
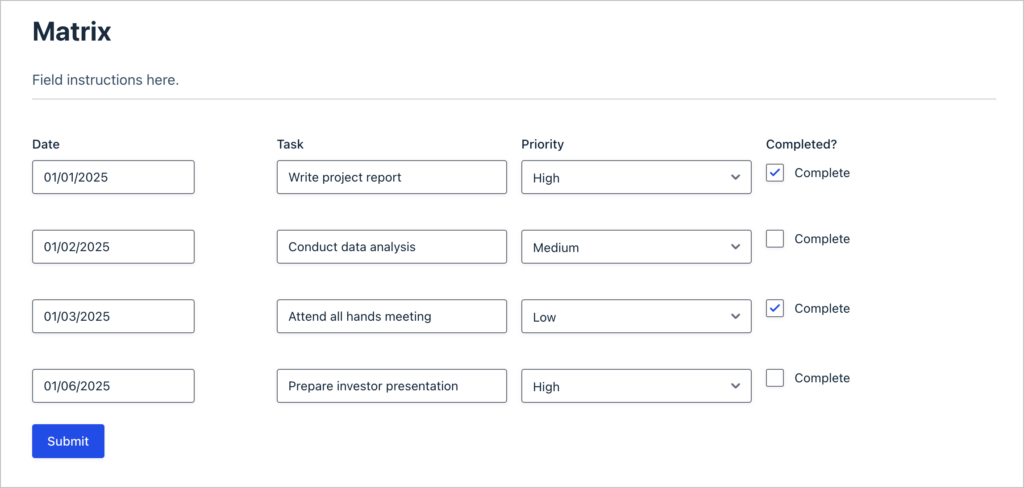
This method is best if you require a table made up of different field types.
4. Use a third-party repeater add-on
The methods above all use native Gravity Forms functionality, but if you need more advanced structured input, like letting users add an unlimited number of sub-entries, then Nested Forms is for you.
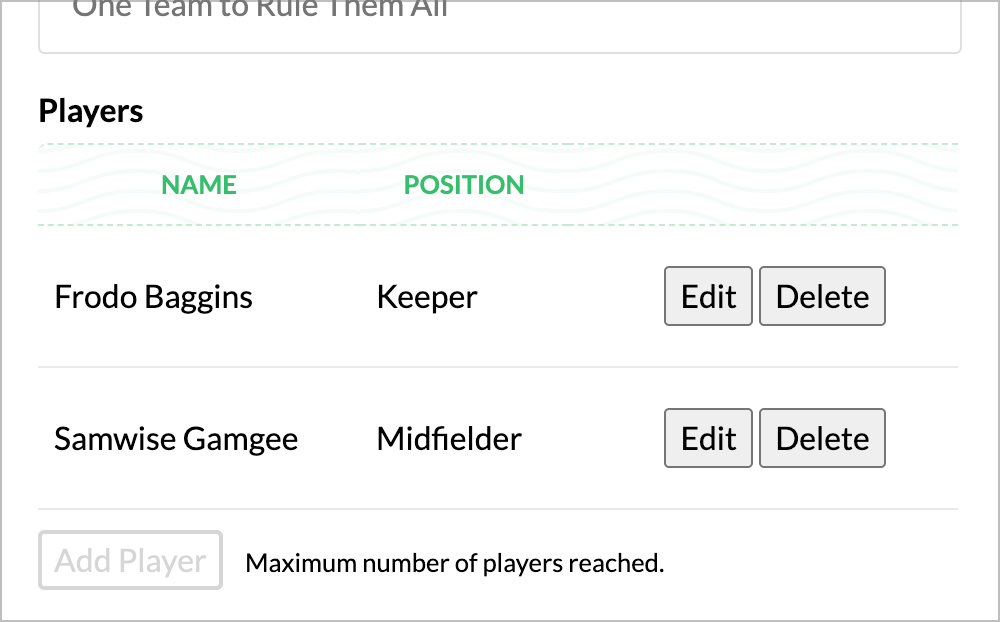
- GP Nested Forms by Gravity Wiz — Lets users add rows of grouped fields dynamically. Each “row” is actually a separate child form, giving you full access to all Gravity Forms field types within each row. This is one of the most popular solutions for complex repeater-style tables.
GP Nested Forms is a great option if the native List field doesn’t give you enough flexibility — for example, if you need date pickers, dropdowns, or file uploads within each row of your table.
Bonus: Display Gravity Forms entries in a table
Managing Gravity Forms entries in a clear, structured way can be difficult, especially when dealing with large datasets. Instead of sifting through a long list of entries, wouldn’t it be easier to view them in a table format? Enter GravityView!
GravityView is an add-on for Gravity Forms that enables you to display submissions on the front-end of your website using different layouts. Creating front end tables of entries is easy using the built-in “Table” or “DataTables” layout options.
Example #1: Issue tracker
Here’s a simple example of an issue tracker using GravityView’s basic table layout. You can see a live demo here.

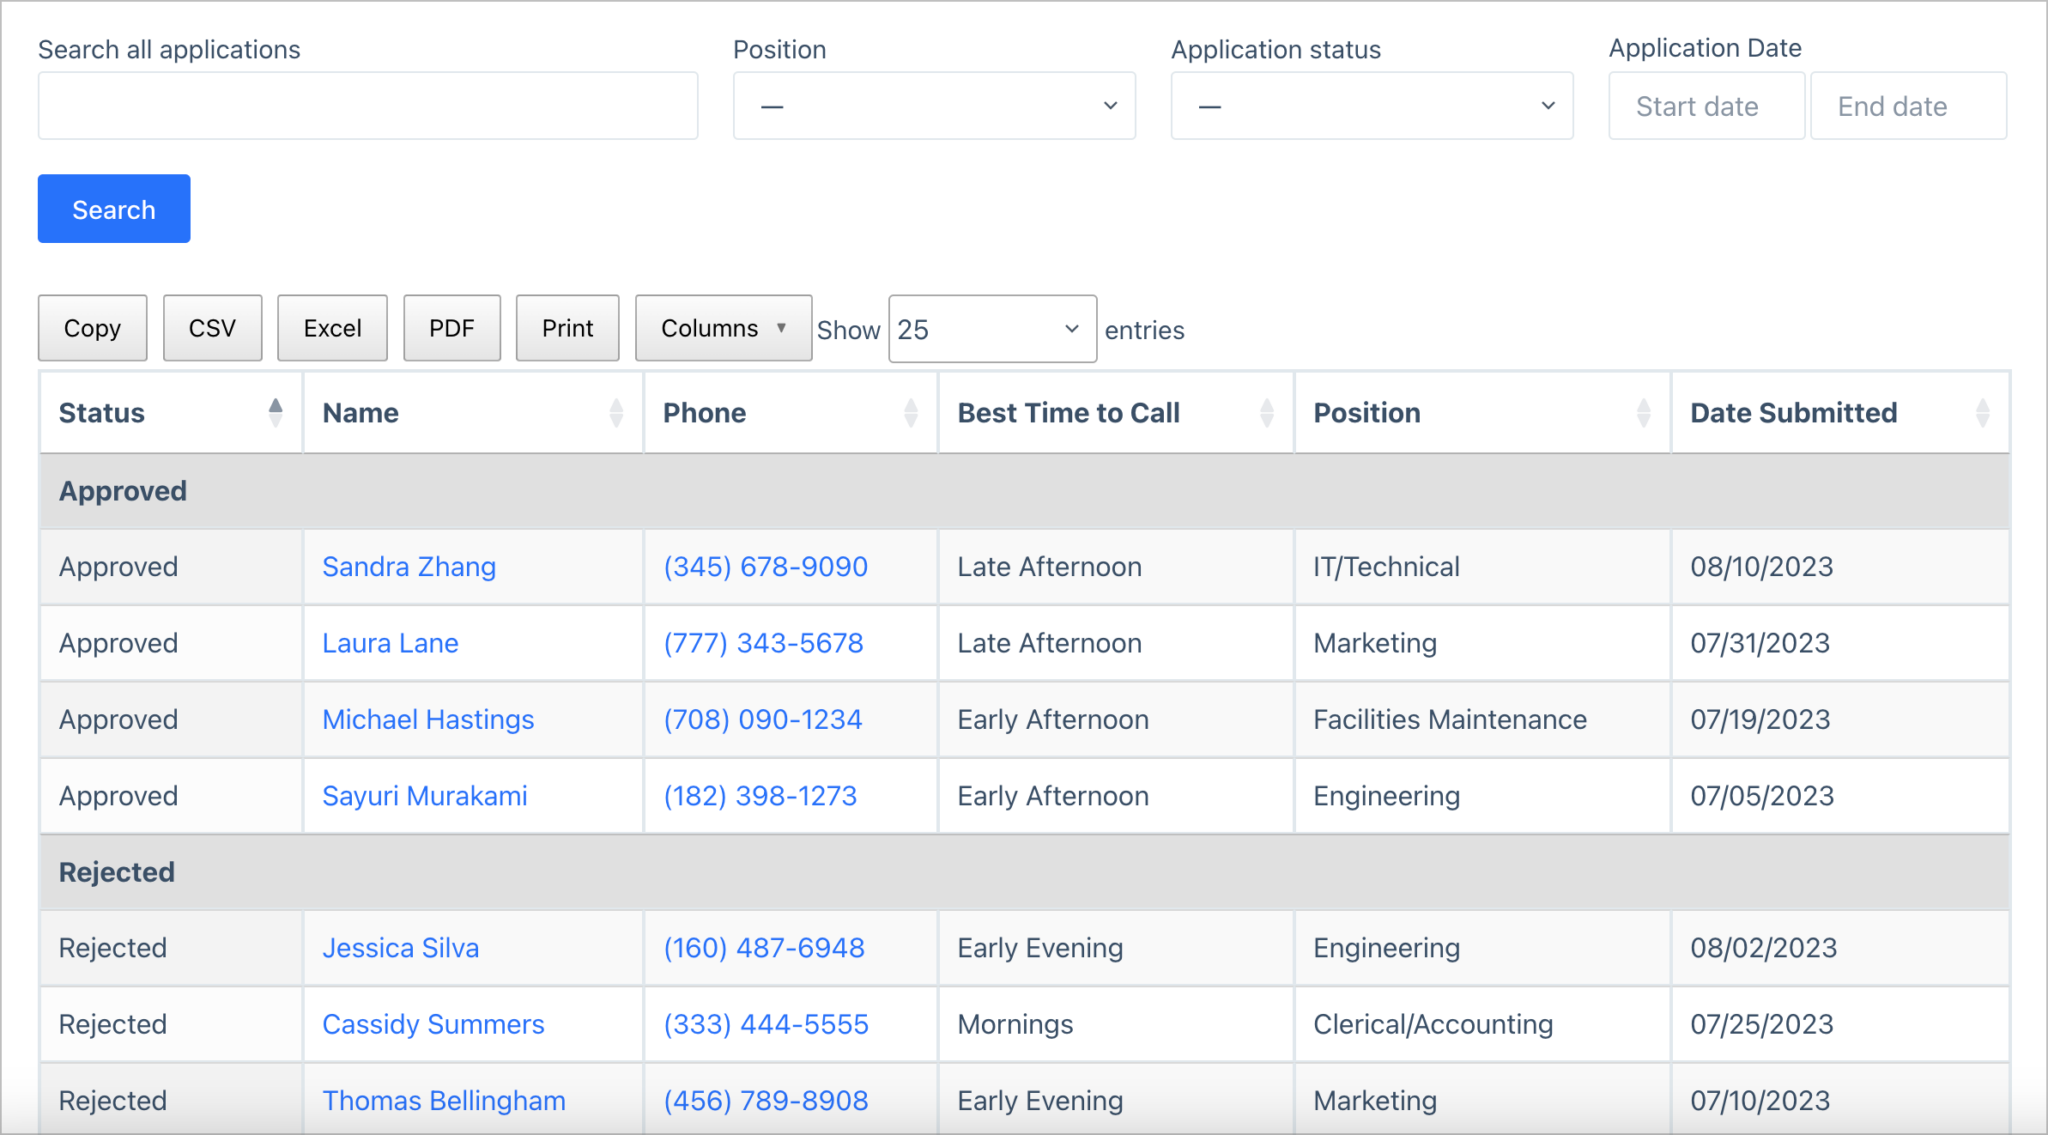
Example #2: Employment applications
Here’s a dashboard for managing employment applications received via Gravity Forms. Check out the live demo here.
So if you’re looking to create tables for managing your Gravity Forms entries, check out GravityView!
Add tables and matrices to your Gravity Forms forms
In this post, I showed you the three methods I use to create tables and matrices in Gravity Forms. While there is no dedicated field type for adding tables to forms, these workarounds can be useful depending on your needs!
While the List field offers a simple approach to creating tables, it doesn’t give you control over the number of rows that are displayed (this can be changed by the user). The Likert field supports tables with a predefined number of rows and columns, but it’s limited to a single field input (radio buttons). For full control over rows, columns and field types, simply construct your form in a grid-like shape using drag-and-drop!
Interested in customizing your forms further? Read our ultimate guide to styling Gravity Forms.

Helpful tips right in your inbox.
Subscribe to get the latest articles, information on releases and helpful Gravity Forms tips!
More articles

Launch Log: Distance sorting for radius searches, DataTables search improvements, and import reliability fixes
The latest GravityKit releases add distance sorting to map searches, bring built-in search to DataTables, and fix GravityCharts and GravityImport edge cases.

WordPress page builder market share 2026: Elementor leads at 32.67%
Elementor reaches 32.7% of WordPress sites. WordPress Block Editor 20.6%, wpBakery 8.5%, Divi 5.7%. Latest HTTP Archive crawl, share-of-WordPress basis throughout.

Launch Log: GravityView 3.0, plus upgrades to Block MCP and GravityKit MCP
GravityView 3.0 lands with the new Vantage theme, frontend bulk actions, and AI-assisted View creation. This launch log also covers updates to GravityKit MCP, Block MCP, and Dashboard Views.