Published
•
Updated
How to migrate from Caldera Forms to Gravity Forms
Caldera Forms reached end of life, making now the ideal time to migrate. This step-by-step guide moves your forms and entries to Gravity Forms without data loss or rebuilding from scratch.
Are you planning to migrate your Caldera Forms to Gravity Forms? Caldera Forms is no longer being supported so now is the perfect time to migrate over to a new, more robust WordPress form plugin.
But moving your forms and form entries over to a new plugin can be a daunting task, especially if you have hundreds (or thousands) of entries! You may feel stuck, not knowing what to do.
Here’s the good news. Migrating your data to Gravity Forms couldn’t be easier. Furthermore, there’s no need to manually rebuild your forms and no risk of losing important data. Sound good? Keep reading to find out more! 👇
Wanna try it?
Spin up a demo
See GravityImport in action on its live demo site.

What is Caldera Forms?
Caldera Forms is a free WordPress plugin that allows you to create responsive forms using a drag and drop editor. The plugin was built for ease of use and includes a range of user-friendly add-ons for both WordPress beginners and web developers alike.
Why migrate from Caldera Forms to Gravity Forms?
Early in 2021, Saturday Drive (the company that acquired Caldera Forms) announced that the plugin would be sunset/retired at the end of the year. The plugin has over 200,000 active installs, meaning there are now thousands of Caldera Forms users looking for a new web form solution.
Although there are several contact form plugins for WordPress, the best alternative to Caldera Forms is Gravity Forms! Not only does Gravity Forms include a drag and drop visual form builder, but it also comes with a host of other powerful features. This includes AJAX submit, conditional logic, accessibility features, and more.
Gravity Forms also supports a wide range of add-ons, allowing you to integrate your forms with email marketing platforms, CRMs, and many other third-party applications. This makes it easy to grow your user base and build an email list.
Caldera Forms vs Gravity Forms
Gravity Forms was one of the very first premium WordPress form plugins. Gravity Forms is known for its intuitive drag and drop editor and advanced accessibility features. Gravity Forms is supported by a passionate team that continually strives to push the boundaries when it comes to WordPress form functionality.
Apart from the many add-ons offered by Gravity Forms themselves, there are 7 certified developers that maintain various premium add-ons for extending and enhancing Gravity Forms.
Caldera Forms is a WordPress form plugin with an extensive “free” option that includes features like conditional logic and multi-page forms. While the Caldera Forms drag and drop form builder doesn’t come close to rivaling that of Gravity Forms, it still gets the job done! Caldera Forms also comes with a variety of templates, allowing you to get a new form up and running in no time.
While Caldera Forms is being retired at the end of 2021, Gravity Forms remains #1 when it comes to WordPress form plugins 🚀
1. Export your entries from Caldera Forms
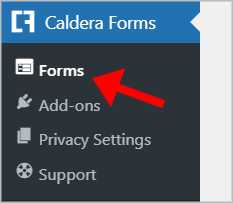
The first step of the form migration process is to export your form entries from Caldera Forms. To do this, hover over Caldera Forms in your menu admin menu and click Forms.
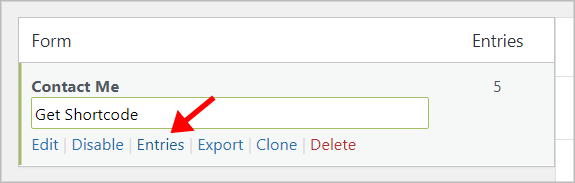
Next, hover over your form and click on the Entries link.
On the right, you’ll see a list of all your form entries. To export your form entries, click the green button that says “Export All”. Alternatively, select the entries you want to export, click on the Bulk Actions dropdown menu, and select Export Selected
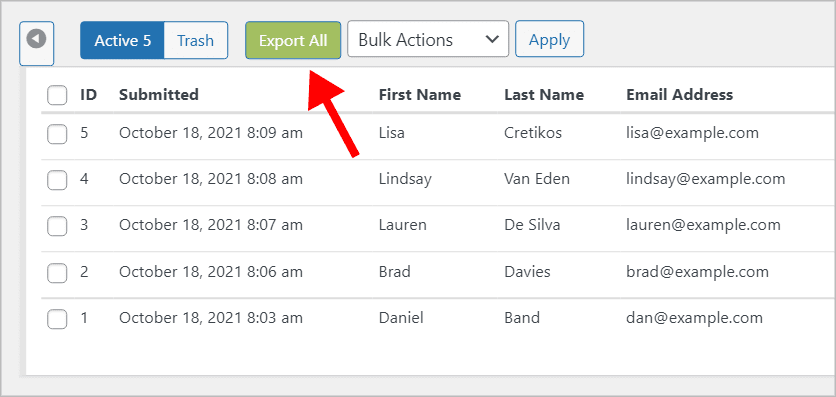
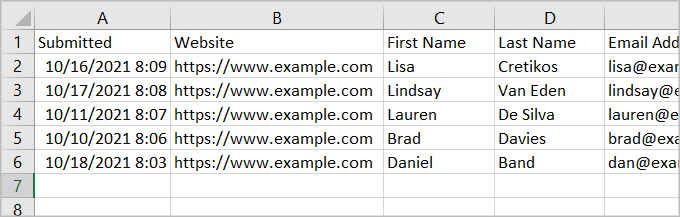
Your form entries will now download to your computer as a single CSV file. Each field in your form will be represented by a column in the CSV file.
After downloading your form entries, be sure to save the CSV somewhere you’ll remember and move on to the next step.
2. Install GravityImport
The GravityImport add-on for Gravity Forms allows you to import entry data from a CSV file. You can import entries to an existing form in Gravity Forms, or allow the plugin to create a new one for you during the import process.
GravityImport makes it easy to migrate form data from other form plugins (like Fluent Forms, Contact Form 7, or Ninja Forms) to Gravity Forms.
To install GravityImport, you’ll need to first purchase a plugin license from our website. After that, head over to your Account page and download the plugin ZIP file. Finally, log in to your WordPress site, go to the Plugins page, and upload the plugin file.
When GravityImport has finished installing, click Activate. Now you’re ready to move on to the next step!
3. Import your CSV file to Gravity Forms
Now that you’ve installed GravityImport, you can import the CSV containing your Caldera Forms entries to Gravity Forms. To do this, ensure that you have Gravity Forms installed, then hover over Forms and click Import/Export.
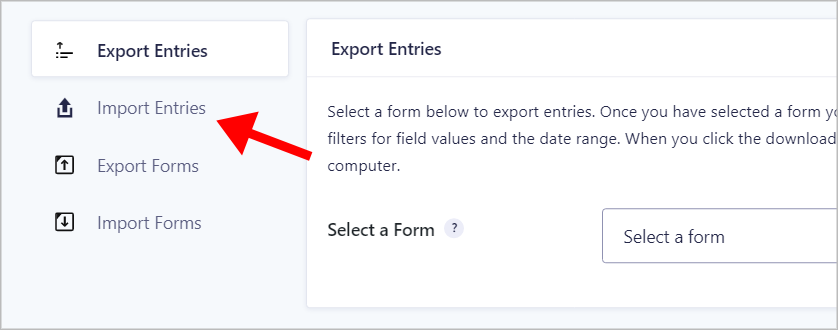
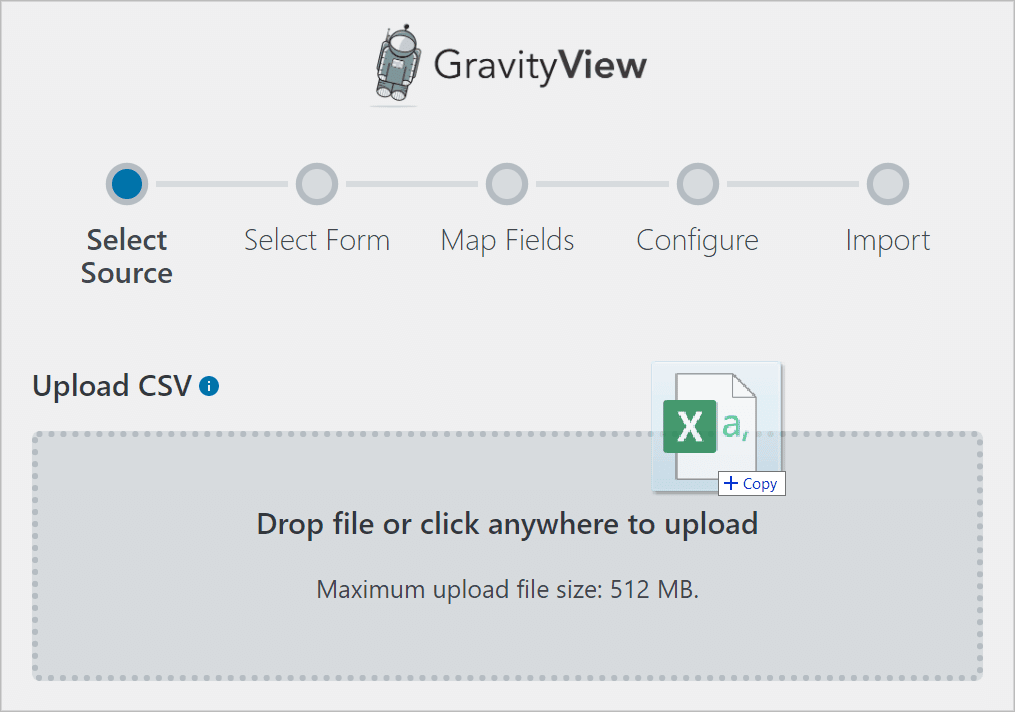
Next, click on the tab that says “Import Entries”. Now drag and drop your CSV file into the box to upload it using the entry importer.
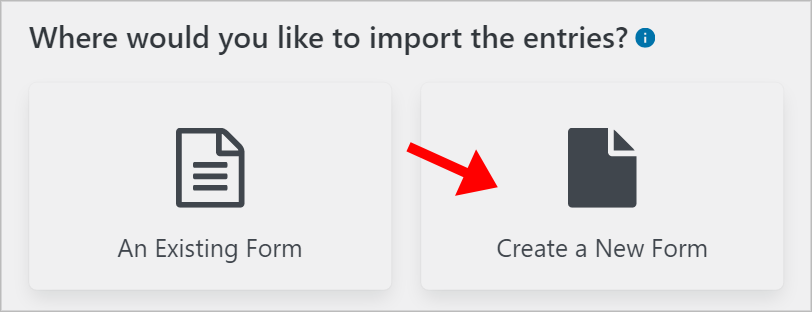
After uploading your CSV file, you’ll need to choose whether to import your entries to an existing form or create a new form. Select Create a New Form and give your new form a name.
When you’re done, move on to the next step by clicking Continue With Import.
4. Map your fields
The next step of the import process is to map the columns in your CSV file to the correct field types in Gravity Forms. The importer will automatically detect the different data types in your CSV attempt to map them to the correct fields in Gravity Forms. However, sometimes you’ll need to manually update the field type by clicking on the FIELD TYPE dropdown and selecting a new field type.
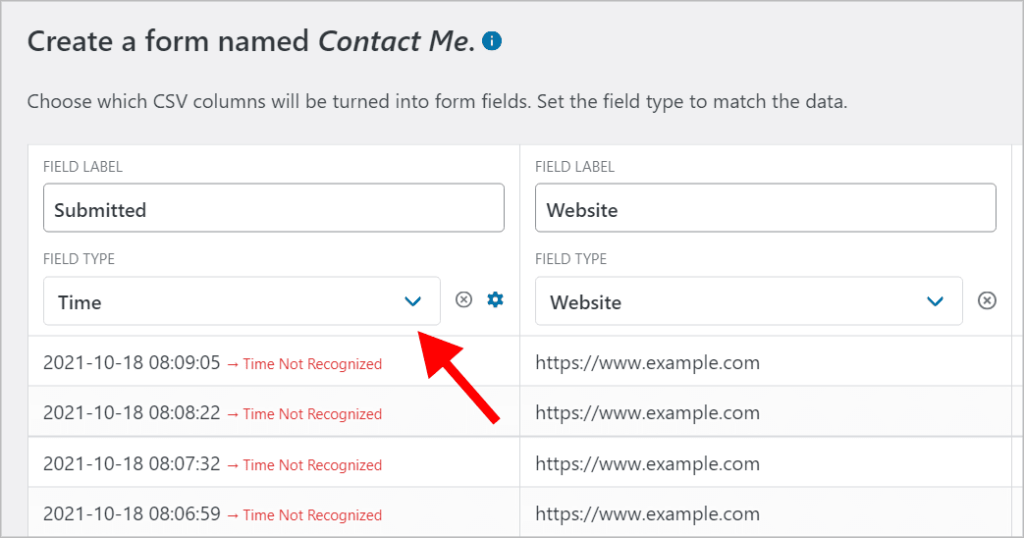
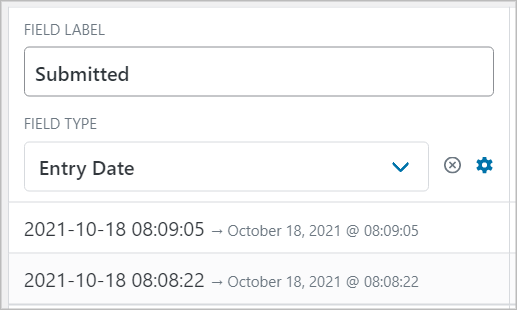
As you can see, the importer is trying to map the “Submitted” column to a Time field, which is not correct because the field contains a date and a time. To change this, we’ll simply click on the FIELD TYPE dropdown and select the Entry Date field under Entry Properties.
When you’re finished mapping your fields, scroll down and click Continue With Import.
5. Configure the import options
We’re almost done! The final step of the import process is to configure the import options. Here you’ll see the following three options:
- Continue Processing If Errors Occur
Enabling this option will ensure that the import continues even if errors are found.
- Conditional Import
Enabling this option will open the conditional logic settings, allowing you to import entries only if they match certain parameters.
- Email Notifications
Enabling email notifications will ensure that email notifications are sent as usual when new entries are added. If you’re importing a large number of entries, you may want to leave this option disabled, otherwise, you may risk overloading your inbox!
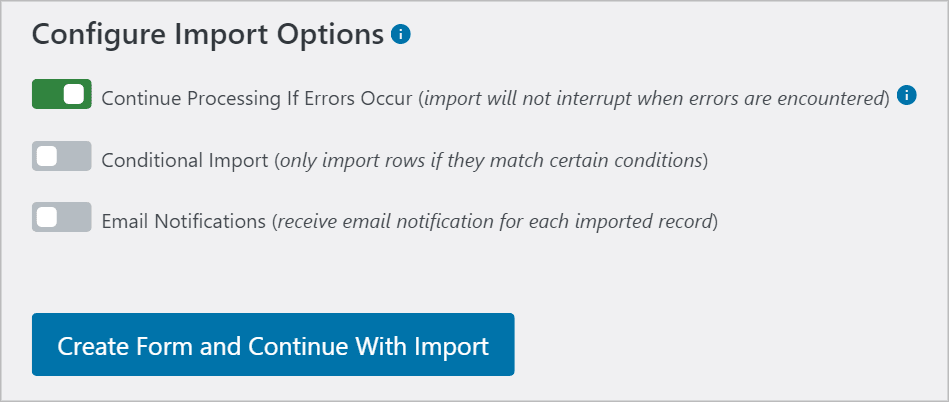
When you’re done, click Create Form and Continue With Import. GravityImport will now import your Caldera Forms entries and create a new form for you in Gravity Forms 😎
6. Replace your Caldera Form with your new Gravity Form
The final step of the migration process is to replace your own Caldera Form with your newly created Gravity Form!
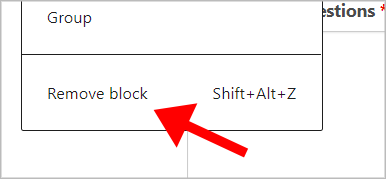
Head over to the page/post where your Caldera Form is displayed and delete the Caldera Form block. You can do this by clicking on the three dots and selecting Remove block.
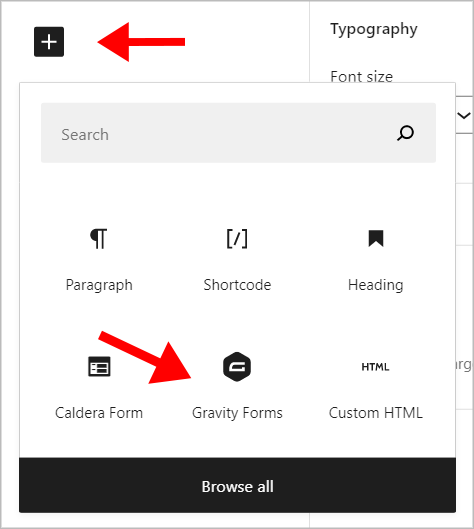
Now click on the ‘+’ icon and add a Gravity Forms block to your page.
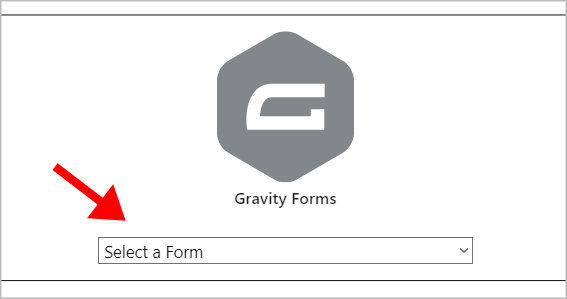
After adding the block, select your new form from the dropdown menu.
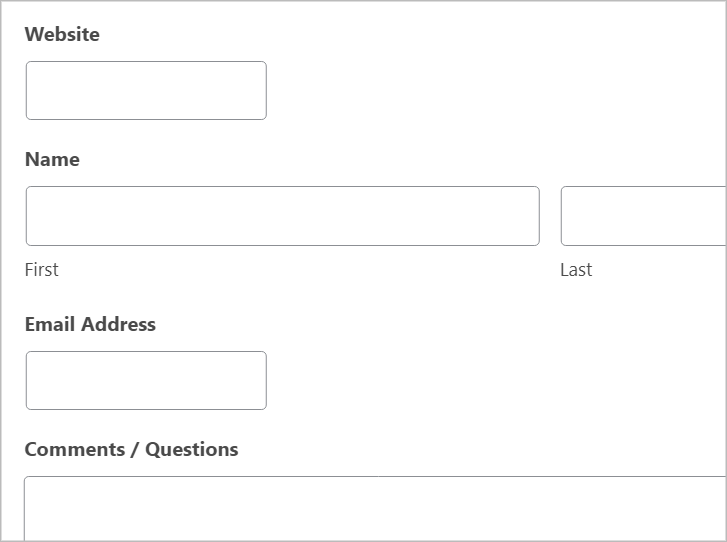
After selecting your form, you’ll see a preview of your form load inside the block editor.
When you’re done, save your page by clicking Update. That’s it! You have successfully migrated your form (and the entries attached to it) from Caldera Forms to Gravity Forms!
Are you ready to migrate your Caldera Forms to Gravity Forms?
Caldera Forms is a free contact form plugin for WordPress with over 200,000 active installs! The plugin was acquired by Saturday Drive in 2019 and now they’ve decided to sunset/retire the Caldera Forms plugin at the end of 2021.
In this post, we showed you how to migrate your Caldera Forms to Gravity Forms in 6 simple steps. First, you need to export your entry data from Caldera Forms to a CSV file and then you can import it to Gravity Forms using the GravityImport plugin.
GravityImport will guide you through the import process and automatically create a new form for you in Gravity Forms which means there’s almost no manual work involved! So what are you waiting for? Get GravityImport and start migrating your form data today!

Helpful tips right in your inbox.
Subscribe to get the latest articles, information on releases and helpful Gravity Forms tips!
More articles

Launch Log: Row headers for screen readers, smarter conditional logic, and multi-View fixes
GravityView 3.1 adds row headers for screen readers, plus smarter conditional logic in GravityCalendar and fixes for DataTables, Maps, and Dynamic Lookup.

Ecommerce platform market share 2026: WooCommerce leads the web, Shopify leads the top tier
Ecommerce platform market share in 2026, from HTTP Archive data. WooCommerce leads the whole web at 6.64%, but Shopify already leads the top 1M sites.

Launch Log: 3D map enhancements, smarter filtering, and improved performance on large data sets
GravityKit’s July 9 launch log: 3D map starting views and viewport loading, searchable field-to-field filtering, and fixes across DataTables and more.