Published
•
Updated
How to migrate from Formidable Forms to Gravity Forms in 5 simple steps
Migrate from Formidable Forms to Gravity Forms in 5 steps using GravityImport. Export your entry data as a CSV, then let GravityImport import it and rebuild your forms automatically.

In this post, we’ll show you the easiest way to migrate from Formidable Forms to Gravity Forms!
Using the powerful GravityImport plugin, you can export your entry data from Formidable Forms, and then import it to Gravity Forms. And the best part? GravityImport will rebuild your forms automatically!
We’ll walk you through the process, step by step.
Wanna try it?
Spin up a demo
See GravityImport in action on its live demo site.

What you’ll need
To migrate from Formidable Forms to Gravity Forms, you’ll need the GravityImport add-on for Gravity Forms. This powerful add-on enables you to import form submissions from a CSV file to Gravity Forms and automatically create new forms in the process.
Can you export forms from Formidable Forms and import them into Gravity Forms?
Let’s be clear, there’s no direct way to share data between these two plugins. This means that you can’t export forms from Formidable Forms and transfer them directly to Gravity Forms. However, you can export your form entries and import them to Gravity Forms using GravityImport. Moreover, GravityImport will automatically rebuld your forms for you during the import process!
This works well for standard forms, but any conditional logic or calculations you had configured on your old Formidable Forms will be lost. Regardless, GravityImport is bound to save you plenty of time and effort! Get started by following the steps below.
Reasons to migrate from Formidable Forms to Gravity Forms
Forms are one of the most important aspects of any website as they provide a bridge between a business and its users. When choosing a WordPress form plugin, it’s important to choose one that’s reliable, flexible, and accessible.
Gravity Forms and Formidable Forms tick all of these boxes and more. However, Gravity Forms has some powerful features that make it the undisputed champion among WordPress form plugins. Here are three reasons why you may consider migrating from Formidable Forms to Gravity Forms.
Powerful add-ons
Did you know that there’s an entire ecosystem of plugins and extensions that add functionality to Gravity Forms? You can connect Gravity Forms to a range of third-party applications, including:
- Email service providers (such as Aweber and Constant Contact)
- Customer Relationship Management (CRM) platforms (like Hubspot)
- Payment processors (like PayPal and Stripe)
- …and more!
Furthermore, there are 7 Gravity Forms certified developer partners (including GravityKit!) that build and maintain a range of impressive third-party add-ons, allowing you to do even more with Gravity Forms.
Ease of use
Gravity Forms’ intuitive drag-and-drop form builder makes it easy to create any kind of form. This includes job application form, member registration forms, insurance calculator forms, and everything in between.
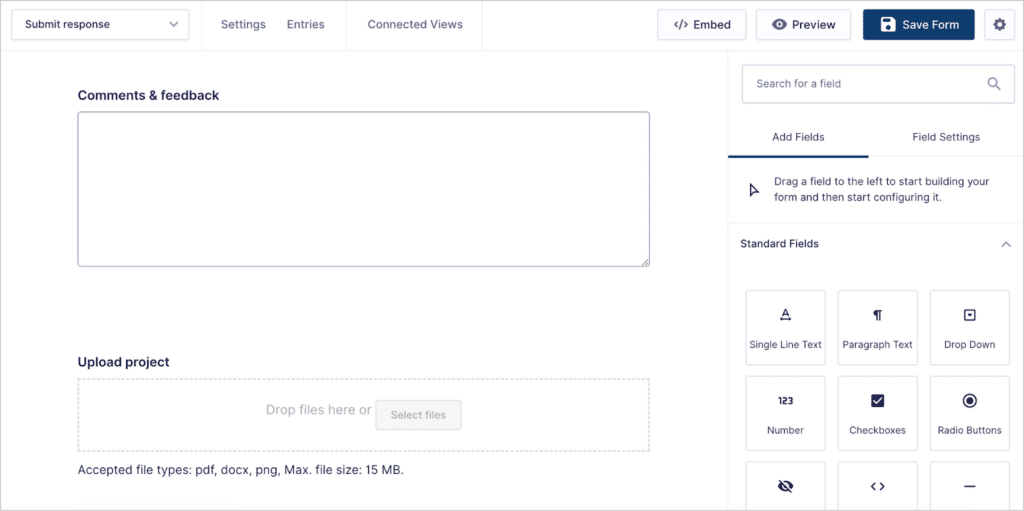
There is a wide range of field types and settings to choose from, all neatly organized on the right side of the page.
Accessibility
Gravity Forms is, without a doubt, the leader when it comes to web form accessibility for WordPress.
Web form accessibility refers to making forms usable by people with physical, visual, or cognitive impairments. Failing to adhere to accessibility best practices can result in a poor user experience and lost traffic.
Gravity Forms contains a range of in-built accessibility features, including:
- Robust HTML markup
- Warning messages about accessibility issues in the WordPress Admin
- Enhanced screen reader feedback for users with visual impairments
- Improved keyboard navigation for those who can’t use a mouse
Now that you know why you should move from Formidable Forms to Gravity Forms, here’s how to do it!
1. Export your Formidable Forms entries to CSV
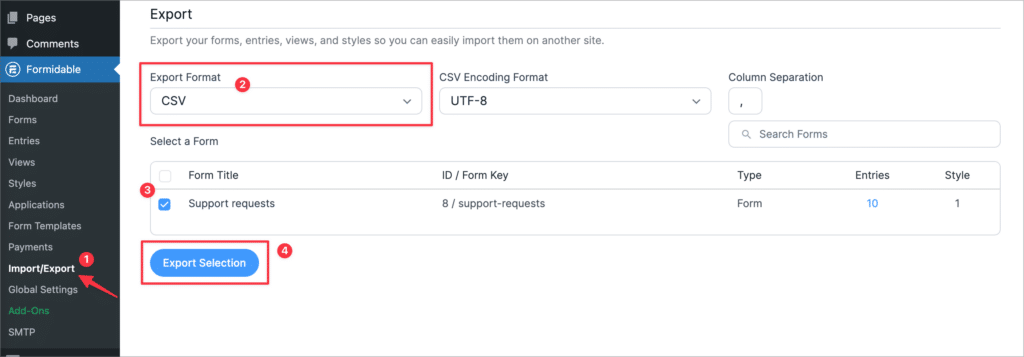
The first step is to export your Formidable Forms submissions to a CSV file. To do this, log in to your WordPress website, hover over “Formidable” in the sidebar, and click “Import/Export”.
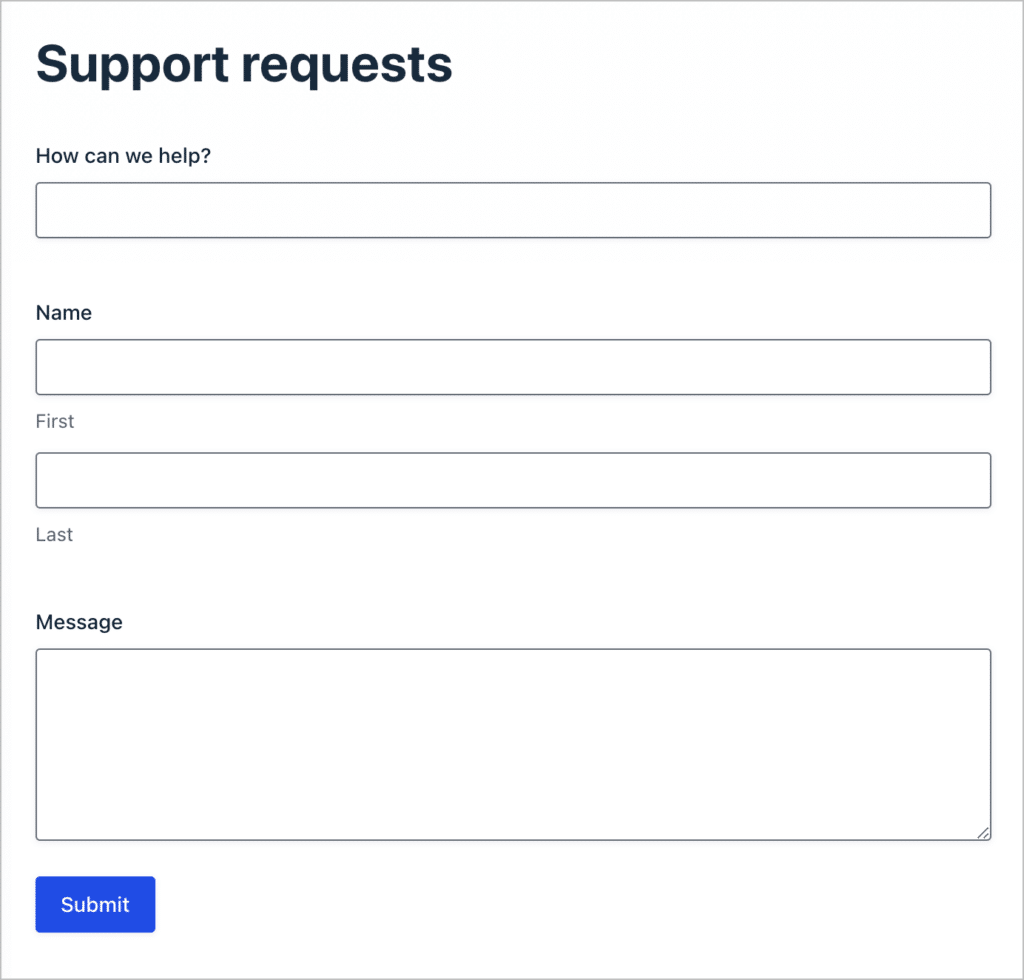
Scroll down to “Export” and change the export format to CSV. Next, select your form from the list (in this example, we’re exporting entries from the “Support requests” form) and click the “Export Selection” button.
Your entries will now download to your computer as a CSV file. After download your entries, make sure to save the CSV file somewhere that you’ll remember.
2. Install GravityImport
Gravity Forms does not have a built-in import feature. That’s why you’ll need to install our add-on, GravityImport. The plugin enables you to import data into Gravity Forms from a CSV file without restrictions!
Follow these steps to install and activate GravityImport on your website:
- Download the plugin file: Purchase GravityImport from our website and download the plugin ZIP file from your account page.
- Upload and install: In your WordPress dashboard, go to “Plugins,” then select “Add New,” and click on “Upload Plugin.” Choose the GravityImport file from your computer and click “Install Now.”
- Activate: After the installation is complete, click “Activate” to enable GravityImport on your WordPress site.
That’s it! When you’re done, move on to the next step.
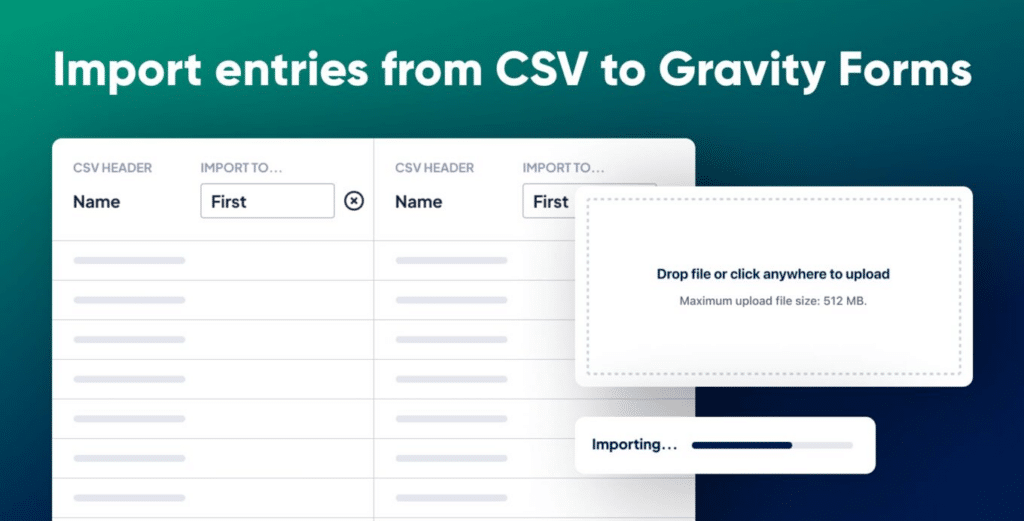
3. Import your Formidable Forms entries to Gravity Forms
The next step is to import your Formidable Forms entries to Gravity Forms using the GravityImport.
First, hover over “Forms” in your WordPress menu and click on “Import/Export”. Next, click on the “Import Entries” tabon the left.
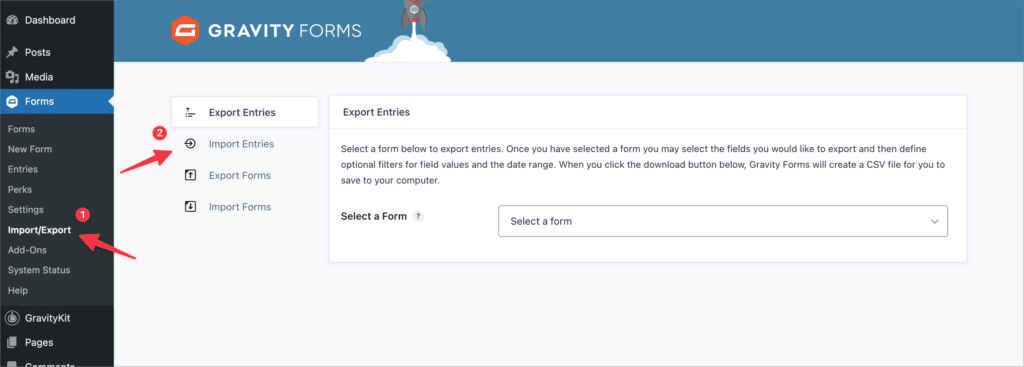
Now you can drag and drop the CSV file containing your Formidable Forms entries to upload it.
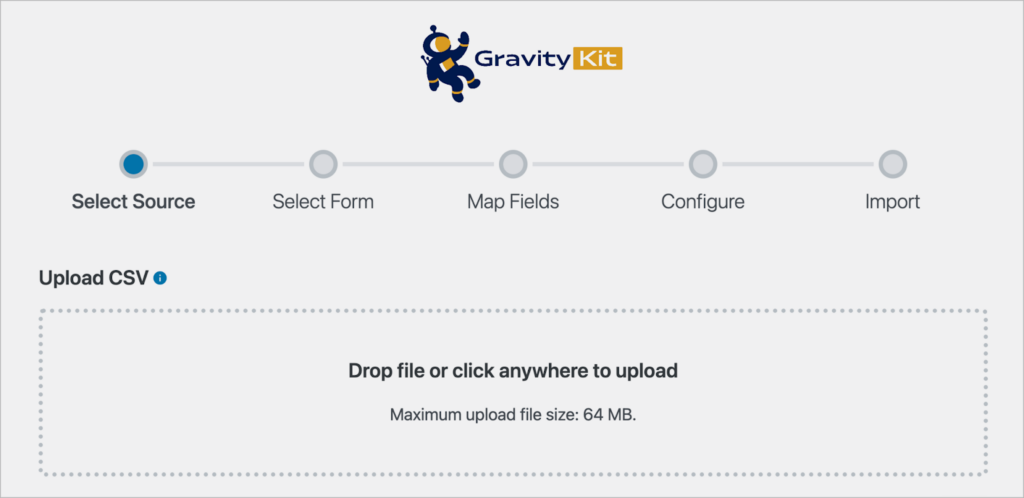
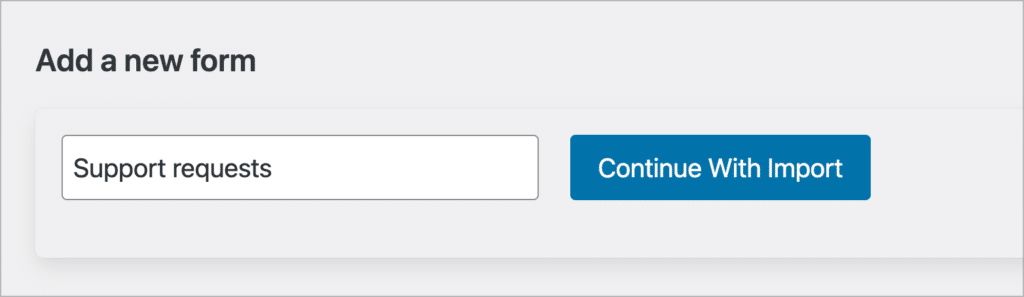
After your CSV file has finished uploading, you’ll need to decide where to import the entries. You can either choose an existing form, or create a brand new form. If you want GravityImport to create a new form for your based on the data in your file, click “Create a New Form”.

Finally, give your form a name and click “Continue With Import”.
The next step is to map the data in your CSV file to the correct field types in Gravity Forms.
4. Map your CSV columns to Gravity Forms fields
The next step is to map your fields. The Importer will detect the different field types in your CSV and assign them to a field in Gravity Forms. But if you want to override this, simply select a different field type from the dropdown menu.
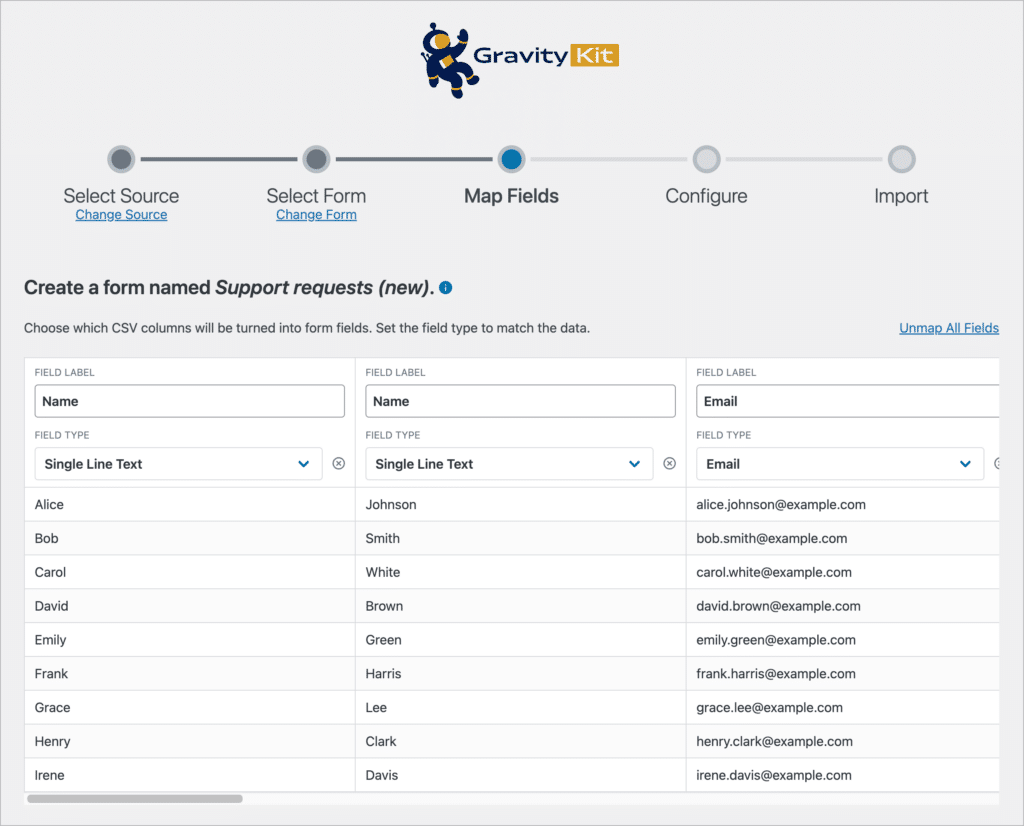
You may see some fields here that weren’t in your form. That’s because Formidable Forms includes meta data in the exported CSV file. If you don’t want to import this data, you can ignore it by clicking on the ‘x’ icon.

When you’re done click “Continue With Import”.
5. Configure the import options
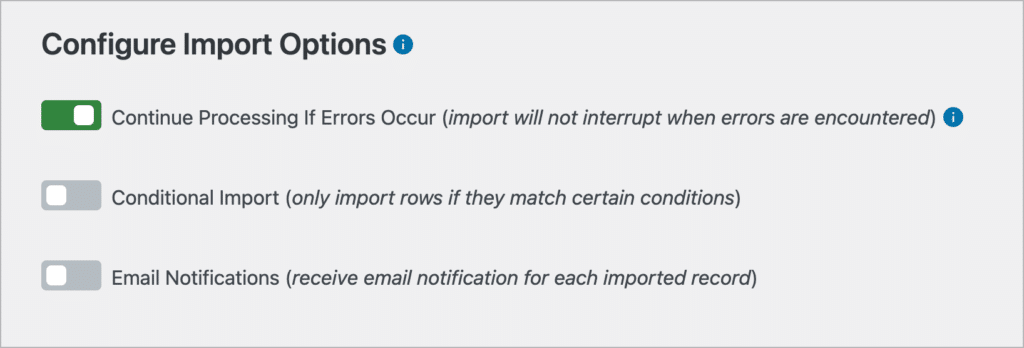
After mapping your fields, you’ll need to configure the import options. The different options are:
- Continue Processing If Errors Occur
Turn this on to ensure the import continues even if errors arise. - Conditional Import
This allows you to use conditional logic to only import certain entries based on parameters that you set. - Email Notifications
Turn this on to ensure that email notifications are sent for each imported entry.
When you’re done, click “Create Form and Continue With Import”. The importer will now create a new form in Gravity Forms and import all of your entries to that form.
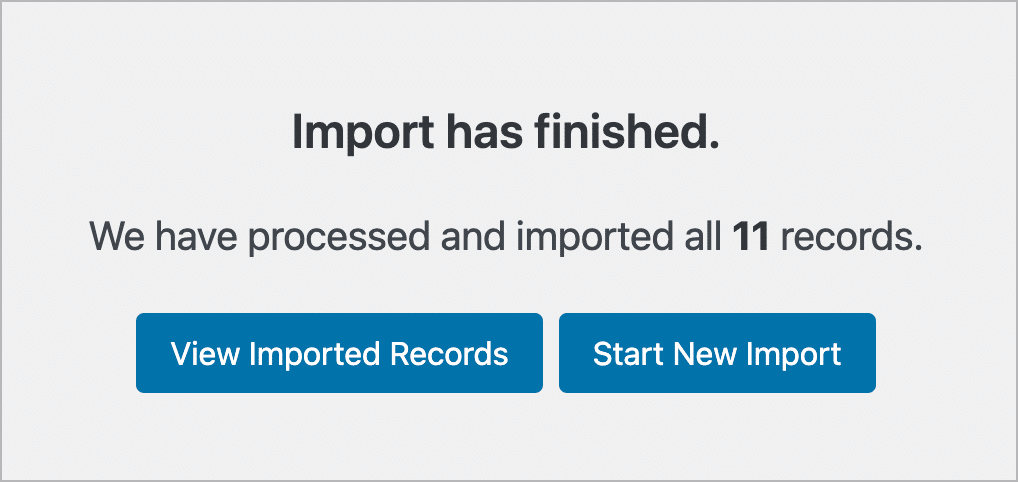
You can now click on “View Imported Records” to see your entries in Gravity Forms.
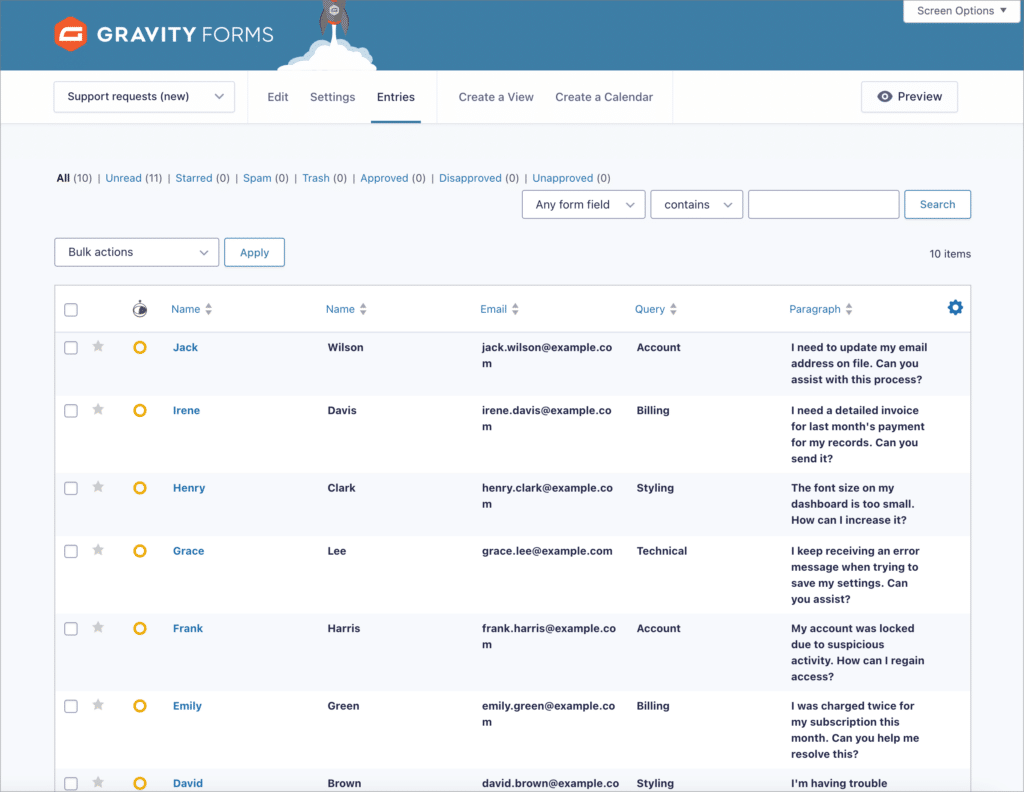
That’s it! You’ve successfully imported your Formidable Forms entries to Gravity Forms while creating a brand new form in the process.
Optional: Embed your new Gravity Form on a page
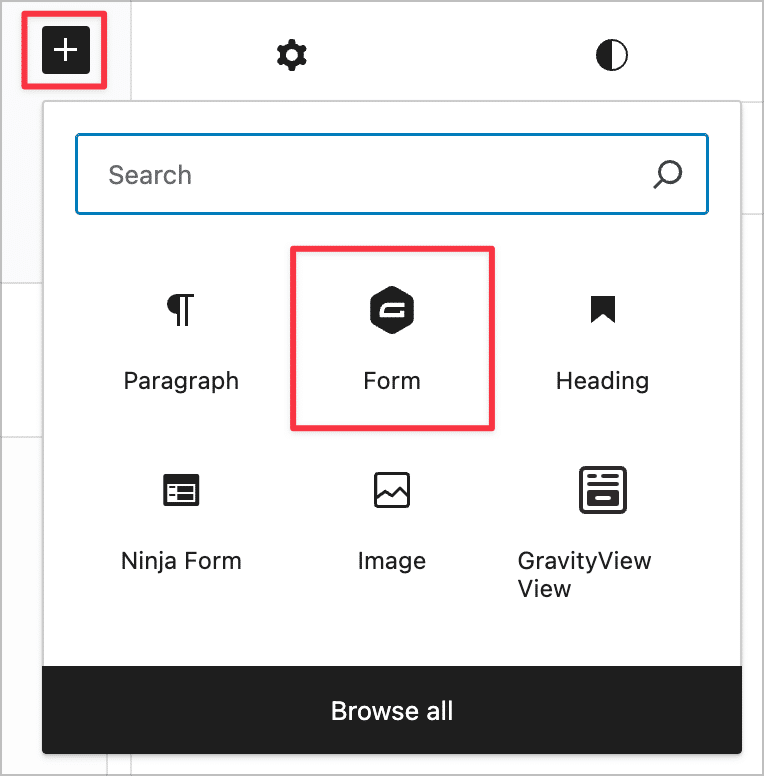
After migrating your entries to a new Gravity Form, you may want to embed this form somewhere on your website! To do this, edit the page or post where you want to add the form, open the WordPress block picker, and select the “Form” block.
After adding the block to your page/post, select which form you want to embed from the dropdown field. You can also choose a form theme (this dictates how your form is styled on the front end!).
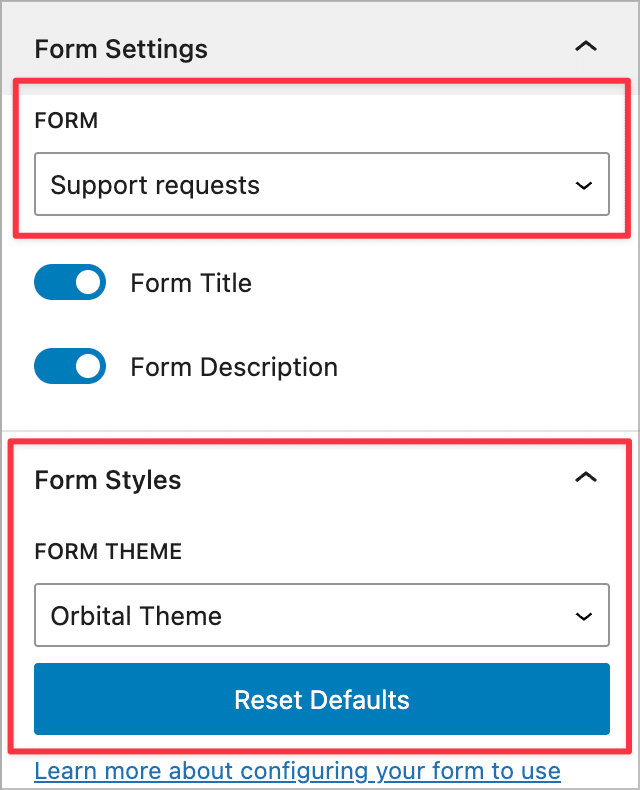
After configuring the block settings, save the page and check out your new form on the front end:
Importing Formidable Forms entries into Gravity Forms: Final thoughts
Gravity Forms contains a range of powerful features, making it the leading form plugin for WordPress. In this post, we showed you how to use the GravityImport plugin to move your form entries from Formidable Forms to Gravity Forms.
GravityImport is an add-on for Gravity Forms that allows you to import entries from a CSV file and automatically create new forms during the process. To learn more about migrating form entries to Gravity Forms, check out how to migrate from Caldera Forms to Gravity Forms next.

Helpful tips right in your inbox.
Subscribe to get the latest articles, information on releases and helpful Gravity Forms tips!
More articles

Launch Log: Row headers for screen readers, smarter conditional logic, and multi-View fixes
GravityView 3.1 adds row headers for screen readers, plus smarter conditional logic in GravityCalendar and fixes for DataTables, Maps, and Dynamic Lookup.

Ecommerce platform market share 2026: WooCommerce leads the web, Shopify leads the top tier
Ecommerce platform market share in 2026, from HTTP Archive data. WooCommerce leads the whole web at 6.64%, but Shopify already leads the top 1M sites.

Launch Log: 3D map enhancements, smarter filtering, and improved performance on large data sets
GravityKit’s July 9 launch log: 3D map starting views and viewport loading, searchable field-to-field filtering, and fixes across DataTables and more.