Published
•
Updated
How to create a job application form on WordPress (complete guide 2024)
Build a customizable job application form on WordPress using Gravity Forms. Collect applications, manage candidates, and embed the form on any page without code.
Planning to hire new employees? Need to create a job application form for your WordPress website?
In this post, we’ll show you how to create a customizable job application form that you can embed on your website. We’ll also show you how to manage job applications, making it easier for you to shortlist promising candidates.
Let’s get started!
Wanna try it?
Spin up a demo
See live job applications managed with GravityView — explore the demo.

What you’ll need
Default WordPress does not include a way to create forms. For this functionality, you’ll need to install a form builder plugin.
Our recommendation is Gravity Forms as it’s the most powerful form plugin out there! Not only is it easy to use (thanks to its drag-and-drop editor), it also offers advanced data management capabilities, and a range of powerful add-ons.
1. Install Gravity Forms
The first step is to install the Gravity Forms plugin. There are several licenses available to suit the needs of your project.
After selecting a license, download the plugin ZIP file to your computer. After that, log in to your WordPress dashboard and install Gravity Forms by following the below steps:
- Hover over “Plugins” and click “Add New Plugin”
- Click “Upload Plugin”
- Click “Choose file” and select the ZIP file you downloaded previously
- Click “Install Now” and then “Activate Plugin”
After installing Gravity Forms, you’ll be prompted to input your license key. This is important for receiving plugin updates and support! When that’s done, you can begin creating your new job application form.
2. Create a job application form
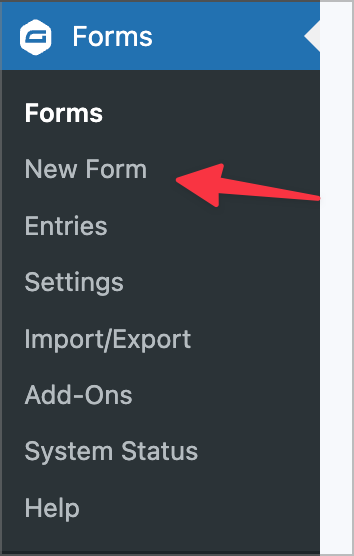
To create a new form in Gravity Forms, hover over “Forms” in your sidebar menu and click “New Form”.
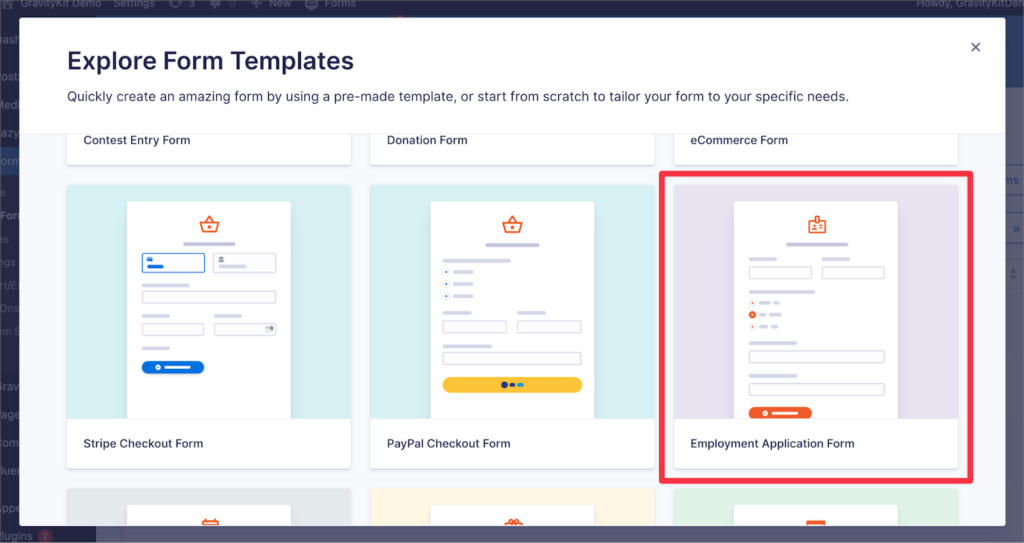
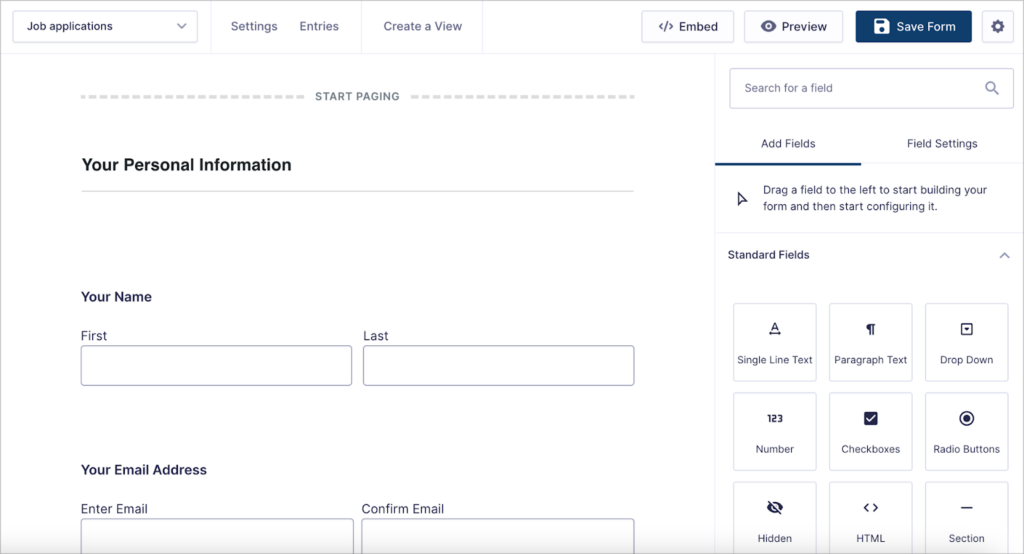
Gravity Forms comes preloaded with a range of preset form templates, enabling you to create fully functioning forms with a single click! To import the job application form template, scroll down and select “Employment Application Form”.
After giving your new form a name, you’ll be taken to the form builder where you can customize your form by adding, removing, or reordering fields.
The “Employment Application Form” template includes all the necessary form fields for a job application submission. For example, there are fields for capturing an applicant’s personal information, as well as a file upload field where applicants can upload their resume/CV.
When hovering over a field, you’ll see the following 4 icons appear:
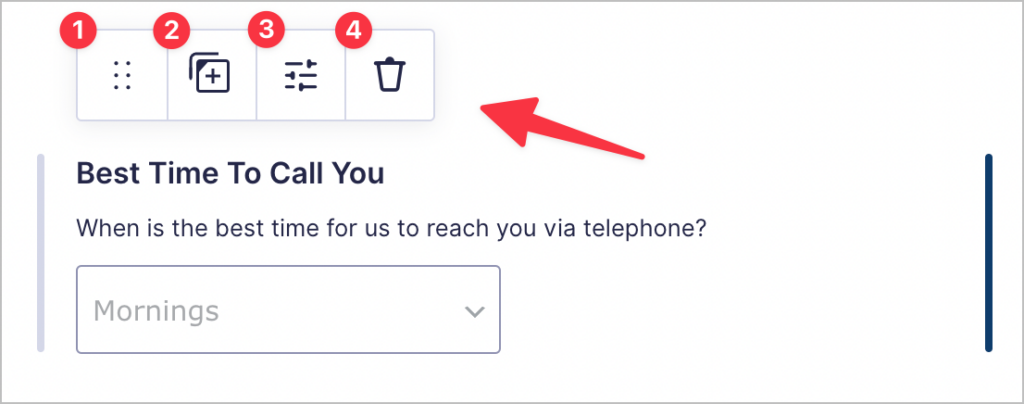
- Click and drag this icon to move a field to a new position in the form
- Duplicate the form
- Open the field settings
- Delete the field
3. Add fields to your job application form
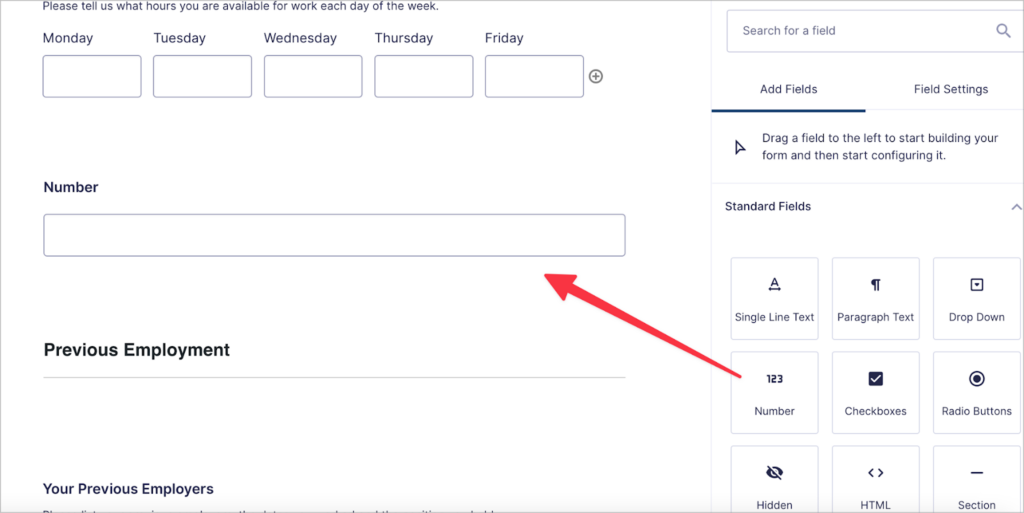
If you want to add additional fields, you can simply drag and drop them from the sidebar on the right. For example, let’s add a field titled “Requested salary”.
To do this, we’ll drag and drop a “Number” field into the form.
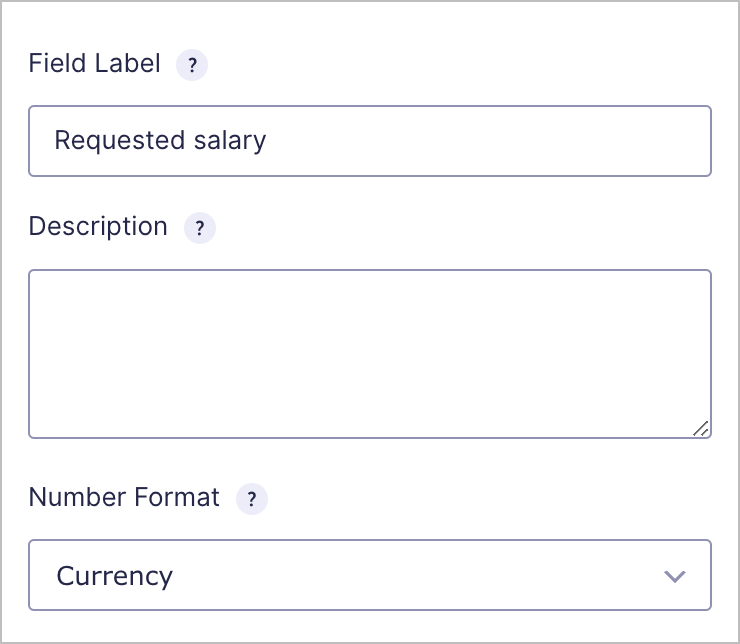
Next, we’ll open the field settings to update the label and change the format to “Currency”
When you’re done editing your form, make sure to save it!
4. Add email notifications and a confirmation message
Gravity Forms enables you to create custom confirmation messages and notification emails.
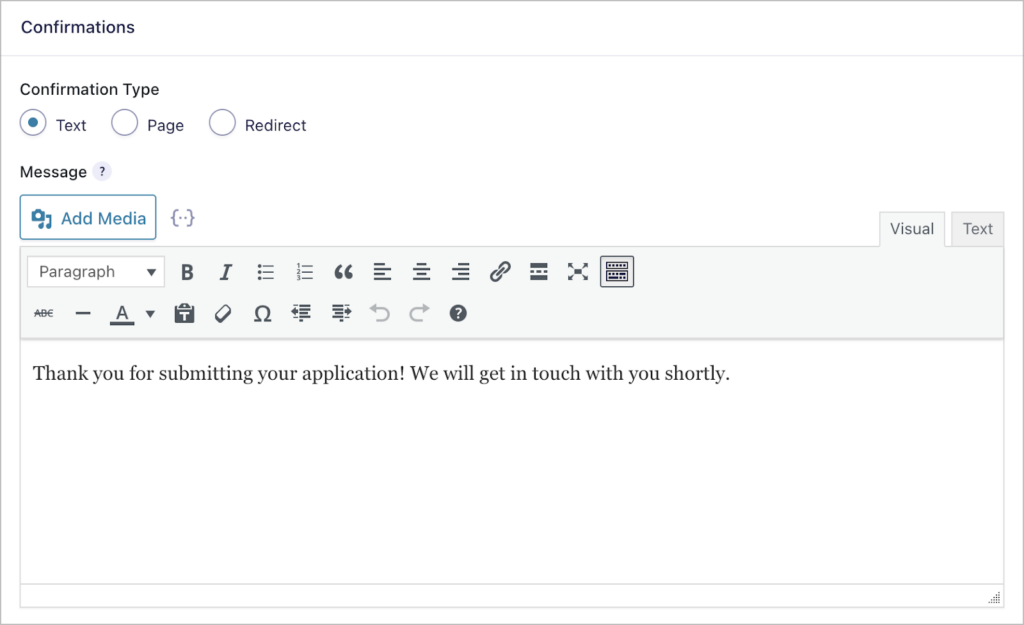
Start by editing the confirmation message—this is what users will see after submitting their application. To do this, hover over “Settings” and click “Confirmations”.

Now click “Edit” on the default confirmation:
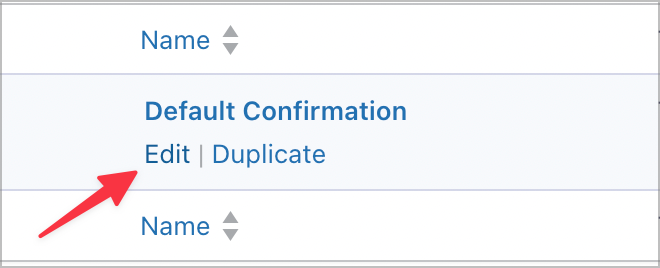
Here, you can update the confirmation message that is shown to the user when they submit an application.
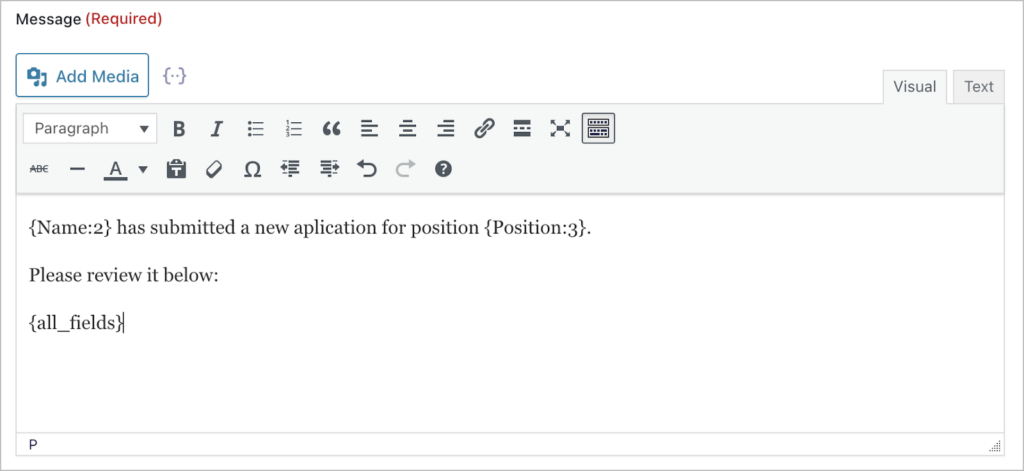
To update notification emails, simply click on the “Notifications” tab on the left. Here, you can add notification emails that are sent to Admins and/or applicants after a new application has been submitted.
For example, you may want to send a notification to your hiring manager to review applications as they come in. You may also want to send the applicant an email notifying them that you’ve received their application and will review it shortly.
After configuring confirmations and notifications, the next step is to publish your form and embed it on your website.
5. Publish your form and embed it on a page
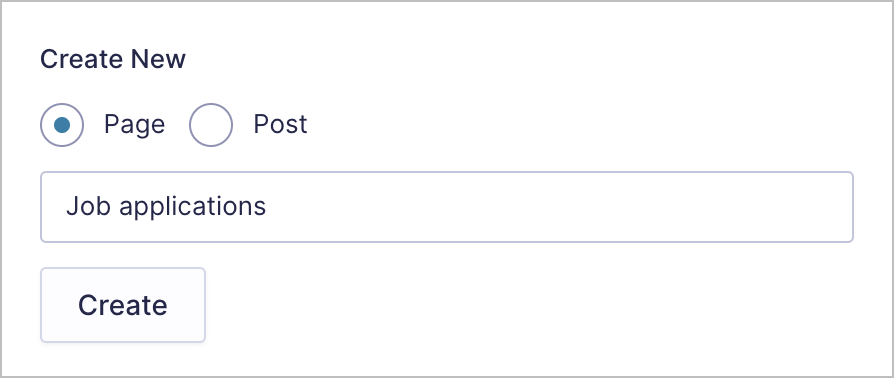
To embed your form on a page or post, click on the “Embed” button at the top of the form editor. This will open a new menu, allowing you to embed your form on a new or existing page/post.
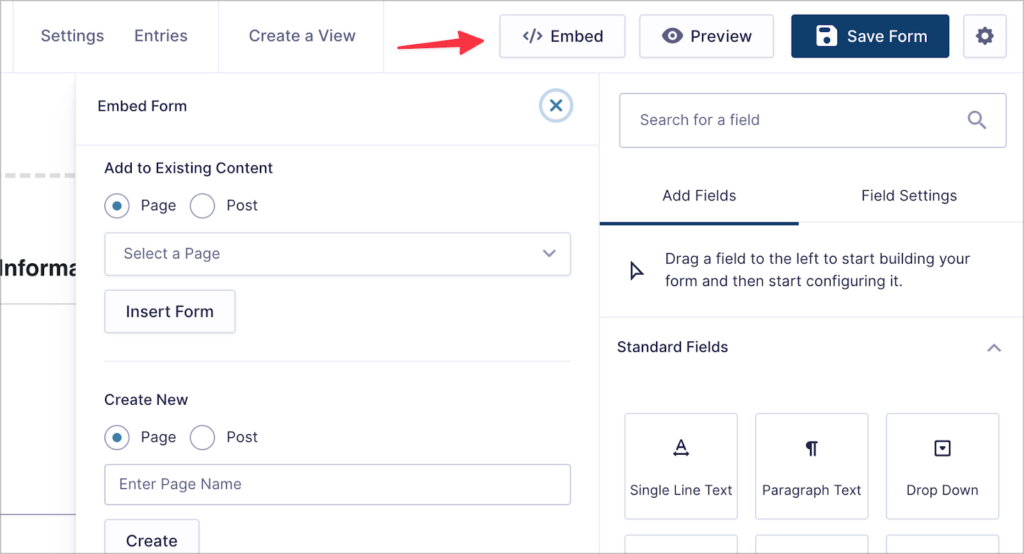
Let’s embed our form on a brand-new page. First, we’ll enter a name for the page. Next, we’ll click “Create”.
Gravity Forms will now create a new page for you, with your form already embedded. Make any final adjustments to the page and then publish it to view your form on the front end:

That’s it! Now you know how to create a job application form on WordPress using Gravity Forms and embed it on your website.
Next: Managing job applications on WordPress
Now you have a job application form, you’re probably wondering how you’re going to manage all those applications!
With Gravity Forms, all form submissions are stored in your site’s database. To view them, simply navigate to the “Entries” page.
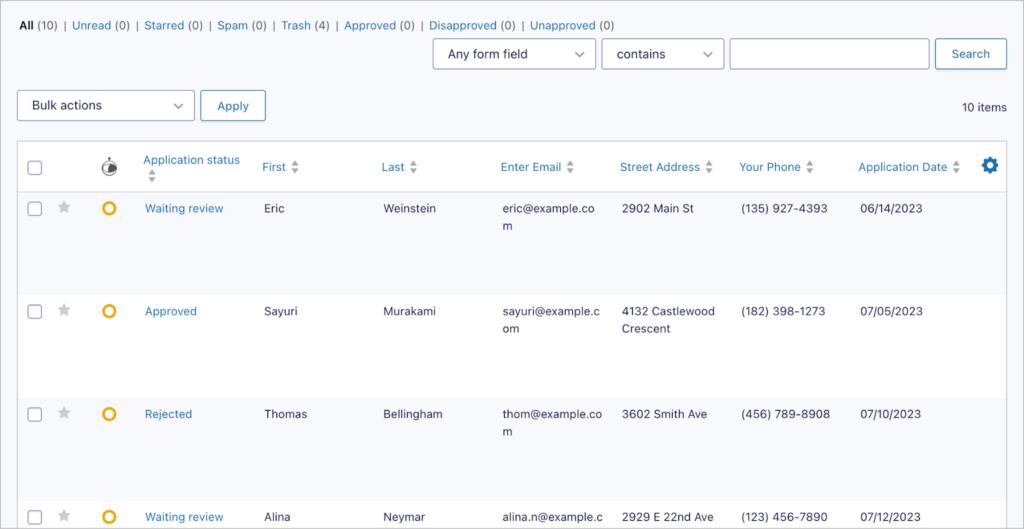
While this is helpful, there are some limitations when it comes to managing form data. For example, users will need Admin access to your WordPress site to view and manage applications, there are limited sorting and filtering options, and there’s no built-in workflow for approving or rejecting applications.
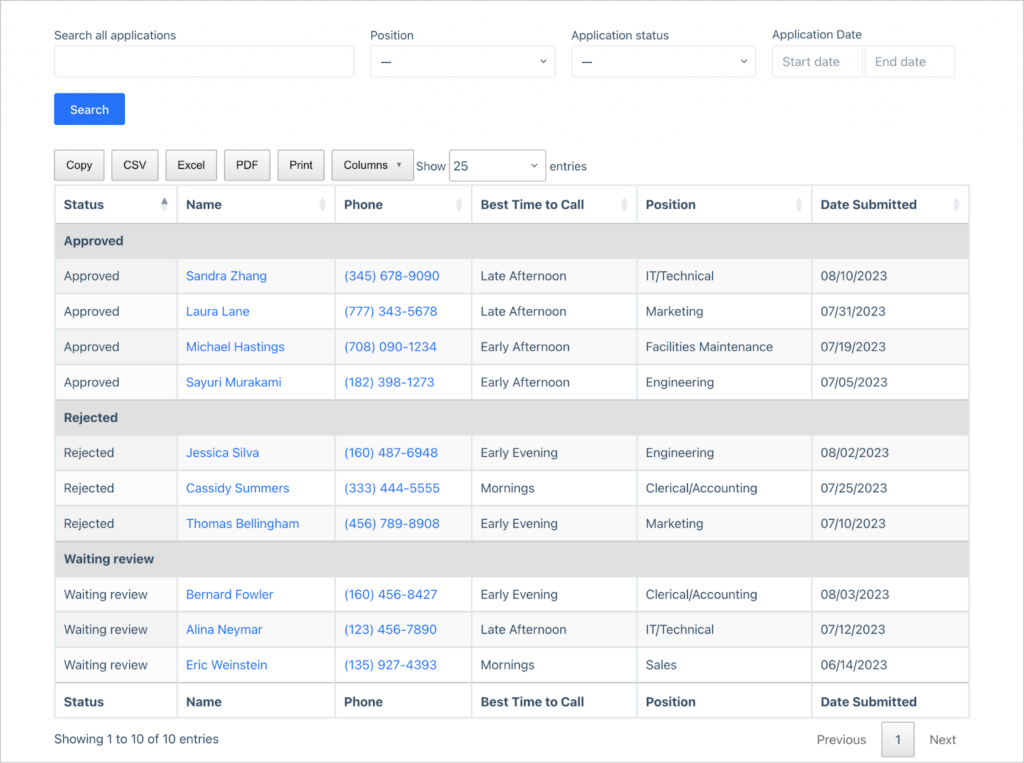
That’s why we recommend using GravityView. GravityView is an add-on for Gravity Forms that enables you to display form submissions in tables that you can search and filter. It also includes entry approval functionality, making it perfect for managing job applications!
Here is a table that we built using GravityView, containing all the job applications we’ve received so far. Applications are grouped by status (“Approved”, “Rejected”, or “Waiting review”), and there’s a handy search bar making it easy to sort through them.
Here’s how to build it: Install GravityView, and create a new View using the DataTables layout (yes, GravityView supports a range of different layout options for your form data!).
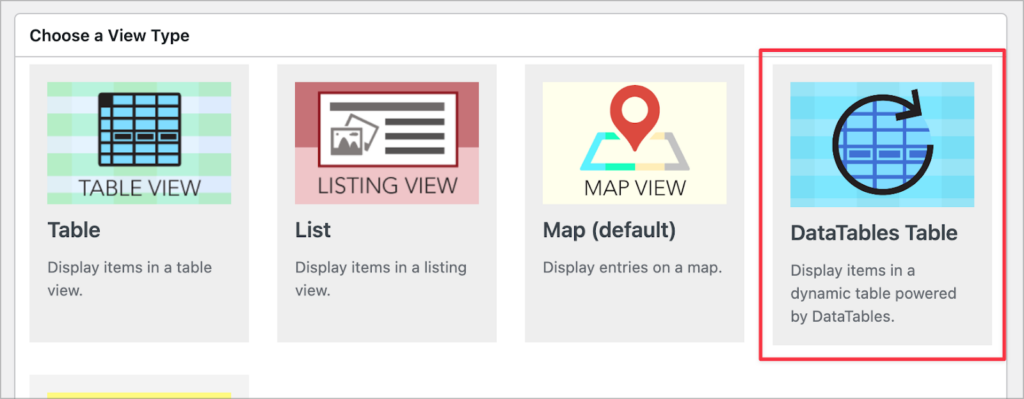
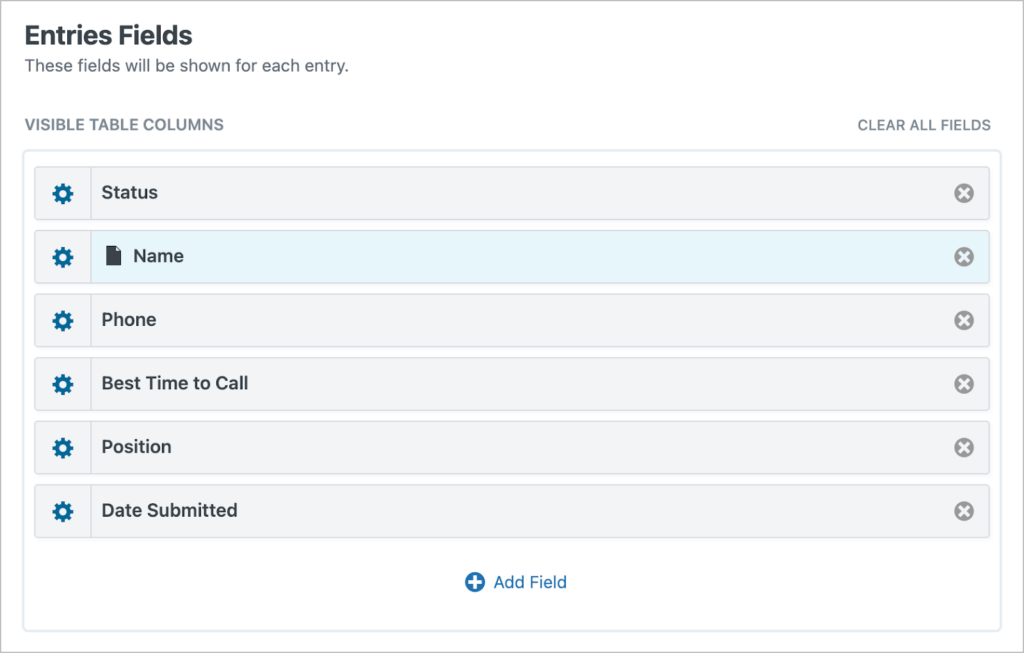
Next, use GravityView’s intuitive drag and drop builder to configure your table by adding fields and widgets.
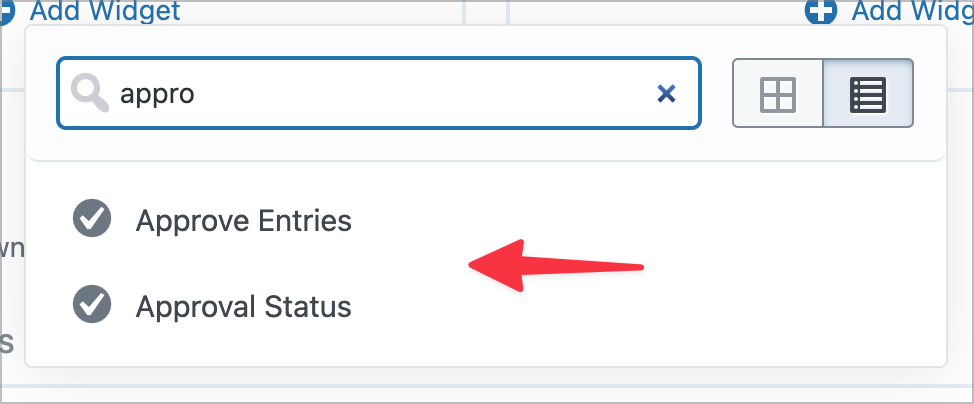
Finally, use GravityView’s built-in entry approval capabilities to allow your staff to approve or reject applications directly from the front end of your site (no need for Admin access!).
When you’re done, save your View and embed it on your website. That’s it!
Pro tipFor more information about using GravityView to build dynamic applications on Gravity Forms, see our tutorials here.
Create your job application form in WordPress
Creating a job application form on WordPress is a matter of installing a form builder plugin, configuring the form, and embedding it on your site.
In this tutorial, we walked you through the process of creating a custom job application form using Gravity Forms and managing applications with GravityView. If you’re not convinced that Gravity Forms is right for you, check out our top 5 job application plugins here for additional options.

Helpful tips right in your inbox.
Subscribe to get the latest articles, information on releases and helpful Gravity Forms tips!
More articles

10 things you can ask AI to do with Gravity Forms (using the free GravityKit MCP)
See 10 practical things you can ask AI to do with Gravity Forms using the free GravityKit MCP: create forms, manage entries, build Views, and more.

Launch Log: theme template editing in Block MCP, Shield silentCAPTCHA for Zero Spam, and GravityView fixes
Block MCP adds safe theme template editing, Gravity Forms Zero Spam gains Shield silentCAPTCHA support, and GravityView fixes lightbox and notice bugs.

GravityKit turns 12: a year in review, and 30% off Lifetime All Access
GravityKit turns 12. A look back at a year of GravityView 3.0, GravitySearch, and AI-assisted building, plus a birthday sale on the Lifetime All Access Pass.