Published
•
Updated
How to update an existing entry in Gravity Forms
Covers every method for editing Gravity Forms entries, from the built-in dashboard editor to faster bulk-update tools that save time when hundreds of records need changes.

Let’s face it. At some point, we’re all faced with repetitive, boring tasks that just have to be done. For many people, updating existing entries in Gravity Forms is one of these tasks.
Editing entries in Gravity Forms isn’t difficult, but it often requires time and effort that’s better spent on other, more important projects. In this post, I’ll go through all the different methods of editing Gravity Forms entries, some of which will save you a lot of time.
Let’s get started!
Wanna try it?
Spin up a demo
See GravityEdit in action on its live demo site.

1. Updating entries in Gravity Forms (the slow way)
Updating an existing entry using the Gravity Forms default editing capabilities works well if you only need to update a couple of entries every now and then. But if you have hundreds of entries that need updating, this is definitely not the most efficient way to do it.
Start by logging in to your WordPress website, hover over Forms and click Forms. Hover over the form you want to edit, you should see various links appear underneath the name of the form. Click on the one that says “Entries”. You should now see a list of all the submissions for that form.
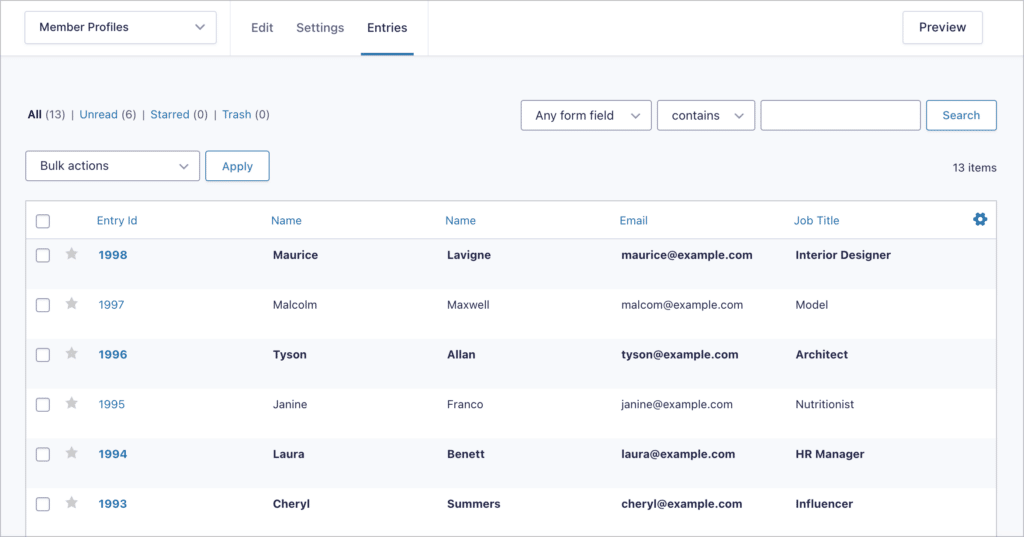
Now, hover over the entry you want to edit and click the link that says “Edit”. Once you’ve finished editing the entry, click “Update”.
Pro tipGravity Forms also gives you the ability to add notes to the entry, print the entry, and resend Admin notifications to email addresses that you specify.
2. Updating existing entries in Gravity Forms using GravityEdit
If you’re in need of a quicker, more efficient way to edit Gravity Forms entries, then look no further than GravityEdit. GravityEdit is an add-on for Gravity Forms that allows you to edit form entries without needing to click “Edit” on each one. Using GravityEdit’s powerful inline edit capabilities, you can update entries 340% faster than regular editing!
Here’s how you can use GravityEdit to update existing Gravity Forms entries.
Installing GravityEdit
Inline Edit comes as part of the GravityKit All Access Pass. You can also purchase it as a standalone plugin from our website.
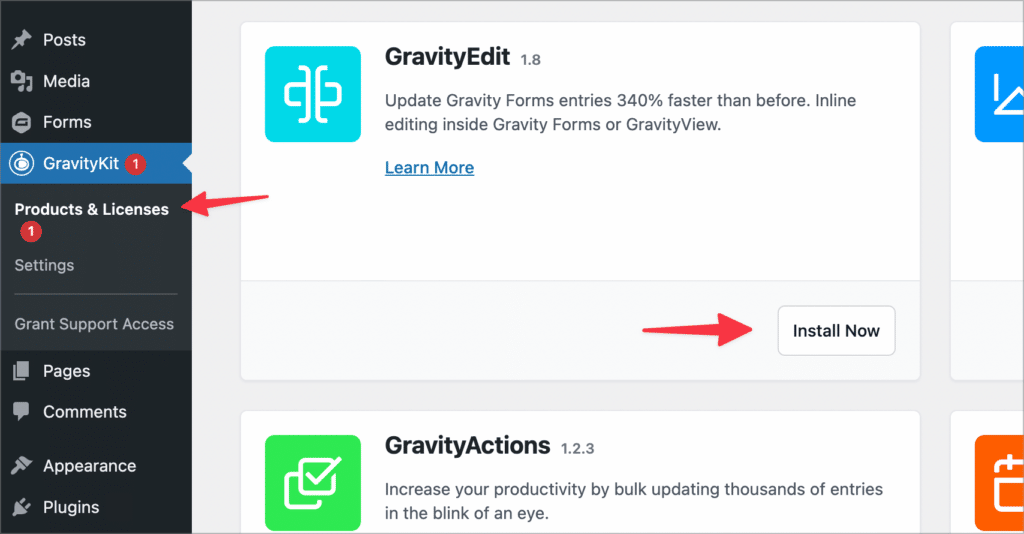
If you already have a GravityKit license, you can install and activate GravityEdit from your WordPress Admin area. All you need to do is hover over “GravityKit” in your WordPress menu and click on “Products & Licenses”. Next, locate “GravityEdit and click “Install Now”.
After installing, the plugin will be activated automatically. Inline Edit will now show up in your list of active plugins.
If you don’t have a GravityKit license, you’ll need to purchase the plugin and upload it to your WordPress site.
Enabling Inline Edit on your form
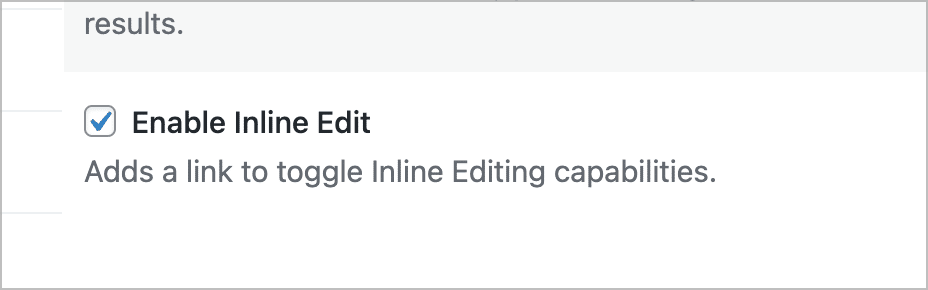
To start editing form entries using GravityEdit, you’ll need to enable “Inline Edit” on your form. To do this, navigate to your Forms page, hover over the form you want to edit, and click “Form Settings”.
Next, scroll down to the bottom of the page to where it says “Legacy Settings” and check the box to enable Inline Edit.

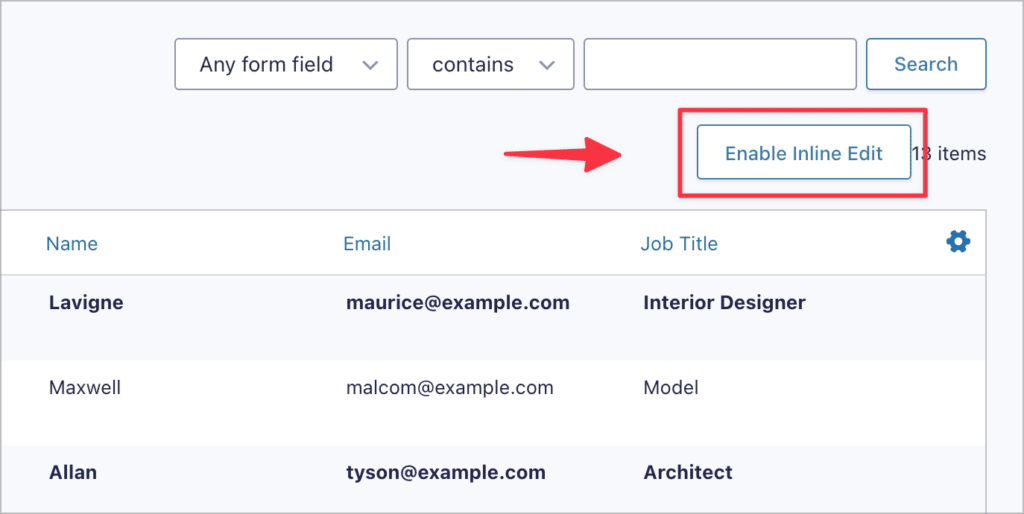
Now that you’ve enabled Inline Edit, go to the Entries screen. You should now see a button that says “Enable Inline Edit” (yours may say “Toggle Inline Edit” – don’t worry it’s the same thing).
Pro tipIf you want to turn on Inline Editing by default, you can do so with this code snippet.
After enabling Inline Edit, editable fields will have a dotted line underneath. You can now edit your form entries without having to click “Edit” on each one individually.
Instead, simply click on a field you want to change. You’ll see a lightbox appear where you can change the value of the field. When you’re done, click “Update” – it’s that easy!
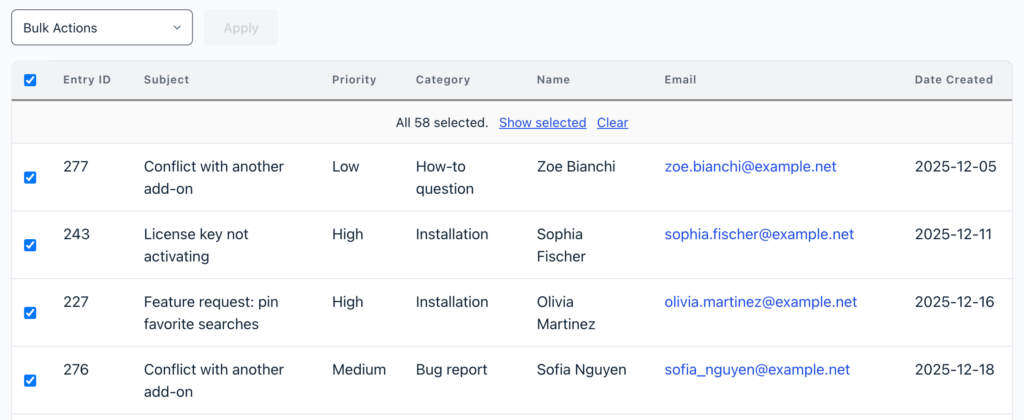
You can also bulk edit entries by clicking on a column header to bring up the edit box for each entry. If you have a lot of entries to edit, this is a serious time saver!
Inline Edit bulk editing supports the following fields:
All Gravity Forms “Standard” fields:
- Single Line Text (Text)
- Paragraph (Textarea)
- Drop Down (Select)
- Number
- Checkboxes
- Radio Buttons
- Hidden
Most Gravity Forms “Advanced” fields:
- Name
- Date
- Time
- Phone
- Address
- Website
- File Upload
- List
- Product (User-Defined Price only)
Now you know the best way to update existing entries in Gravity Forms!
3. Bulk updating multiple entries at the same time with GravityActions
If you’re looking for a way to bulk update multiple Gravity Forms entries at the same time, look no further than GravityActions.
This powerful add-on allows you to save time and streamline your workflow. After installing the plugin, head over to the Gravity Forms “Entries” page and select the entries you want to update. Next, click on the “Bulk actions” dropdown menu and select “Bulk Edit Entries”.
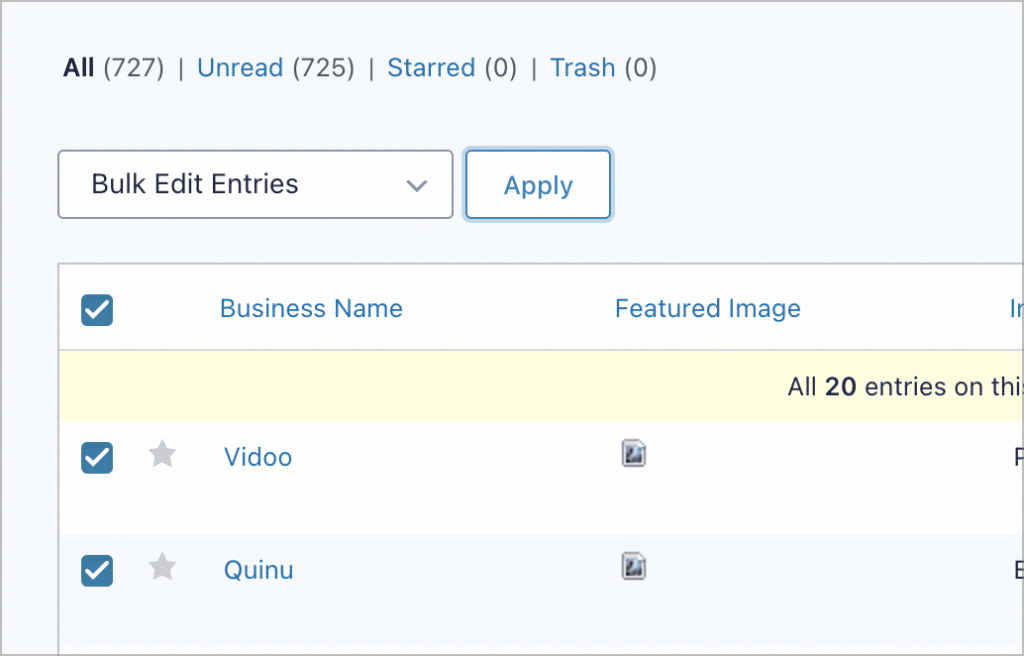
The GravityActions pop-up menu will now appear to guide you through the bulk editing process.
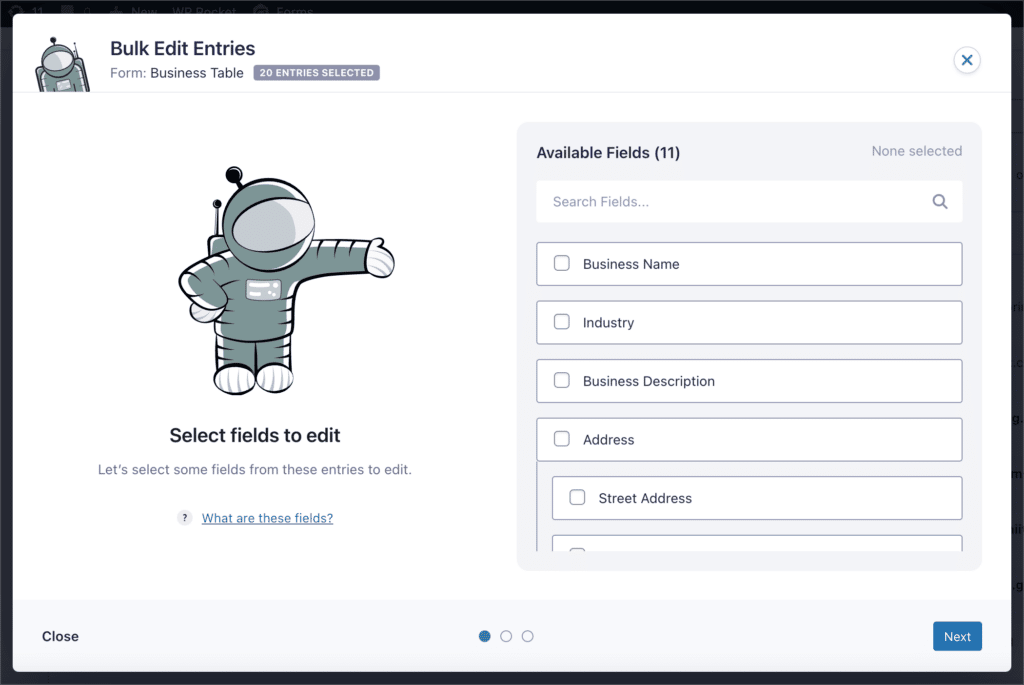
All you need to do is follow the steps, selecting which fields you want to edit and the values you want to update.
4. Updating existing Gravity Forms entries on front end
If you’re using GravityView to display entries on your website, you can enable Inline Editing to quickly update entries on the front end.
The first thing you’ll need to do is enable the “Inline Edit” feature inside the View Settings. To do this, edit your existing View, scroll down to the View Settings panel and check the box that says “Enable Inline Edit”.
Now, Open your View on the front end and click the link that says “Enable Inline Edit”. You can now edit entry fields that appear in your View. Note that users will only be able to edit fields that they have access to.
Edit multiple entries at once with the Bulk Actions widget
Inline Edit is perfect for fixing one field at a time on the front end. When you need to act on many entries together, add GravityView 3.0’s Bulk Actions widget to a Table View. Approved users can select several entries and edit, delete, export, or approve them in a single step, all without opening the WordPress dashboard.
See the frontend bulk actions documentation for the full list of actions and setup steps.
5. Update entries programmatically with the API
If you’re a developer, you can update Gravity Forms entries directly using PHP and the GFAPI class. This is useful for custom integrations, automated workflows, or bulk data processing.
The Gravity Forms API provides several methods for updating entries programmatically:
GFAPI::update_entry()— Retrieve an entry, modify the fields you need, and save it back. This is the most common approach for custom integrations where you need to change multiple field values at once.GFAPI::update_entry_field()— If you only need to change one field value, this method is more efficient than retrieving and saving the full entry object.GFAPI::update_entry_property()— Change entry metadata like the status, payment information, or whether an entry is starred/read — without touching the field data itself.
These methods are part of the GFAPI class, which is built into Gravity Forms. For full documentation and code examples, see the official guide on updating entries with the GFAPI.
Easily update Gravity forms entry data using GravityEdit
Updating existing entries in Gravity Forms is slow and can take a lot of time, especially if you have hundreds of entries that need changing.
That’s why we recommend using GravityEdit by GravityKit to speed up the process. Using the Column Edit feature, you can bulk update entries in no time at all. Inline editing also works with GravityView, enabling you to easily update form entries on the front end of your website.
So what are you waiting for? Get GravityEdit today!

Helpful tips right in your inbox.
Subscribe to get the latest articles, information on releases and helpful Gravity Forms tips!
More articles

GravityKit turns 12: a year in review, and 30% off Lifetime All Access
GravityKit turns 12. A look back at a year of GravityView 3.0, GravitySearch, and AI-assisted building, plus a birthday sale on the Lifetime All Access Pass.

Launch Log: Row headers for screen readers, smarter conditional logic, and multi-View fixes
GravityView 3.1 adds row headers for screen readers, plus smarter conditional logic in GravityCalendar and fixes for DataTables, Maps, and Dynamic Lookup.

Ecommerce platform market share 2026: WooCommerce leads the web, Shopify leads the top tier
Ecommerce platform market share in 2026, from HTTP Archive data. WooCommerce leads the whole web at 6.64%, but Shopify already leads the top 1M sites.
