Published
•
Updated
Gravity Forms: Send your form data to Dropbox
Gravity Forms is great when it comes to collecting important information on your website, but storing that information on your server isn’t always practical – especially if you have hundreds or thousands of form entries with file uploads! Saving your Gravity Forms data to...

Gravity Forms is great when it comes to collecting important information on your website, but storing that information on your server isn’t always practical – especially if you have hundreds or thousands of form entries with file uploads!
Saving your Gravity Forms data to Dropbox gives you the ability to share files with team members, keep a backup of important data and easily sort and filter your form entries. In this post, we’re going to look at the different ways to send Gravity Forms data to Dropbox.
First, we’ll show you how to use the Gravity Forms Dropbox add-on to send files uploaded through Gravity Forms to Dropbox. Next, we’ll dive into the GravityExport plugin which comes with a range of powerful features including automated Dropbox exports.
Both plugins work slightly differently but they complement each other well and can be used in tandem if you wish to do so.
Why send data to Dropbox?
Dropbox is a cloud storage application used by 700 million businesses and individuals around the world. Dropbox makes it easy to share files with team members, synchronize local files to the cloud, and backup important data.
Here are some of the reasons why you may want to send your Gravity Forms data to Dropbox.
Secure external storage
Dropbox is one of the most popular applications for cloud storage and team collaboration. One of the main reasons for this is that it provides a secure and simple way to store and manage files.
Large amounts of data
If you’ve collected thousands of form submissions, it can be difficult to sort through all of that data inside your WordPress admin panel. Furthermore, all those submissions will eventually clog up your web server with unnecessary data.
Moving your form entries to Dropbox can help you save space and improve efficiency when accessing your form data.
Easy sharing
Dropbox makes it easy to share files with team members or clients. You can use Dropbox as a collaborative workspace and it also allows you to edit and update files offline.
Requirements and prerequisites
Before you install the add-on, check that your site meets the following:
| Requirement | Minimum | Recommended |
|---|---|---|
| Gravity Forms license | Pro or Elite | Elite |
| WordPress | 6.5 | 6.9 |
| PHP | 7.4 | 8.3 |
| MySQL / MariaDB | — | 8.0 / 10.6 |
| PHP extensions | ctype, curl, dom, openssl | — |
| SSL (HTTPS) | Required if you use a custom Dropbox app | Recommended for any Dropbox integration |
A few notes on the less obvious items:
Gravity Forms Dropbox Add-On
The Gravity Forms Dropbox add-on comes as part of the Gravity Forms Pro license. With the Gravity Forms Dropbox integration, you can allow users to upload files from their Dropbox account or send files uploaded via Gravity Forms to your own Dropbox account.
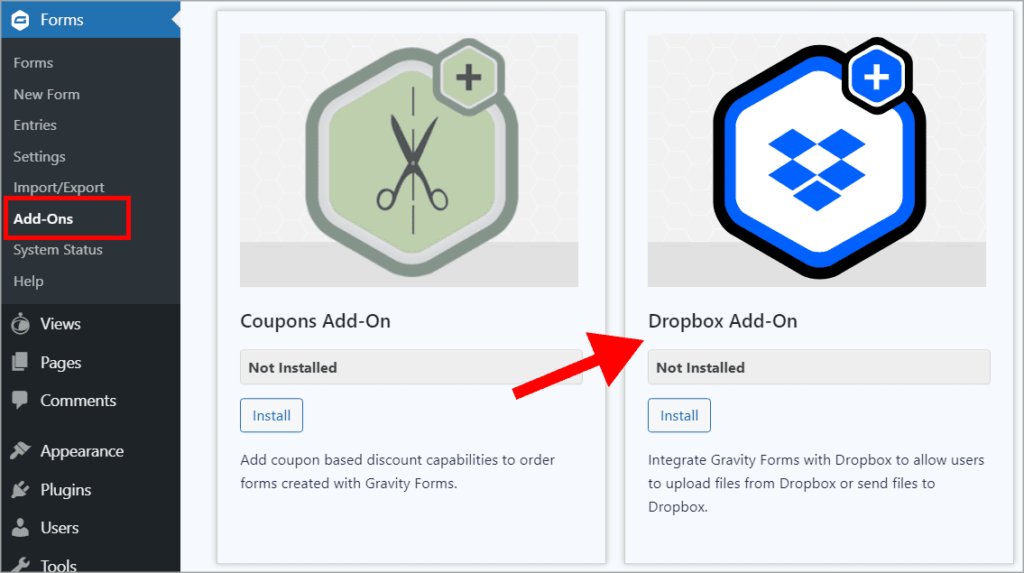
To get started, log in to your WordPress website, hover over Forms in the left-hand menu and click Add-Ons. Next, scroll down until you see the Dropbox add-on and click Install.
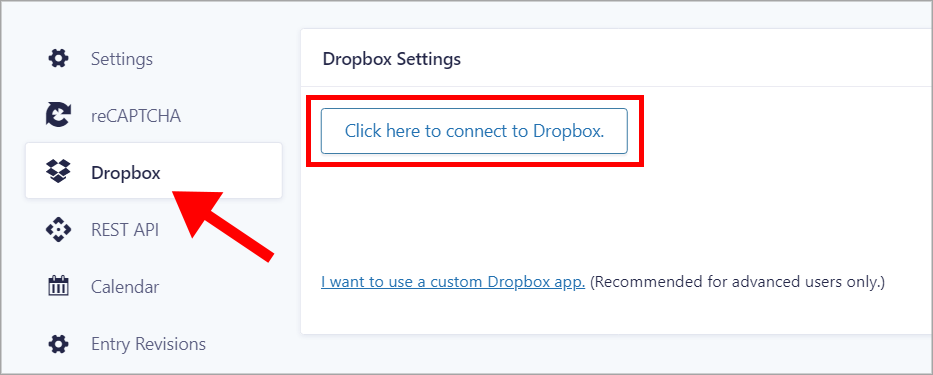
Next, you need to connect your Dropbox account with Gravity Forms. You can do this by going to the Gravity Forms Settings page and clicking on the Dropbox tab on the left. Then, click the button that says “Click here to connect Dropbox”, this will prompt you to log in with your Dropbox credentials.
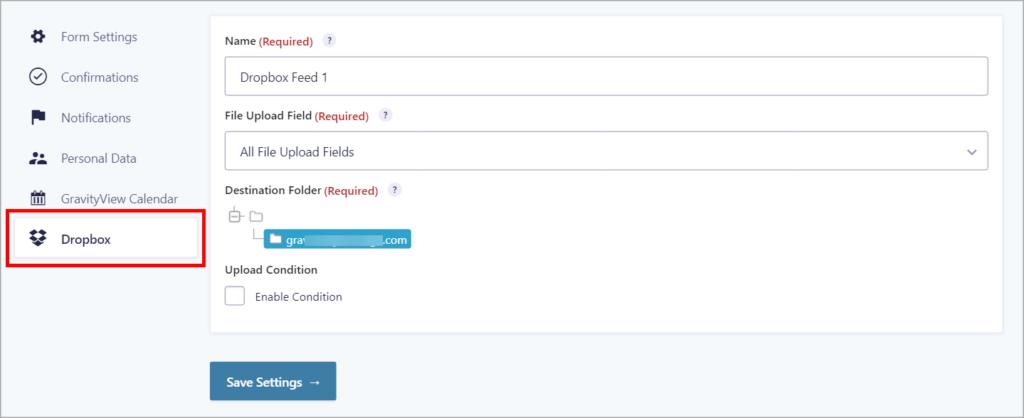
When you’re finished connecting your account, you can start configuring your first Dropbox feed. Edit your form in Gravity Forms, then go to Settings and click Dropbox on the left. Click Add New to create a new feed and select your form’s file upload field.
The plugin also supports conditional logic, allowing you to only send files to Dropbox when you want to. Here’s an example of how it works.
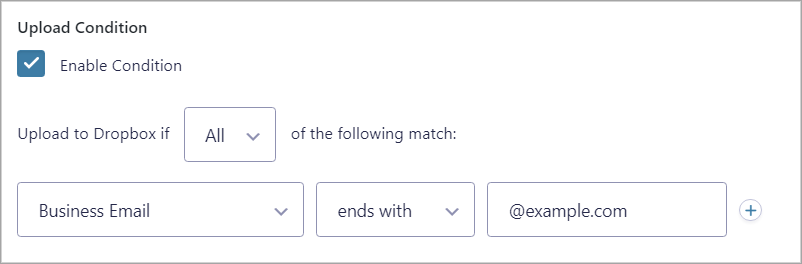
In this example, we’ve set up a condition so that files are only uploaded to Dropbox when the user’s business email address ends with “@example.com”.
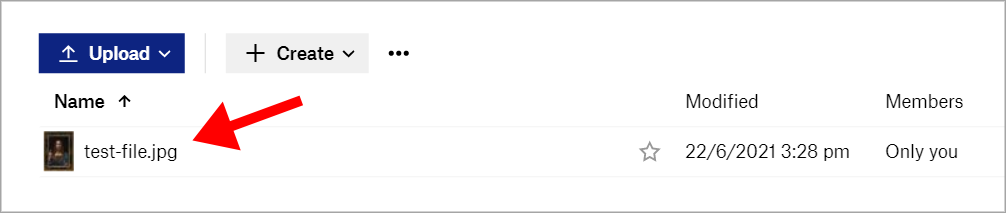
Okay, the last thing left to do is test the integration. To do this, submit your form, being sure to upload a file as part of your submission. Then, open your Dropbox folder – you should see the file appear there almost instantly.
Next, let’s have a look at using GravityExport to send form entries to Dropbox.
Let users upload from their own Dropbox: the Dropbox Upload field
So far we’ve configured the add-on to send files out to your Dropbox. The add-on can also work in the other direction — letting your visitors pick files directly from their Dropbox and attach them to a form submission. That’s handled by a dedicated field type called Dropbox Upload.
Important: The Dropbox Upload field is only available when the add-on is configured to use a custom Dropbox app. If you connected using the default “Click here to connect Dropbox” flow, the field type won’t appear in the form editor. Swap to a custom app first, then come back to the form editor — the field will show up in the form editor’s field palette.
Once it’s available, drag the Dropbox Upload field into your form and open the field settings:
pdf, jpg, png) to restrict the file types users can pick. Toggle Required if the file is mandatory.Under the hood, the field uses the Dropbox JavaScript Chooser API to open Dropbox’s native file picker in a modal. When the form is submitted, the add-on captures a preview link for each selected file. If you also have a Dropbox feed configured on the same form, it will copy those files into the destination folder you set up in the feed.
Tip: If the user picks a file from the same Dropbox account the add-on is connected to, the resulting share link points to the original file location rather than a copy. Keep that in mind if you’re planning to delete or move the destination folder — the original file reference will still be valid, but the copy behaviour effectively becomes a no-op.
For the underlying class reference, see GF_Field_Dropbox in the Gravity Forms developer docs.
Send form entries to Dropbox with GravityExport
GravityExport allows you to export entries from Gravity Forms using a secure and shareable direct download link. You can export your form entry data to CSV, Excel, or PDF and then send those reports to Dropbox.
To be clear, GravityExport sends form data to dropbox, but any files uploaded as part of an entry will remain on your website’s server.
Installing the plugin
The Lite version of GravityExport is available for free on WordPress.org. However, the Dropbox integration feature is only available in the full version of GravityExport which is available for purchase on our website.
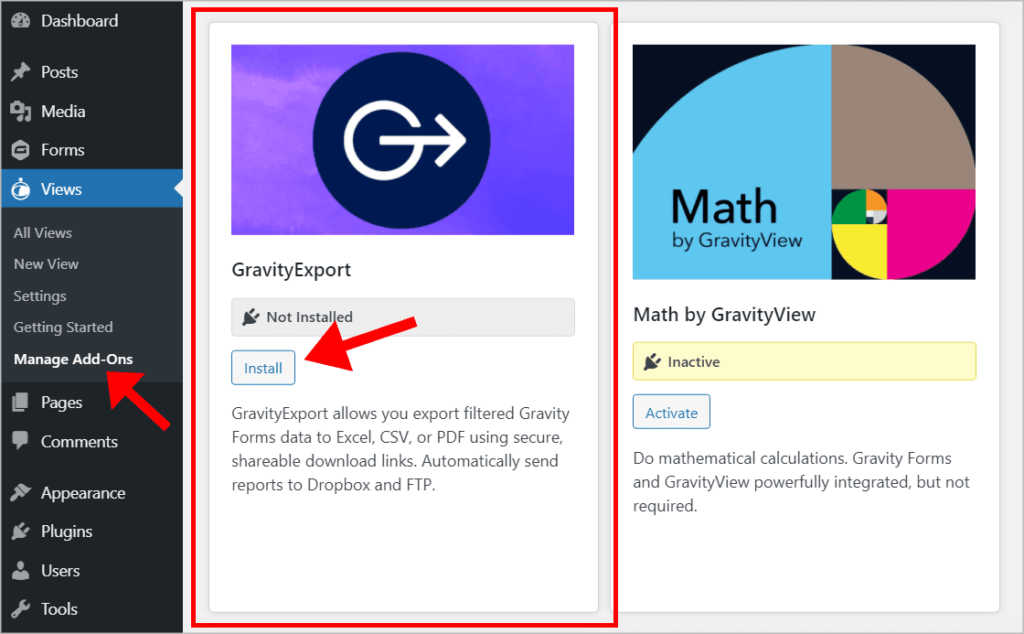
If you have a GravityView All Access license, you can install GravityExport from inside your WordPress admin menu at no extra cost! Simply hover over Views in the left-hand menu, click on Manage Add-Ons and install GravityExport.
Linking your Dropbox account
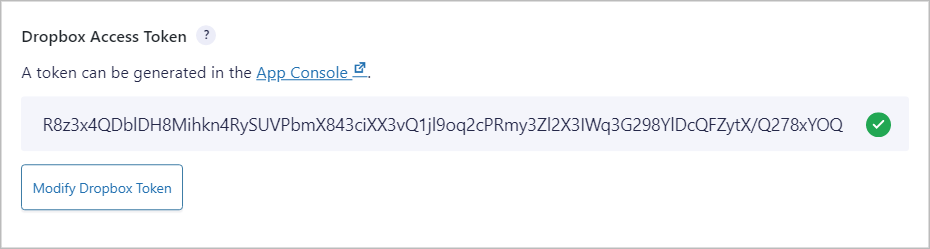
First, you need to configure the integration with your Dropbox account. To set this up go to your Dropbox account and create a new application. After doing that, create an access token by clicking the Generate access token button.
Now hover over Forms and click on Settings. Next, click on the GravityExport tab to the right and paste your access token into the box. After saving, GravityExport will encrypt your token.
Now that your account has been linked to GravityExport, you can create a new remote storage feed to start sending entries to your Dropbox.
Configuring the Dropbox integration
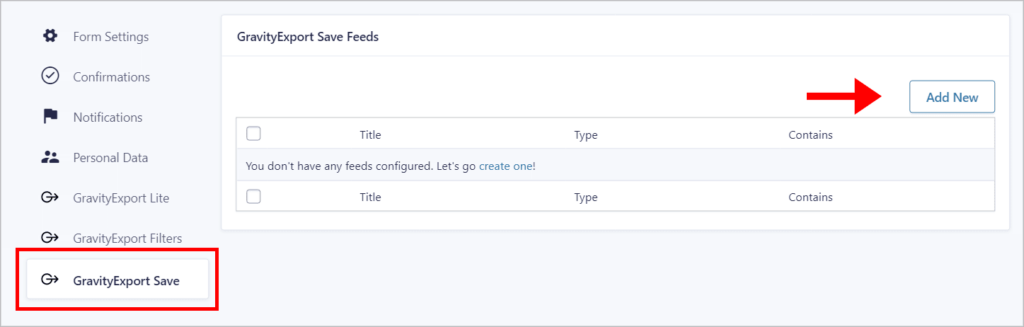
Start by going to your form settings and clicking on the tab that says “GravityExport Save”. Then click Add New to create a new remote storage feed.
Under Storage Type choose Dropbox.

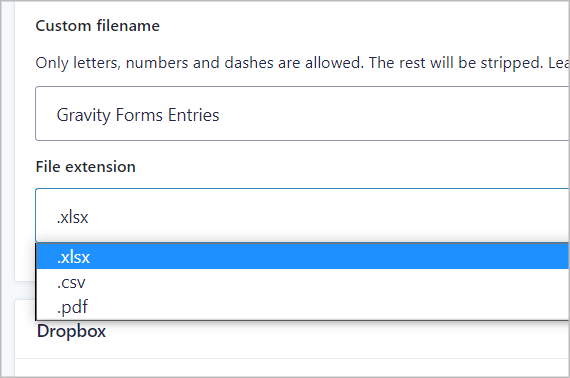
Now, choose if you want your file to contain all entries or if you want to create a new file for each entry. Finally, input your chosen file name, choose the file type (.xlsx, CSV, or PDF) and specify a path in your Dropbox folder.
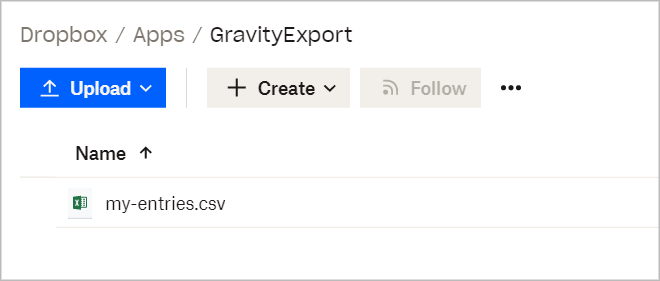
That’s it, you’re done! Now every time a new entry is submitted, it will be saved to your Dropbox folder.
As you can see, both add-ons complement each other by offering different functionality. By all means, use them together!
Gravity Forms Dropbox integration: Final thoughts
Dropbox is a powerful application that allows you to store your files in the cloud. It’s one of the most popular ways for companies to share files among team members.
Sending your Gravity Forms data to dropbox is helpful if you want to save space on your webserver or have an easily accessible copy of your form entries.
The Gravity Forms Dropbox add-on allows you to save files uploaded through Gravity Forms to your Dropbox. GravityExport allows you to export form entries and then upload those reports to Dropbox as either a PDF, CSV, or Excel file.
Try out GravityExport risk-free with our 30-day money-back guarantee!

Helpful tips right in your inbox.
Subscribe to get the latest articles, information on releases and helpful Gravity Forms tips!
More articles

Launch Log: Zero Spam goes multilingual, GravityView extends search flexibility
A quick tour of this week’s GravityKit releases: Gravity Forms Zero Spam gains translations in 27 languages, and GravityView adds flexible date-range search, a live Search Bar summary, and Gravity Forms 2.9.31.3+ compatibility fixes.

How to get your Gravity Forms data into external tools
Learn 6 ways to get Gravity Forms data into external tools—from scheduled exports to REST API and Zapier. Covers CRMs, spreadsheets, and more.

Gravity Forms payment gateways: A guide to official and community add-ons
Want to accept payments from your WordPress site? No problem! Gravity Forms makes it easy to build a custom payment form for eCommerce transactions, nonprofit donations, subscription billing for digital products and services, and beyond. But first, you’ll need to choose one of Gravity…