Published
•
Updated
How to export Gravity Forms entries to Google Sheets: 3 easy methods
Google Sheets is a go-to tool for organizing, analyzing, and sharing data—and if you’re using Gravity Forms, integrating the two can streamline your workflow and eliminate manual exports. Whether you need real-time syncing, automated entry updates, or a simple one-time export, there are multiple...

Google Sheets is a go-to tool for organizing, analyzing, and sharing data—and if you’re using Gravity Forms, integrating the two can streamline your workflow and eliminate manual exports. Whether you need real-time syncing, automated entry updates, or a simple one-time export, there are multiple ways to send Gravity Forms entries to Google Sheets.
In this guide, I’ll walk you through the best methods, from free plugins to automation tools like Zapier, so you can choose the right solution for your needs.
What is Google Sheets?
Google Sheets is a free web application that allows you to create and edit spreadsheets directly in your browser. To start using Google Sheets, all you need is a Google Account.
Google Sheets provides an easy way to edit and manipulate data, and collaborate with others in real-time. Many small businesses use Google Sheets for creating schedules, managing customer contact information, and doing their accounting.
Google Sheets is a powerful, cloud-based data management platform. It comes free as part of Google’s G Suite, which is purportedly used by 2 billion users each month!
Method 1: Export Gravity Forms entries to Google Sheets using a plugin
Gravity Forms does not provide an official integration with Google Sheets! So, if you want to export your form entries directly to a Google Sheet, without any manual steps (i.e. without having to download and upload files), you’ll need to use a third-party plugin.
There are a few plugins that provide this functionality. I’ll explore two of them below (one free and one paid).
Option 1: Connector for Gravity Forms and Google Sheets
Pricing: Free; premium version available for $59/year.
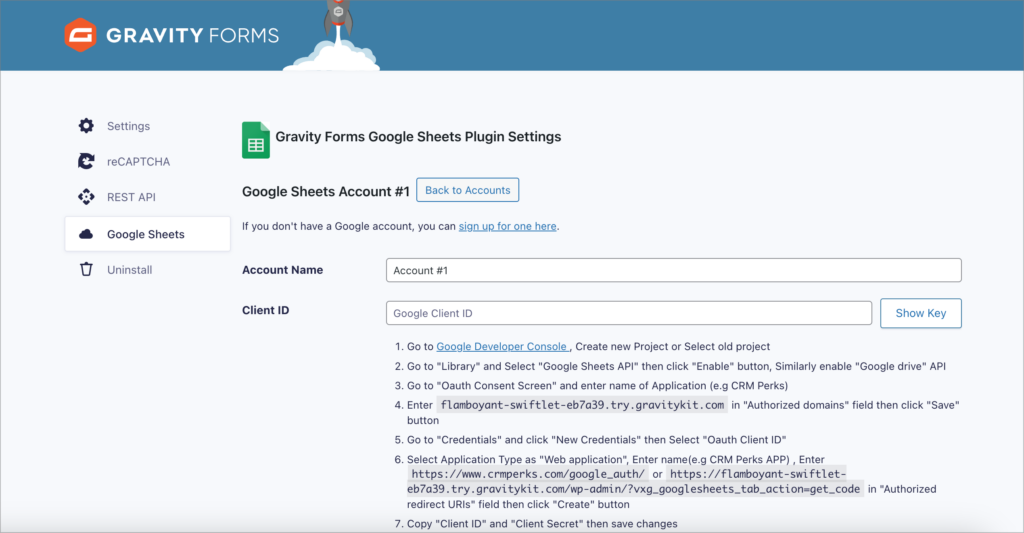
After installing the free “Connector for Gravity Forms and Google Sheets” plugin by CRM Perks, you’ll need to connect your Google Account. You can do this by going to the Gravity Forms “Settings” page, clicking on “Google Sheets” and then adding a new account.
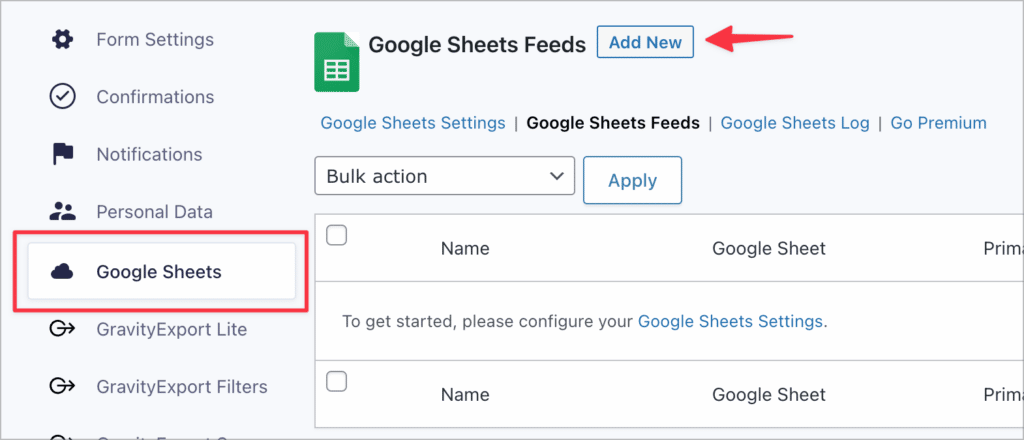
After connecting your Google Account, go to your form in Gravity Forms, click on “Settings” and then “Google Sheets”. You can now click “Add New” to add a new Google Sheets feed to your form.
After configuring the feed, new entries will automatically be sent to your Google Sheet after being submitted!
Key features:
- Manual and automatic entry submission
- Conditional filtering
- Detailed error logging
- Paid features—UTM tracking, geolocation data, email/phone lookups, and attachment uploads
Option 2: Gravity Connect Google Sheets
Pricing: Starts at $59/year.
This plugin integrates Gravity Forms with Google Sheets, enabling automatic data transfer from form entries to a connected spreadsheet. You can map your form fields to existing sheets or create a new one—data will be synced in real time.
After installing the plugin, you’ll need to connect your Google account from the settings screen.
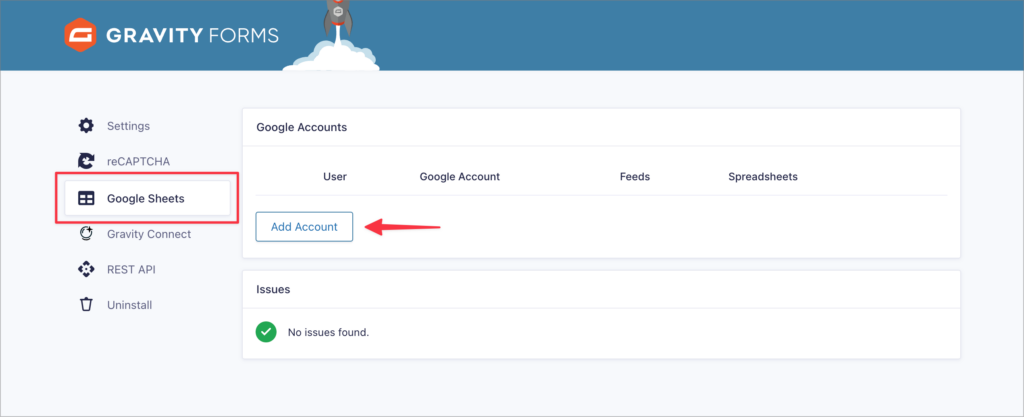
After connecting your account, head over to your form’s setting page and click on “Google Sheets” to set up a new feed.
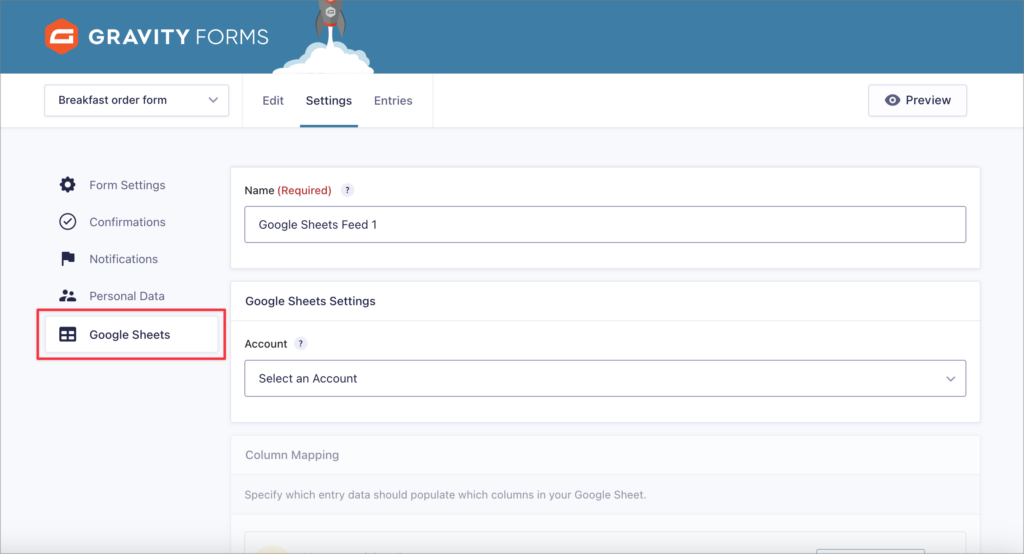
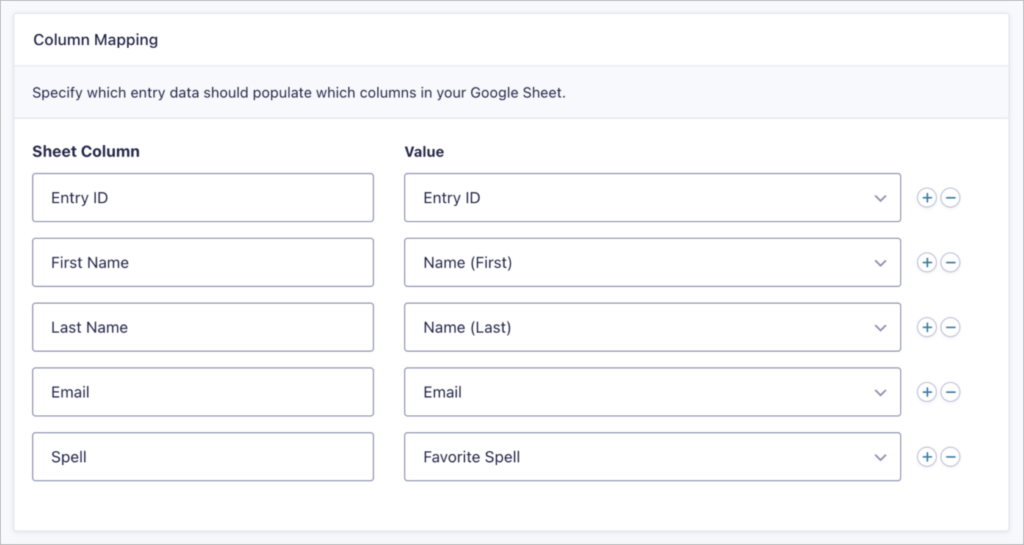
Here you’ll need to select a Google account and then configure the mapping from your form fields to your spreadsheet columns.
There’s an option for ensuring that edits to form entries update the corresponding spreadsheet row, and deleted or spammed entries are automatically removed. Additionally, the plugin allows users to pull data from Google Sheets into their forms (but this requires another plugin called Populate Anything).
Key features:
- Real-time syncing
- Automatic updates to Google Sheets
- Bidirectional data flow
- Batch processing for large datasets
- Prioritizes security by using Google’s authentication system
Method 2: Export Gravity Forms to Google Sheets using Zapier
The second way to export Gravity Forms data to Google Sheets is by using a no-code automation tool like Zapier. If you’re unfamiliar with Zapier, it’s a hosted tool that enables you to connect different apps together and automate your work. And yes, you can use it to connect Gravity Forms with Google Sheets!
Gravity Forms even has an official Zapier add-on that comes with their Pro license, making it easy to set up a Zapier connection directly in WordPress!
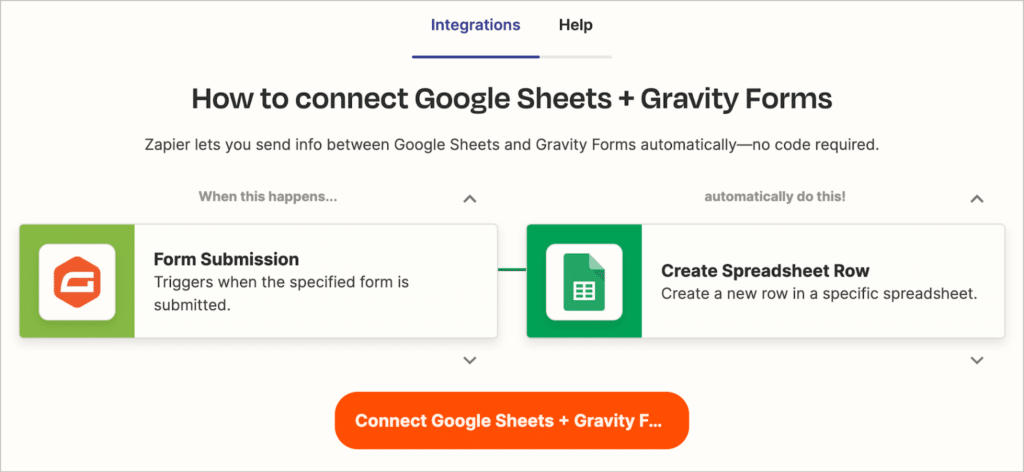
Follow the steps below to create a Zap that will automatically create a row in your Google Sheet when a new form entry is submitted.
To get started, create a free Zapier account and select the two apps that you want to connect (Gravity Forms and Google Sheets).
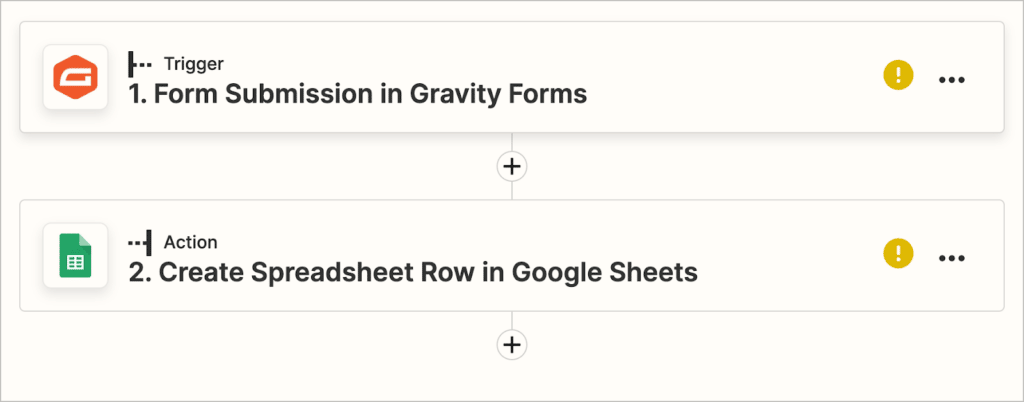
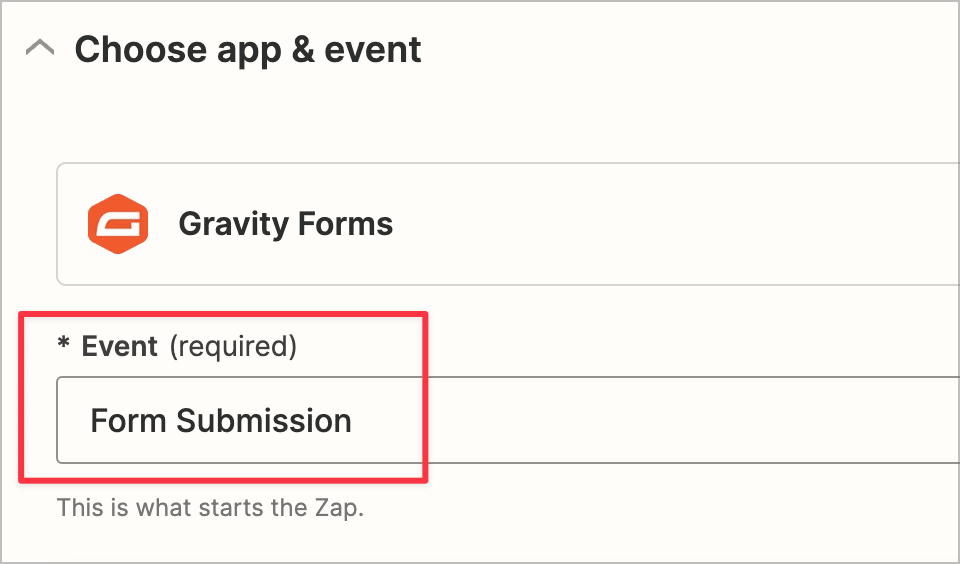
Ensure that Gravity Forms is the “Trigger” and set the “Event” to “Form Submission”.
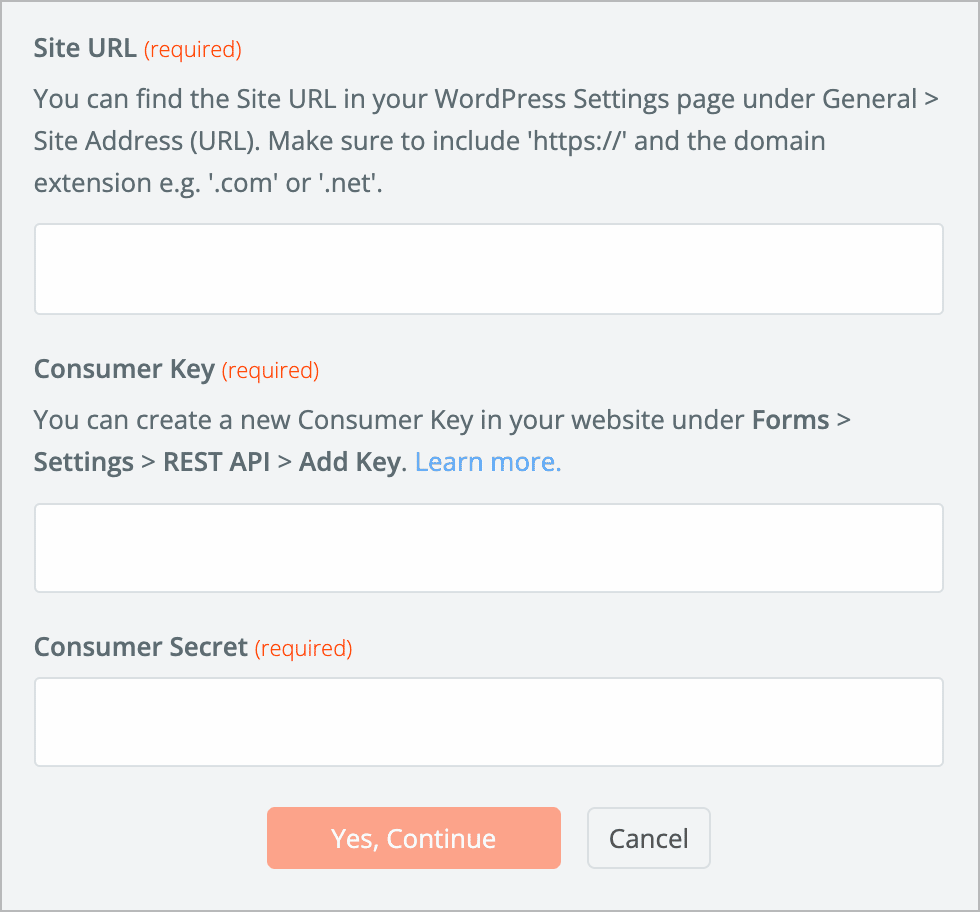
Now, you’ll need to grant Zapier access to your Gravity Forms account by entering your REST API details (consumer key and secret)—you can create these in the Gravity Forms backend on your WordPress site.
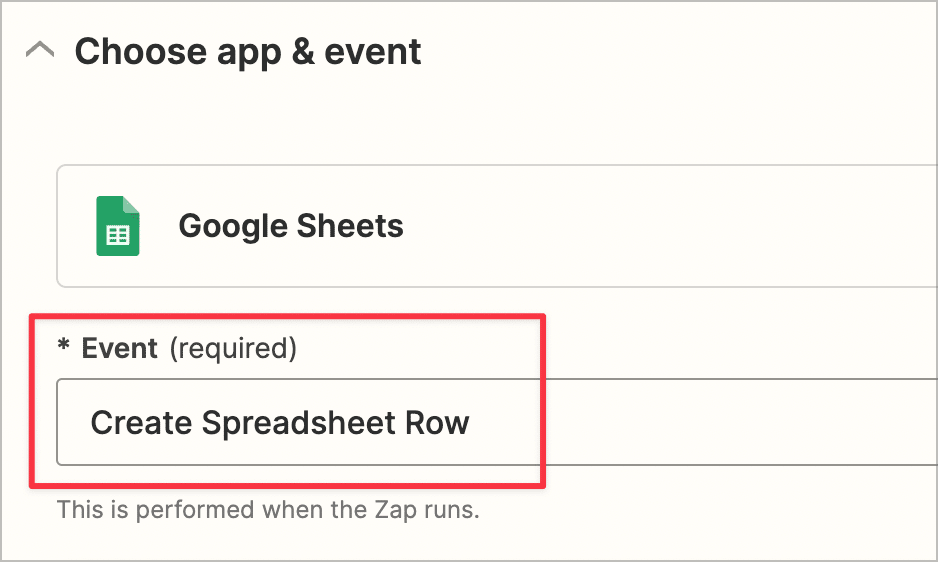
When you’ve successfully connected your Gravity Forms account, click on the Google Sheets action and ensure the “Event” is set to “Create Spreadsheet Row”.
Finally, you’ll need to connect your Google Account. When that’s complete, enable your Zap by toggling it “On” in the top right corner!
Method 3: Export to Excel and upload to Google Sheets
Another way to get your data into Google Sheets is by exporting it to Excel (or CSV) first and then converting the Excel file to a Google Sheet.
To save your Gravity Forms data as an Excel file (.xlsx), you’ll need to install our free plugin, GravityExport Lite. After installing GravityExport Lite, head over to the form settings page in Gravity Forms and click on the “GravityExport Lite” feed tab.
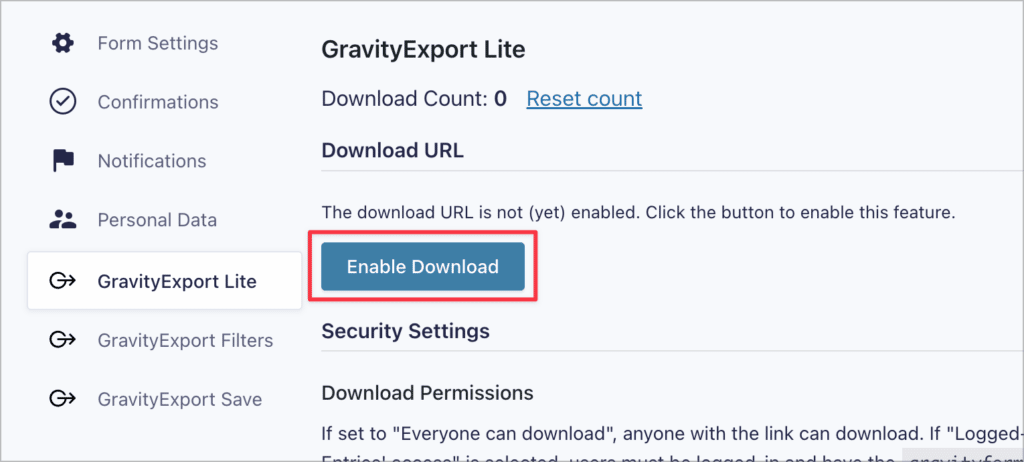
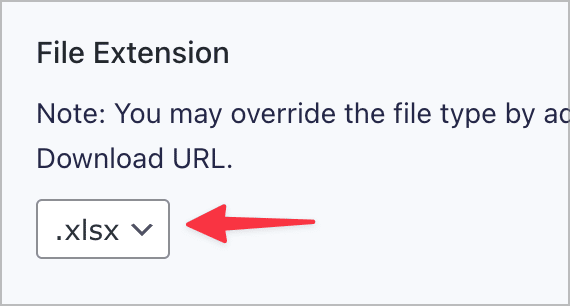
Now, click the “Enable Download” button to generate a unique download link for your entry report. Finally, scroll down, select “.xlsx” as the file extension and configure the remaining options.
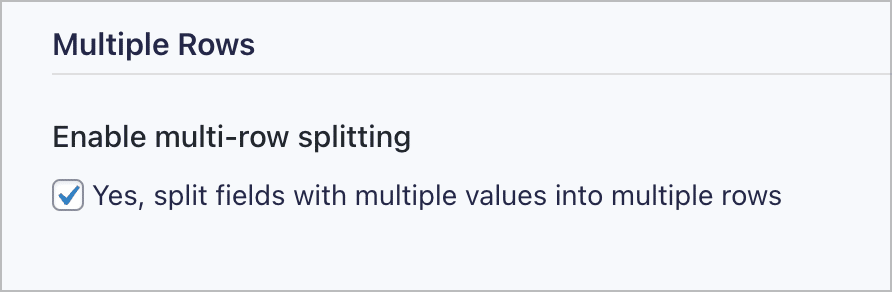
If you’re conducting data analysis on your entries, you may want to enable multi-row splitting, which ensures that fields containing multiple values are split into multiple rows in your spreadsheet.
When you’re done, you can download your entries by pasting the download URL into your browser’s address bar and hitting “Enter”. Now you can convert your Excel file into a Google Sheet by saving it your Drive.
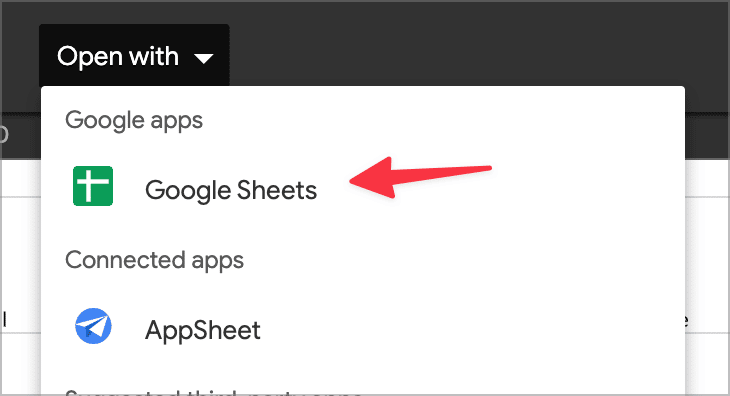
First, open a new Google Sheet, click “File”, “Open”, and then “Upload”. Now upload the Excel file containing your Gravity Forms entries. After the file has been uploaded, click “Open with” and then “Google Sheets”.
That’s it! It’s a bit of a workaround, but still helpful if you only need to send data to Google Sheets once in a while. If you need an automatic sync, then it’s better to use Zapier or a third-party add-on.
Pro tipCheck out the full version of GravityExport for advanced features like PDF reports, Dropbox integration and more.
Comparing Google Sheets plugins for Gravity Forms
Not sure which plugin to use? Here’s a quick comparison of the most popular options for connecting Gravity Forms to Google Sheets:
| Feature | Connector for Gravity Forms and Google Sheets (CRM Perks) | Gravity Connect Google Sheets (Gravity Wiz) | Zapier |
|---|---|---|---|
| Price | Free or $59/year (premium) | From $59/year | Free plan available with limits |
| Sync | One-way (forms → sheets) | One-way (forms → sheets) | One-way (forms → sheets) |
| Real-time sync | Yes | Yes | Near real-time |
| Conditional logic | Yes | Yes | Yes (via Zapier filters) |
| Entry updates sync | Yes (premium) | Yes | No |
| Requires external account | Google only | Google only | Google + Zapier |
| Works inside WordPress | Yes | Yes | No (configured in Zapier) |
Which method is the best?
If you need a free, no-fuss solution, the CRM Perks Connector works well for basic one-way syncing. For teams that already use Gravity Wiz products, Gravity Connect is a no brainer. Zapier is best if you’re already using it for other automations and want to consolidate your workflows.

Helpful tips right in your inbox.
Subscribe to get the latest articles, information on releases and helpful Gravity Forms tips!
More articles

Launch Log: Zero Spam goes multilingual, GravityView extends search flexibility
A quick tour of this week’s GravityKit releases: Gravity Forms Zero Spam gains translations in 27 languages, and GravityView adds flexible date-range search, a live Search Bar summary, and Gravity Forms 2.9.31.3+ compatibility fixes.
How to get your Gravity Forms data into external tools
Learn 6 ways to get Gravity Forms data into external tools—from scheduled exports to REST API and Zapier. Covers CRMs, spreadsheets, and more.
Gravity Forms payment gateways: A guide to official and community add-ons
Want to accept payments from your WordPress site? No problem! Gravity Forms makes it easy to build a custom payment form for eCommerce transactions, nonprofit donations, subscription billing for digital products and services, and beyond. But first, you’ll need to choose one of Gravity…