
Adding a calendar with the Elementor widget
GravityCalendar includes an Elementor widget, so you can place a calendar on a page without pasting a shortcode. The calendar renders in the Elementor editor as you build the page.
You will need Elementor active, and at least one calendar already created. If you have not created one yet, start with Getting Started with GravityCalendar.
Adding the widget #
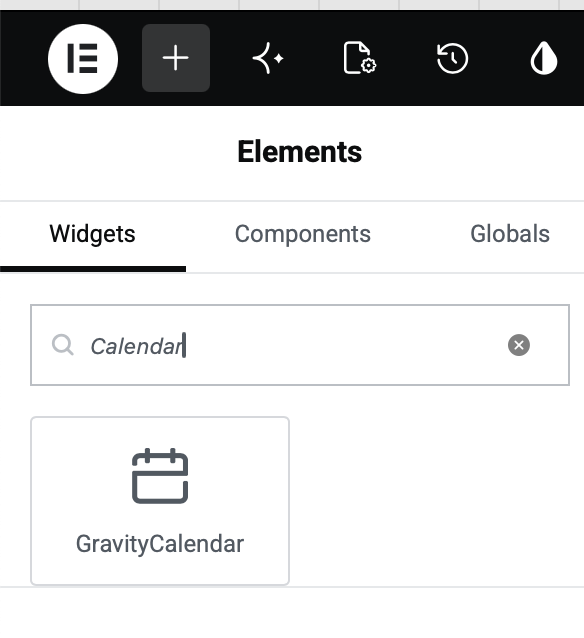
Edit a page with Elementor, then search for Calendar in the Elements panel. Drag the GravityCalendar widget onto the page.
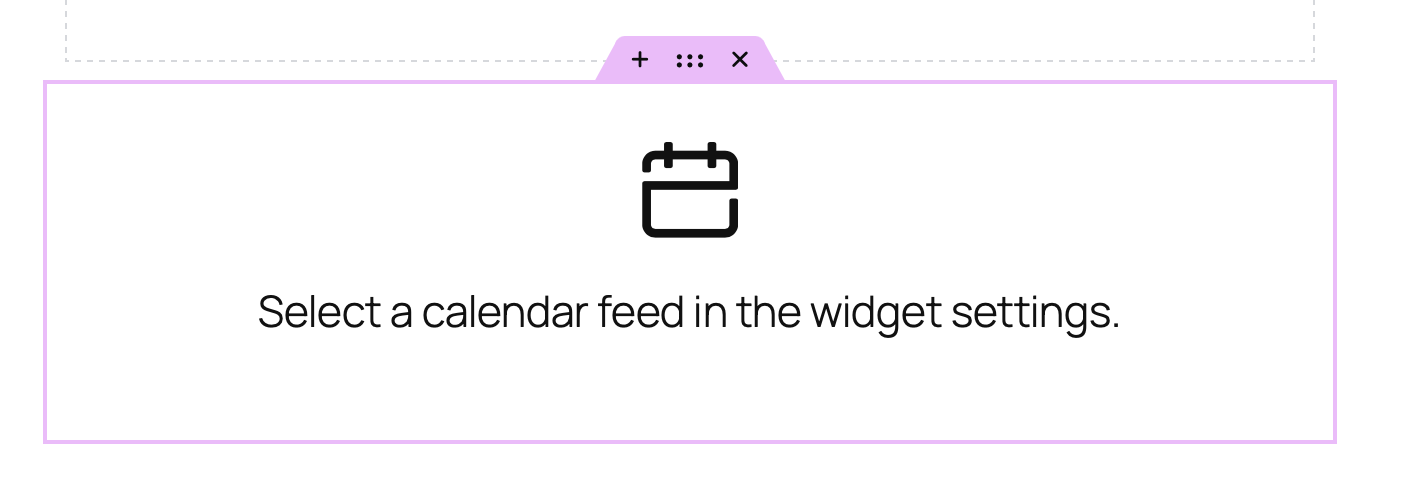
Until you choose a calendar, the widget shows a placeholder.
Choosing a calendar #
On the Content tab, open the Calendar Feed dropdown and pick the calendar you want to show. Calendars are grouped by the form they belong to, so the greyed-out name above each group is the form, not a calendar you can select.
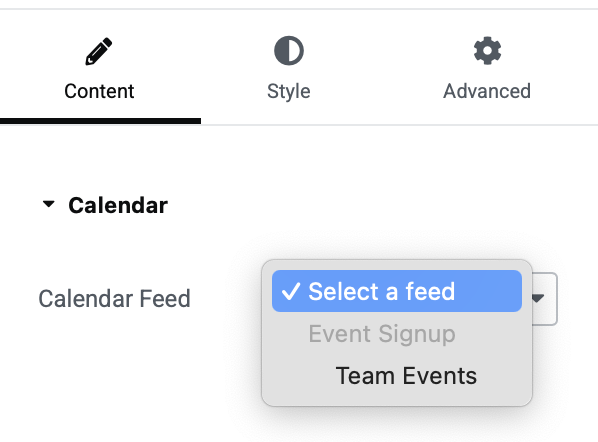
The calendar replaces the placeholder as soon as you choose one, and updates whenever you switch calendars.
Setting the height #
On the Style tab, use Height to size this calendar. It accepts pixels, percentages and viewport units.
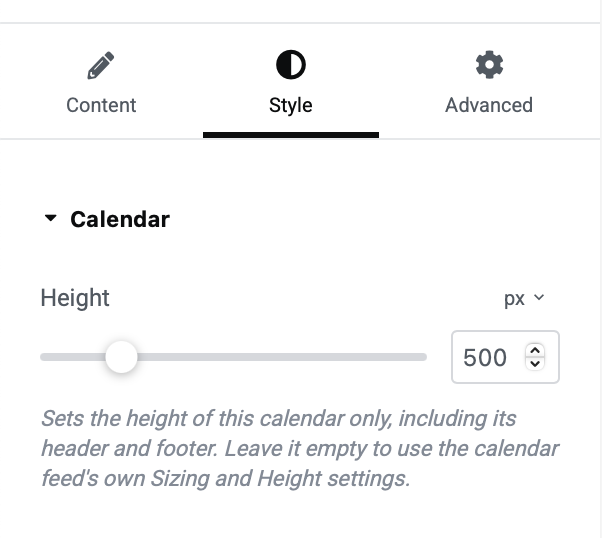
The height applies to this widget only, so the same calendar can be short in one place and tall in another without creating a second calendar. Leave it empty to use the height set on the calendar itself.
The calendar in the Elementor editor can look slightly different from the published page, because the editor canvas is narrower than your theme’s content area. The published page is the accurate one.
Secured calendars #
If the calendar has Enable security for this calendar turned on, the widget handles it for you, so there is no secret to copy or paste. The widget stores only which calendar you picked, and the secret is worked out each time the page is displayed. For shortcodes, see Calendars with security turned on.
Other ways to display a calendar #
- Displaying a calendar: every method, including the block, shortcode and widget areas
- Calendar Blocks: the WordPress block editor equivalents
- Calendar Shortcodes: for placing a calendar anywhere shortcodes run

