Published
•
Updated
How to Create an Artist Portfolio (With Image Gallery) Using GravityView
Are you looking for a way to showcase artists and their work on your website? In this post, we’ll show you how to create an artist portfolio by building a responsive image gallery using GravityView. We’ll start by creating a form on our website...
Are you looking for a way to showcase artists and their work on your website?
In this post, we’ll show you how to create an artist portfolio by building a responsive image gallery using GravityView.
We’ll start by creating a form on our website for artists to submit their profile details, along with pictures of their work. Next, we’ll use GravityView to display that information on the front end.
A famous artist once said that “Creativity is taking the best skills and techniques from experts around you and improving upon them”, and that’s what we encourage you to do after reading this tutorial! 👇
Sneak Peek
Here’s a quick preview of what we’re going to build in this tutorial. We’ll create a View that displays artist profiles with a link to check out their portfolio of work.
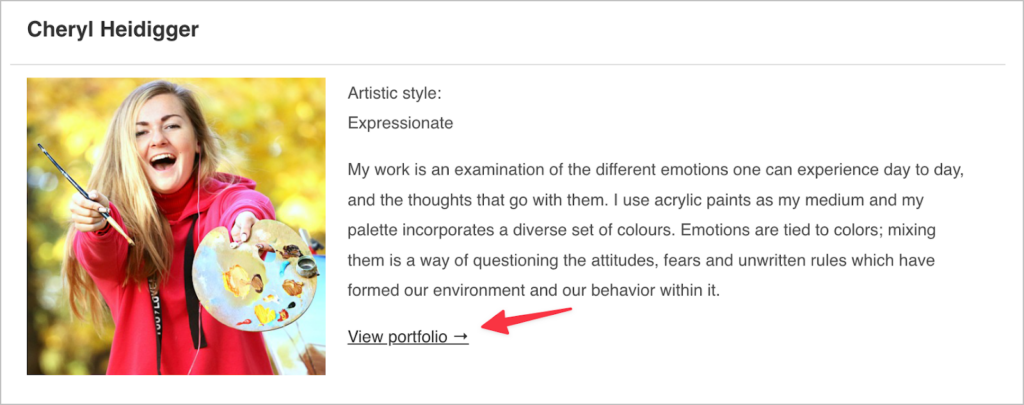
After clicking on the “View portfolio” link, the user will be taken to a page displaying a gallery of that artist’s work. Clicking on one of the images will open it in a lightbox.

Now let’s get into the nitty-gritty of actually building it!
Wanna try it?
Spin up a demo
See what you can build with GravityView — explore the live demo.

Creating the Artist Submission Form
First things first, we need to create a new form in Gravity Forms for artists to submit their profile information and upload their portfolio images.
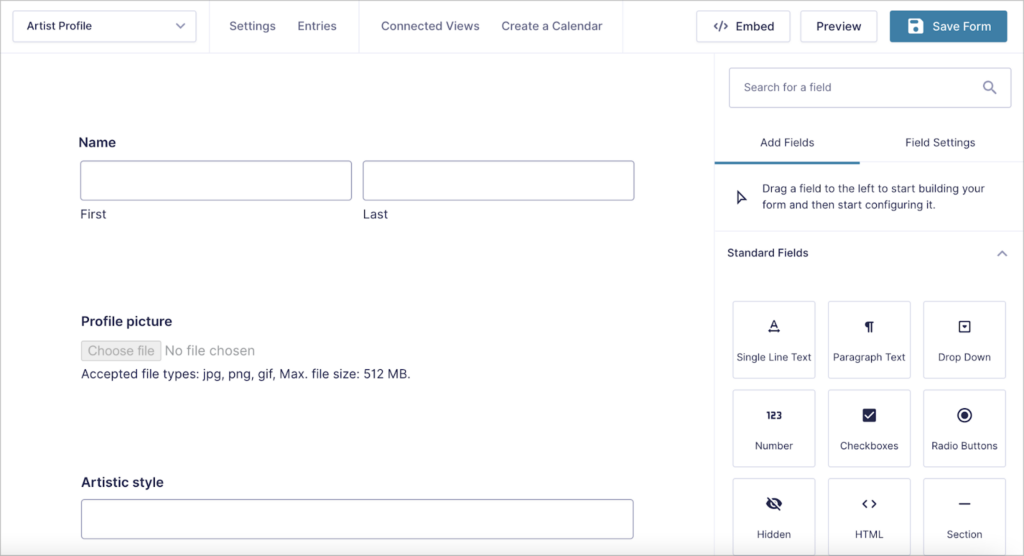
To create a new form, we’ll hover over Forms and click New Form. After giving our form a name, we can start adding fields to it using the drag and drop visual editor.
The fields you include in your form will depend on the level of detail you want to capture and include in each artist’s portfolio. To keep things simple, we’ll add the following fields to our form:
- Name (Name field)
- Artistic style (Single Line Text field)
- Profile picture (File Upload field)
- Description (Paragraph field)
- Portfolio images (Multi-File Upload field)
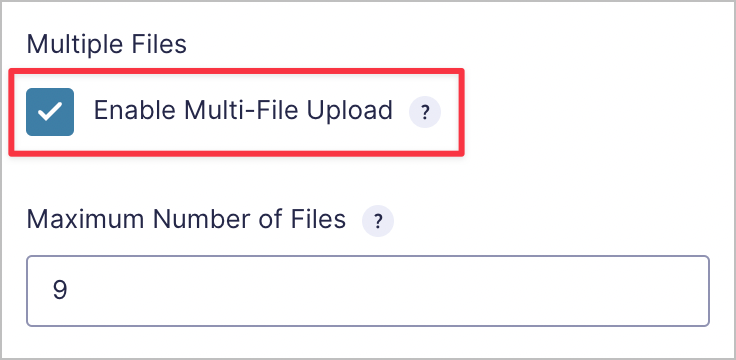
The final field is a File Upload field that allows for multiple files to be uploaded at once. In order to enable this functionality, you’ll need to first add a regular File Upload field to your form, open the field settings and check the box that says “Enable Multi-File Upload”.
You can also set a maximum number of files that can be uploaded. For this example, we’ll set it to “9”.
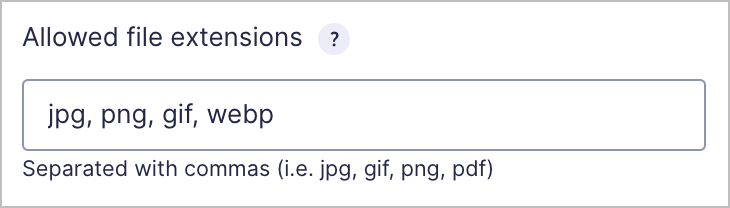
After enabling multi-file upload, it’s also a good idea to specify allowed file extensions. Setting the allowed file extensions to image-specific file types will prevent users from uploading other types of files that can’t be displayed in a gallery (such as PDFs).
When you’re done, make sure to save your form by clicking on the “Save Form” button at the top right of the editor.
Finally, we’ll need to embed our form on a page or post. Gravity Forms makes this easy for us – all we need to do is click on the “</> Embed” button.
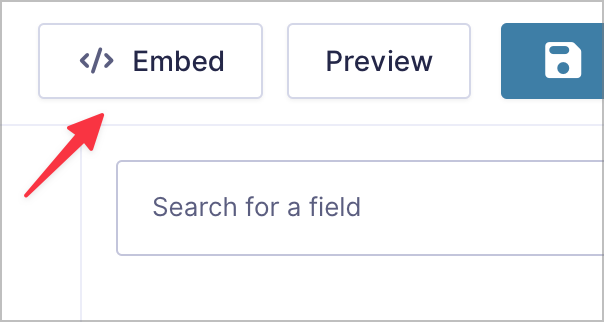
This will open up a fly-out menu with options allowing us to add our form to a page/post, create a new page/post or copy the Gravity Forms embed shortcode.
Building the Artist Portfolio
After creating our artist submission form, the next step is to build the artist portfolio using GravityView.
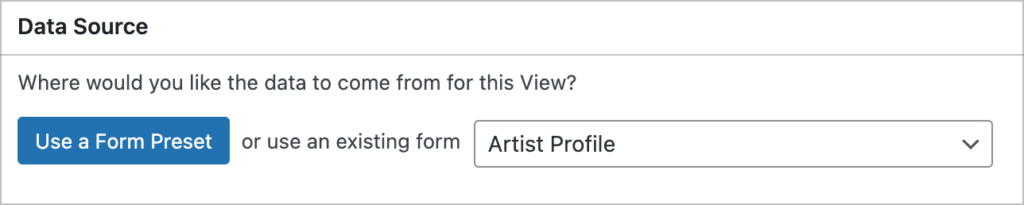
We’ll start by creating a new View and giving it a name (something like “Artist portfolio”). Next, we’ll select our newly created form as the data source. This tells GravityView that we want to display data from that specific form.
After selecting a data source, the next step is to choose a View Layout.
💡 Pro tip: Learn more about our toolkit of essential Gravity Forms add-ons.
Selecting the View Layout
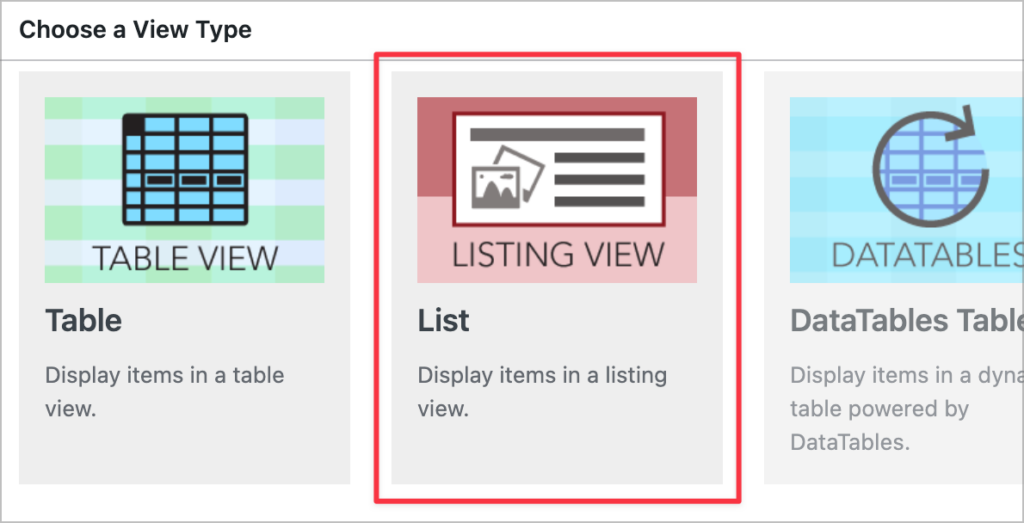
GravityView allows you to display your Gravity Forms data using different layout types. The Table and List layouts are included in GravityView Core while additional layout types are available in our Core + Extensions and All Access licenses.
Seeing as our goal is to create an artist portfolio with an image gallery, we’ll go ahead and select the “List” layout.
Now that we’ve selected a View type, we can start constructing our View using GravityView’s drag and drop editor.
Adding Fields to the Multiple Entries Layout
Let’s start by adding fields to the Multiple Entries Layout. This is the page where each artist profile will be displayed one after the other with a link to view their portfolio.
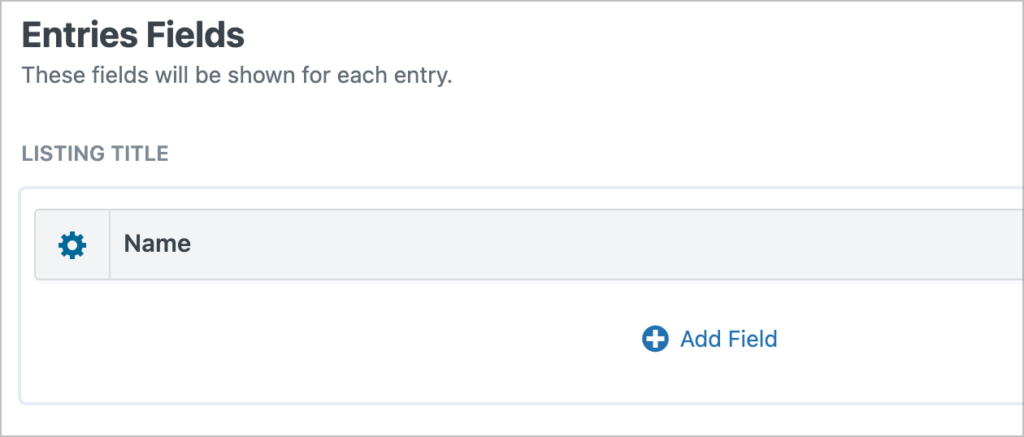
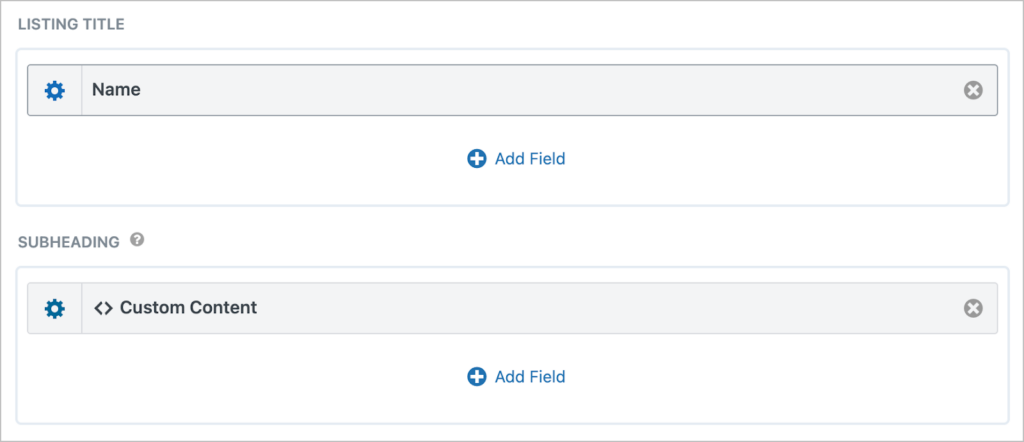
First, we’ll add the Name field to the Listing Title section (to add a field simply click on the “Add Field” button).
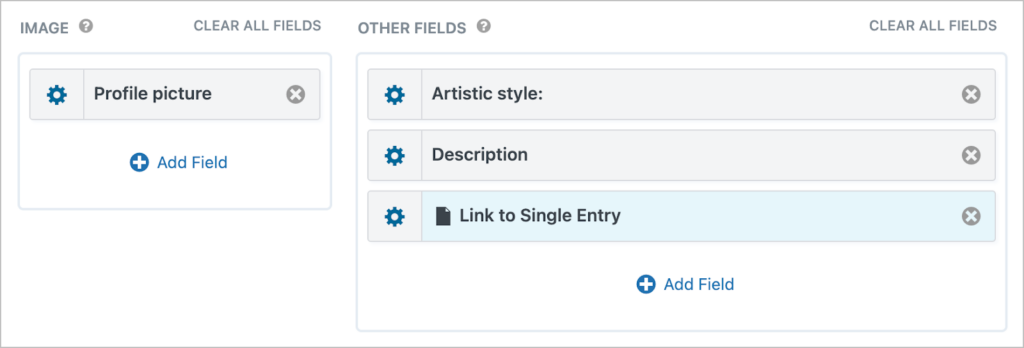
Next, we’ll add the Profile picture field to the Image section, and then we’ll add the Artistic style and Description fields to the Other Fields section. Finally, we’ll also add the Link to Single Entry field below the description.
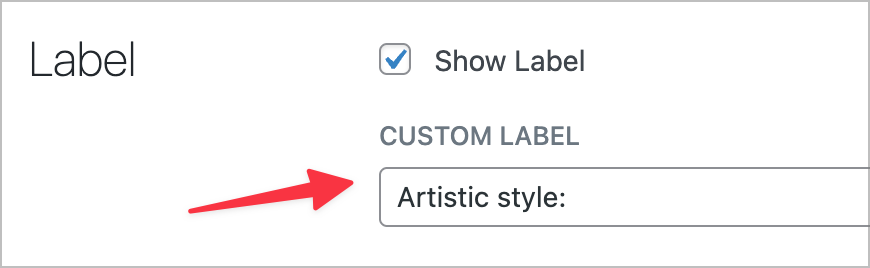
By default, GravityView hides the field labels. However, you can show these (or set your own, custom labels) by opening the field settings and checking the “Show Label” option.
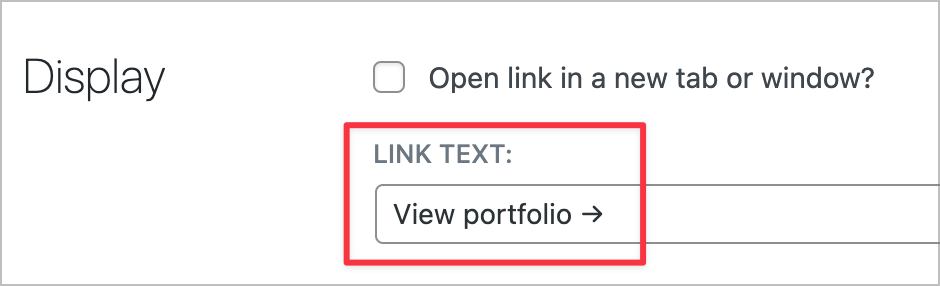
The “Link to Single Entry” field adds a link through to the Single Entry Layout. This is the page where we’re going to display a gallery of the artist’s works. To change the link text, click on the gear icon to open the field settings and add your chosen link text inside the box.
Here’s what our simple artist profile looks like on the front end:

That’s it for the Multiple Entries layout. But feel free to add any other fields you feel are necessary.
Adding Fields to the Single Entry Layout
Now we can turn our attention to the Single Entry Layout.

We’ll start by adding the Name field to the Listing Title section and we’ll add some custom text to the Subheading using the Custom Content field.
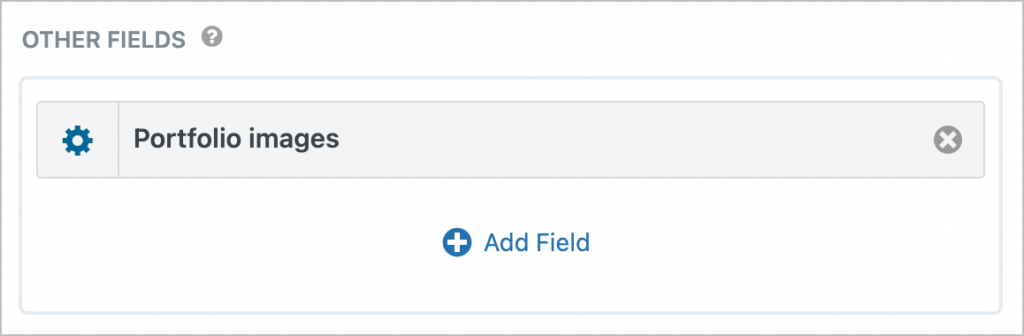
Finally, the most important field to add here is the Portfolio images field (our multi-file upload field where artists upload their portfolio images).
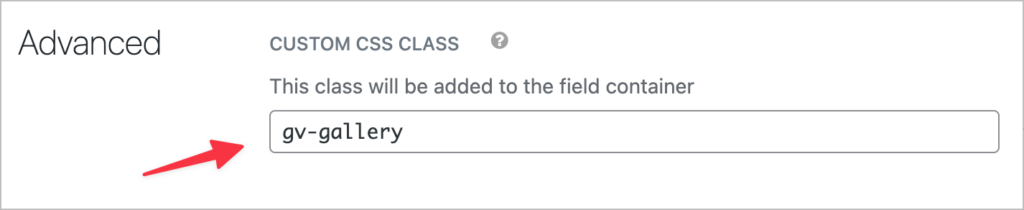
By default, GravityView will display multiple images in a list (i.e. one after the other), but that’s not what we want. Instead, we want to display images in a gallery (grid) layout. To do this, we’ll need to add the following CSS class to our multi-file upload field in GravityView:
gv-galleryTo do this, we’ll click on the gear icon to open the field settings, scroll down to “Advanced” and add the class inside the “Custom CSS Class” text box.
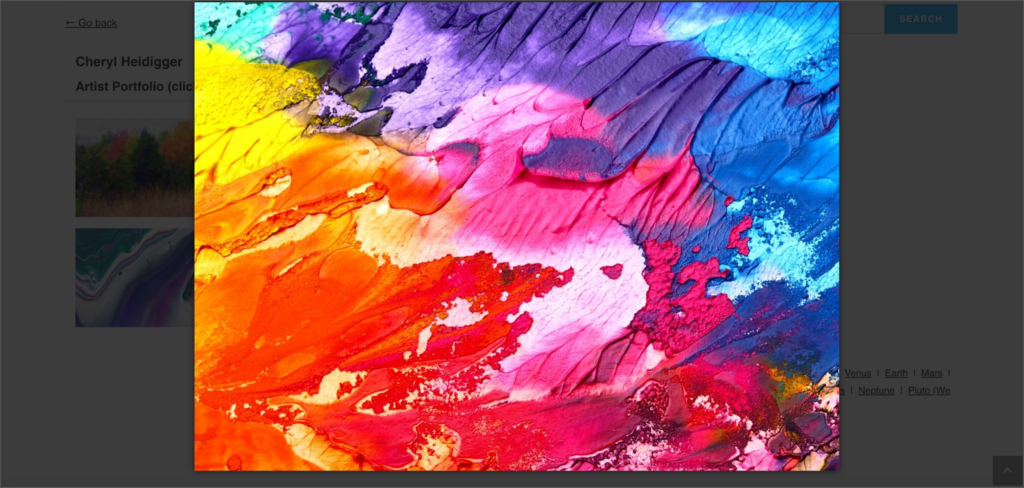
Now images will be displayed in a gallery (grid) as opposed to a list.

And when clicking on an image, it will open in a lightbox:
That’s it! When you’re finished constructing your View, remember to publish it. All that’s left to do now is embed our artist directory on the front-end.
Embedding Our Artist Directory on a Page or Post
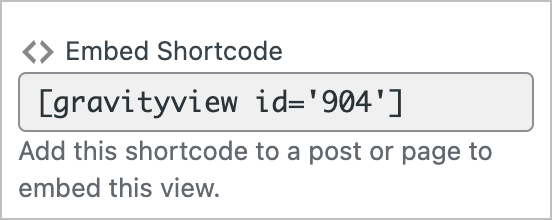
Users can access your artist directory using a direct link. Alternatively, you can embed your directory on a page or post. To do this, all you need to do is copy the GravityView embed shortcode and paste it into a WordPress Shortcode block.
You can find the embed shortcode on the View editor page above the Update button.
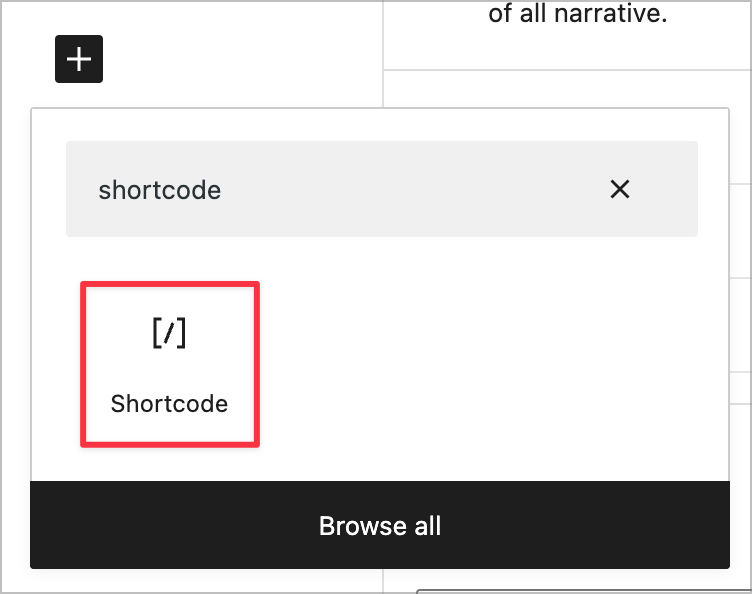
To add a Shortcode block to your page, click on the ‘+’ icon and search for “shortcode”. Click on it to add it to your page and paste the GravityView shortcode inside.
Create a Responsive Image Gallery for Gravity Forms
The Gravity Forms File Upload field allows users to upload one or more images as part of their form submission. Using GravityView, you can display these images on the front end as part of a profile, portfolio or image gallery.
In this post, we showed you how to create an artist directory with a portfolio displaying a gallery of images. If you found this tutorial helpful, make sure you subscribe to our newsletter below so we can send you all our newest content!

Helpful tips right in your inbox.
Subscribe to our weekly newsletter for tips, special offers, and more!
Helpful tips right in your inbox.
Subscribe to our weekly newsletter for tips, special offers, and more!

Helpful tips right in your inbox.
Subscribe to get the latest articles, information on releases and helpful Gravity Forms tips!
More articles

Launch Log: Distance sorting for radius searches, DataTables search improvements, and import reliability fixes
The latest GravityKit releases add distance sorting to map searches, bring built-in search to DataTables, and fix GravityCharts and GravityImport edge cases.

WordPress page builder market share 2026: Elementor leads at 32.67%
Elementor reaches 32.7% of WordPress sites. WordPress Block Editor 20.6%, wpBakery 8.5%, Divi 5.7%. Latest HTTP Archive crawl, share-of-WordPress basis throughout.

Launch Log: GravityView 3.0, plus upgrades to Block MCP and GravityKit MCP
GravityView 3.0 lands with the new Vantage theme, frontend bulk actions, and AI-assisted View creation. This launch log also covers updates to GravityKit MCP, Block MCP, and Dashboard Views.