Published
•
Updated
How to Add a QR Code to GravityView That Encodes Gravity Forms Data
You’ve probably seen a QR code before. You know, those odd mosaic-looking codes with a bunch of little squares inside? They’re everywhere these days. You can find them on restaurant menus, information brochures, and even social media posts! QR codes are handy for storing and sharing important data in a contactless way. In this post,…

You’ve probably seen a QR code before. You know, those odd mosaic-looking codes with a bunch of little squares inside?
They’re everywhere these days. You can find them on restaurant menus, information brochures, and even social media posts! QR codes are handy for storing and sharing important data in a contactless way.
In this post, we’re going to show you how to add a QR code to GravityView that encodes data from Gravity Forms submissions.
Sneak peek
Here’s an idea of what we’re looking to achieve.
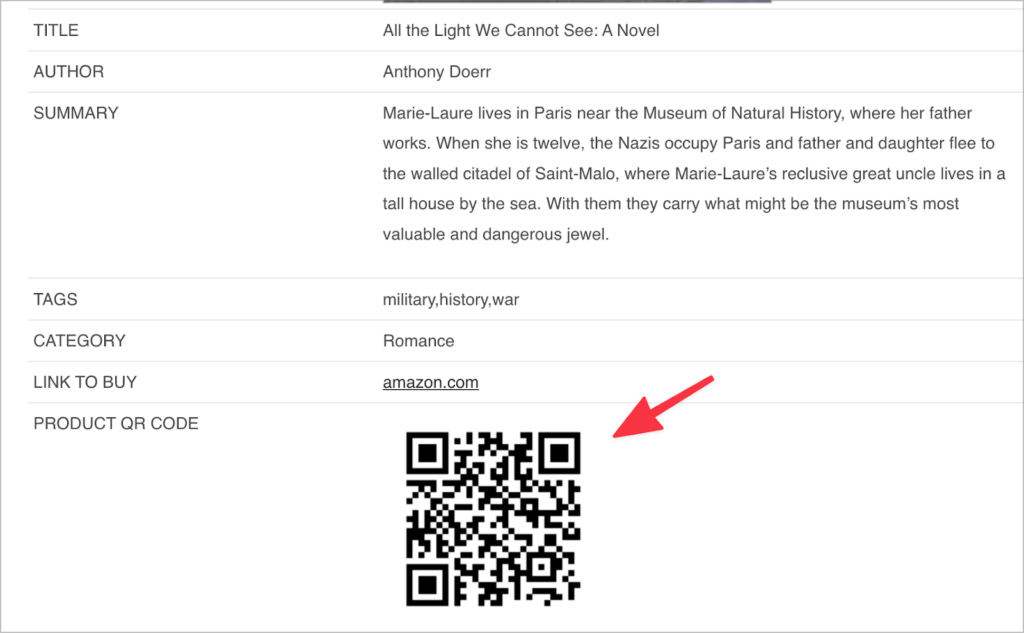
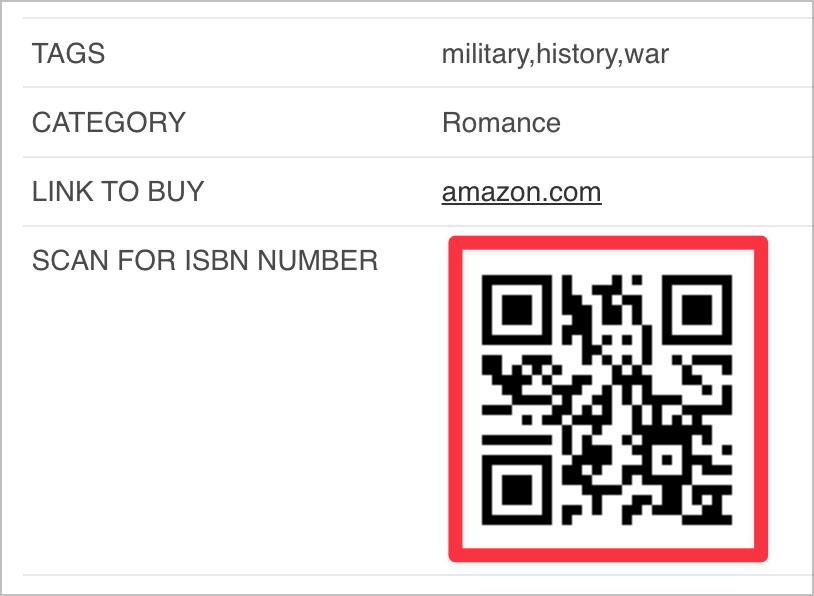
As you can see, we have a View set up to display information about books. The Single Entry page displays the title, author, book summary, tags, category and a link to buy the book on Amazon.
Finally, at the bottom of each product page, there’s a QR code that the user can scan to get more detailed information about the book. In fact, we can encode any information we want in this QR code, including website links!
Pretty cool, right?
Wanna try it?
Spin up a demo
See what you can build with GravityView — explore the live demo.

What you’ll need
Here’s what you’ll need for this tutorial:
| Plugin | Free/paid |
| Gravity Forms (any license level) | Paid |
| GravityView (any license level) | Paid |
| Kaya QR Code Generator | Free on the WordPress plugin directory |
Got everything you need? Okay, on with the tutorial! 👇
What is a QR code?
QR codes are a type of barcode that encode various kinds of data. This includes website links, text, product codes, coupons and more! QR stands for “Quick Response”.
These days, QR codes are a common sight. You often see them on restaurant menus, flyers, and websites. In fact, from 2018-2020, the number of QR code interactions grew by 94%!
QR codes are meant to be scanned using a mobile device. Depending on your smartphone, you may need to first install a QR code reader application.
Although QR code technology was invented in the 90s, they only became popular when smartphones began to appear. QR codes are an easy way to connect with people and share information.
How does a QR code encode data?
QR codes are usually in the shape of a square, with a puzzle-like look to them, made up of smaller, individual squares. QR codes are machine-readable visual arrangements used for encoding and sharing different types of data.
While barcodes can only be read horizontally, QR codes can be read horizontally and vertically, making them 2-dimensional. This enables QR codes to hold larger amounts of information.
Different areas of a QR code encode different information. “Data modules” are the individual units of information within the code, while the larger squares around the outside are called “position markers” – they help orient the scanning device.
There’s also a “quiet zone” around the data module matrix which is a blank area that helps the scanner figure out where the code begins and ends.

Now that you know a bit more about how QR codes work, let’s look at how we can use QR codes to encode data from a Gravity Forms entry.
Why add a QR code to GravityView?
There are several reasons why you might want to add a QR code to your entries in GravityView. Here are some common use cases.
Event registrations
If you’re using GravityView to display a list of upcoming events, you could add a QR code to the event page that takes the user to an event registration form. This would allow users to register for events on their smartphone.
Coupons
A QR code is a great way to share promos and coupons. If you use a dynamic QR code, your code will update when you update your promotion or coupon. This is really handy for sales and other special offers that you run.
Extra information about the entry
Sometimes there’s too much information in a single entry to display on one page. To ensure you don’t overload your visitors, why not encode extra information in a QR code? That way, if users want to view extra information, all they need to do is scan the code with their smartphone!
Follow the steps below to add a QR code to your entries in GravityView 👇
1. Install the Kaya QR Code Generator plugin
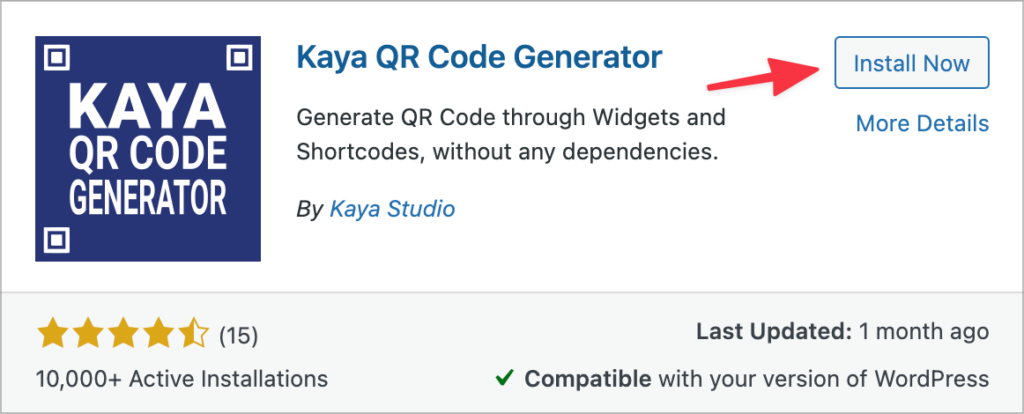
Start off by installing the Kaya QR Code Generator plugin. To do this, head over to the Plugins page in WordPress, click Add New and search for “Kaya QR Code Generator”.
Next, click Install now. When the plugin has finished installing, click Activate.
The Kaya QR Code Generator plugin allows you to generate QR codes and embed them on your website using shortcodes. You can also encode both static and dynamic content.
Encoding static content
Static content refers to text, or numerical content that won’t change in the future, i.e., it’s fixed. To encode static content in a QR code, simply use the following shortcode:
[kaya_qrcode content="My encoded content"]If you want to encode data from a Gravity Forms entry, you can simply replace “My encoded content” with a Gravity Forms user merge tag, like so:
[kaya_qrcode content="{Merg tag:1}"]Encoding dynamic content
The Kaya QR Code Generator plugin also allows you to encode dynamic content, i.e., content that is likely to change over time. To do this, you’ll need to use the following shortcode:
[kaya_qrcode_dynamic] [example_shortcode] [/kaya_qrcode_dynamic]Now let’s look at how we can generate a QR code for each of our entries in GravityView.
2. Add the QR code shortcode to your GravityView entry
Now comes the fun part, adding the QR code shortcode to our GravityView entries.
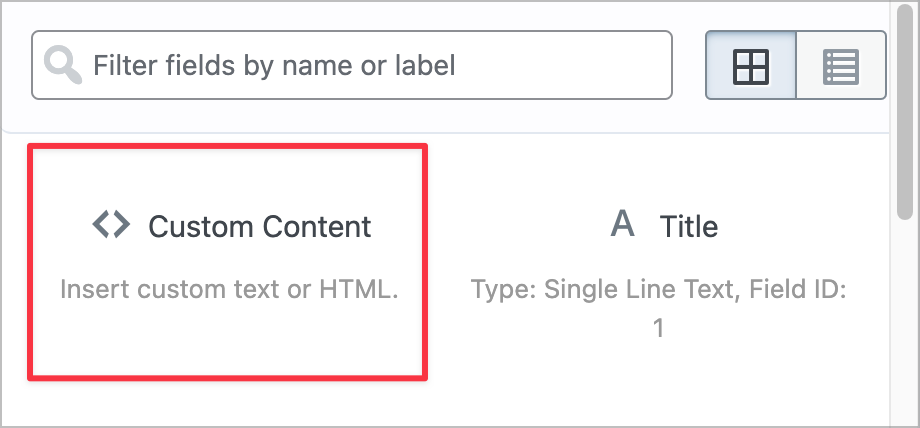
To do this, we’ll edit our View, navigate to the Single Entry page and add a new Custom Content Field. The Custom Content field allows us to add text, HTML, shortcodes and merge tags to our View layout!
Pro tipLearn more about using the Custom Content field in GravityView.
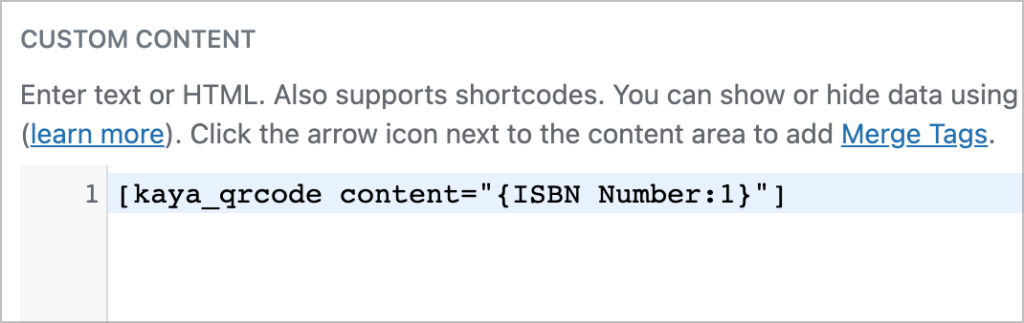
We’ll open the Custom Content field settings by clicking on the gear icon. In the text editor, we’ll add the [kaya_qrcode] shortcode and use a Gravity Forms merge tag as the content.
To add a merge tag, we’ll click on the button to the right of the text editor, and select our chosen field from the list.

We’ll add the merge tag to the content parameter. This ensures that our QR code will encode data from that field in Gravity Forms. In this case, our code is encoding the ISBN number of the book, but you can add any data here, as long as it’s in an appropriate format (i.e., text or alphanumeric).
The final step is to test our QR code on the front end!
3. Test your new QR code
Now, each of our book entries has an associated QR code that will display the ISBN number when scanned.
If you want to test it yourself, pull out your phone and scan the above QR code! 😏
Add QR codes to your GravityView entries
QR codes can encode all kinds of data, from website links to event details! More and more businesses are using QR codes as a way of connecting with people and sharing important information.
Adding QR codes to GravityView can be helpful for managing event registrations, storing extra information and sending users to external websites.
In this post, we showed you how to add a QR code to your entries in GravityView that encodes data from Gravity Forms submissions. If you found this post helpful, check out more content on our blog!

Helpful tips right in your inbox.
Subscribe to get the latest articles, information on releases and helpful Gravity Forms tips!
More articles

GravityKit turns 12: a year in review, and 30% off Lifetime All Access
GravityKit turns 12. A look back at a year of GravityView 3.0, GravitySearch, and AI-assisted building, plus a birthday sale on the Lifetime All Access Pass.

Launch Log: Row headers for screen readers, smarter conditional logic, and multi-View fixes
GravityView 3.1 adds row headers for screen readers, plus smarter conditional logic in GravityCalendar and fixes for DataTables, Maps, and Dynamic Lookup.

Ecommerce platform market share 2026: WooCommerce leads the web, Shopify leads the top tier
Ecommerce platform market share in 2026, from HTTP Archive data. WooCommerce leads the whole web at 6.64%, but Shopify already leads the top 1M sites.
