Published
•
Updated
How to Build a Gravity Forms Event List for the Holiday Season
Build a searchable event list for the holiday season using Gravity Forms and GravityView. Display event name, date, location, and price with no code required.

Are you getting in the holiday spirit? The most wonderful time of the year is almost upon us!
No matter where you live, there’s bound to be a host of fun activities taking place during the holiday season. But sometimes people miss out on great events simply because they don’t know where to find them.
This year, why not help people make the most of their holidays by curating a list of fun activities in your area?
In this post, we’ll show you how to create an events list using Gravity Forms and GravityView, so grab a cup of Floaty’s astronaut hot chocolate and follow along!
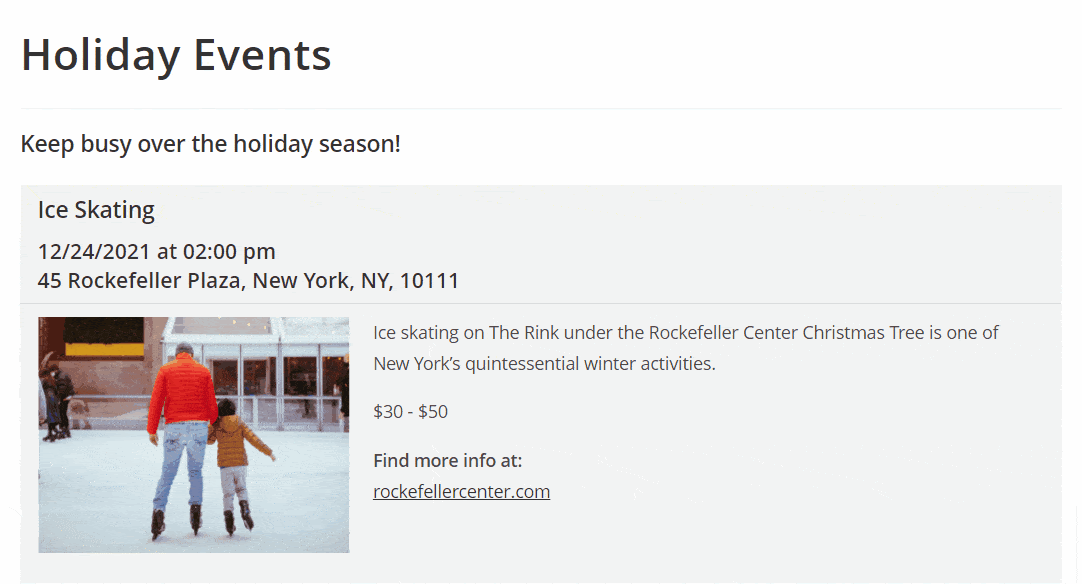
Sneak peek
Here’s a quick preview of what we’re going to build in this tutorial:
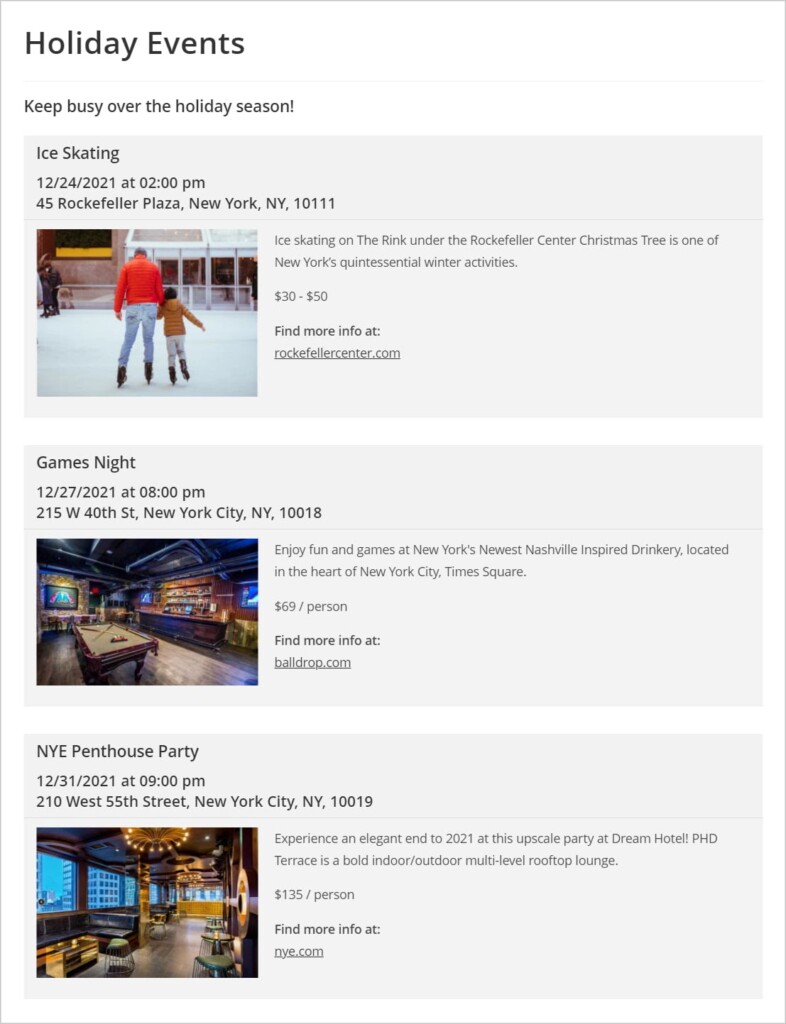
As you can see, we’ve created a list of events showing the title, date & time, address, price, and description of the event. We’ve also included a website link that users can click on to find out more information.
Are you ready? Let’s dive in! 👇
Creating the event listing form
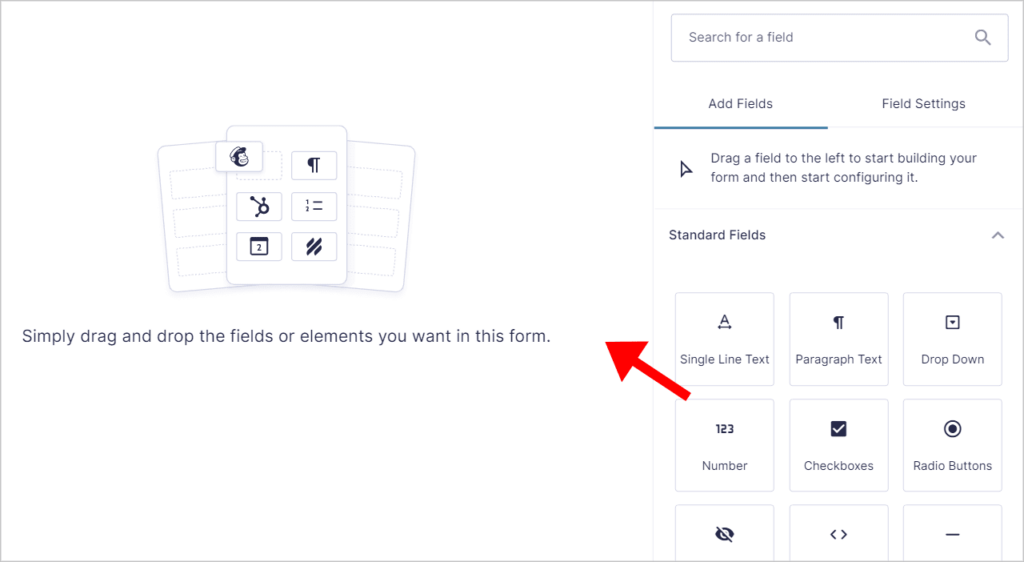
First up is creating the event listing form. To do this, hover over Forms and click New Form. Now give your form a name and click Create Form. Now you can start constructing your form using the drag and drop form editor.
To add fields to your form, simply drag and drop them onto the canvas from the right-hand panel.
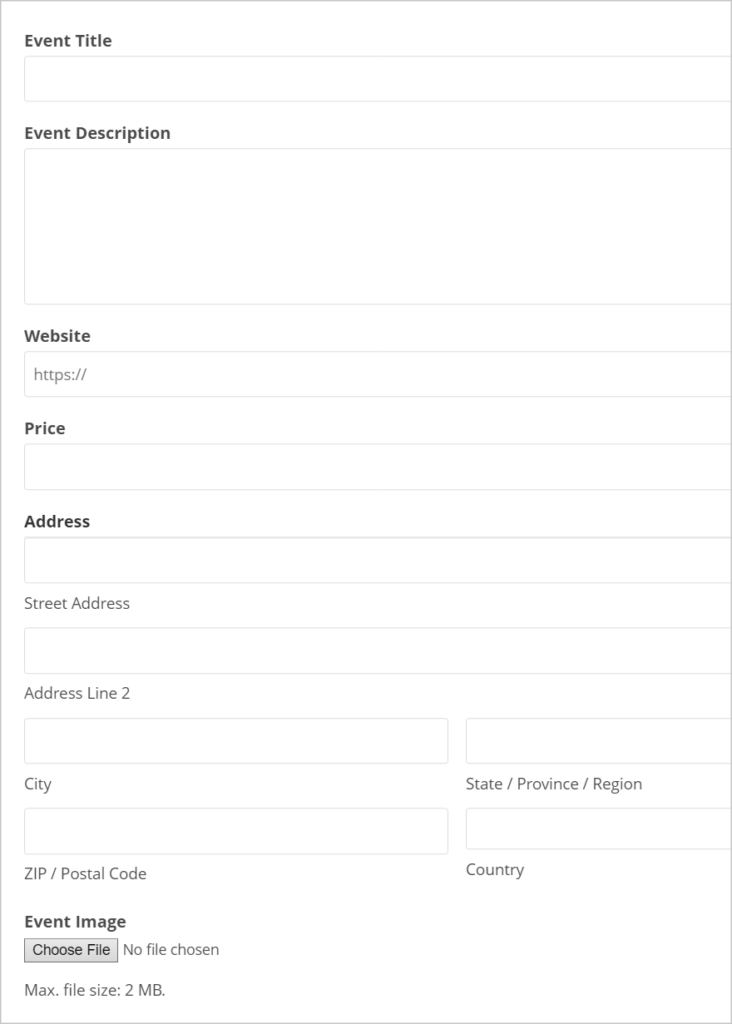
For this example, we’ll create an event listing form with the following fields:
- Event Title (Single Line Text field)
- Event Description (Paragraph Text field)
- Website (Website field)
- Price (Single Line Text field)
- Address (Address field)
- Event Image (File Upload field)
- Date (Date field
- Start Time (Time field)
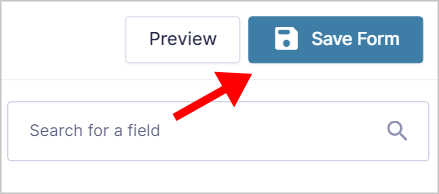
Feel free to add any other fields that you think are necessary! When you’re done, click Save Form at the top right.
When you’re done, don’t forget to embed your form on a post or page. Here’s what our event listing form looks like on the front end:
Now that your form is set up, the next step is to install GravityView and create a View to display event listings on the front end.
Installing GravityView
📝 GravityView is an add-on for Gravity Forms that allows you to display form entries on the front end and build powerful front-end applications.
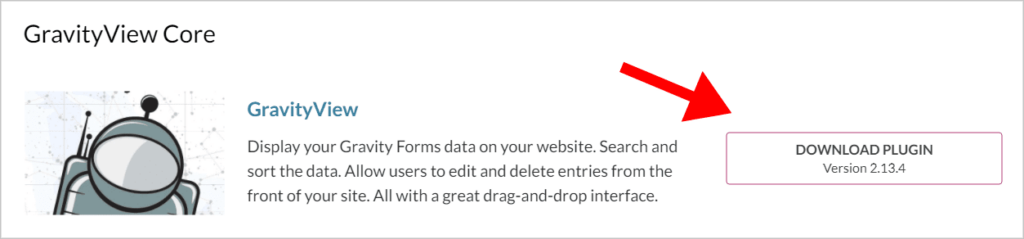
Start by purchasing a license from our website. Next, head over to your Account page, click on the Downloads tab and download the GravityView plugin file.
Now log in to your WordPress dashboard and install GravityView by following these steps:
- Hover over Plugins and click Add New
- Click on Upload Plugin
- Click Choose File and select the GravityView plugin ZIP file
- Click Install Now
- When GravityView has finished installing, click Activate
After installing GravityView, it’s time to build a new view…
Creating a new View
📝 A “View” is a custom post type that allows you to display Gravity Forms entries on the front end.
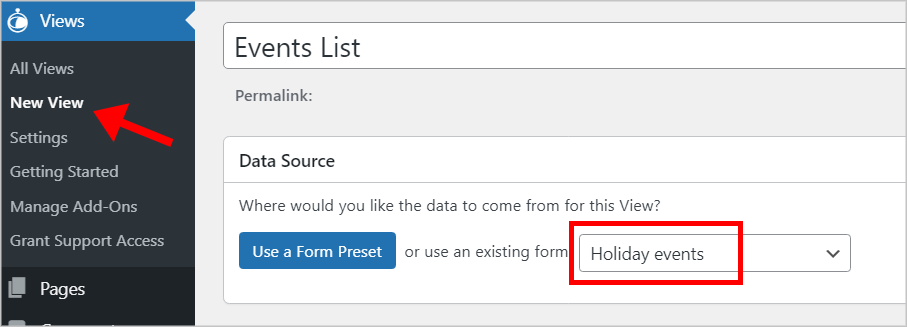
To create a new View, hover over Views and click New View. Now give your View a name and select your event listing form as the data source. This tells GravityView where to pull data from.
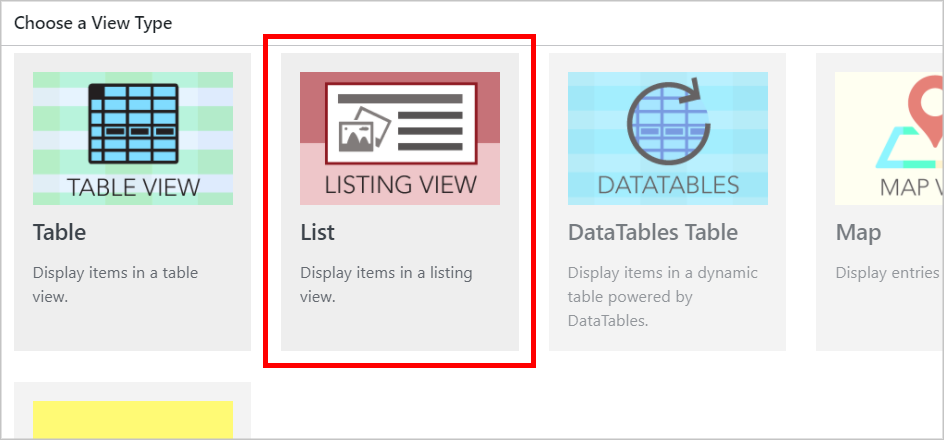
The next step is to choose a view type. Different view types allow you to display data in different ways. Seeing as we’re creating a list of events, we’ll select the List layout.
After selecting your view type, you can begin constructing your View using GravityView’s drag and drop builder.
A View is made up of three pages: the Multiple Entries Layout, the Single Entry Layout, and the Edit Entry Layout.
The Multiple Entries Layout displays all the entries one after the other while the Single Entry Layout displays information about an individual entry. The Edit Entry Layout allows users to edit their submissions from the front end.

For this tutorial, we’ll focus on the Multiple Entries layout and the Single Entry Layout.
Configuring the Multiple Entries Layout
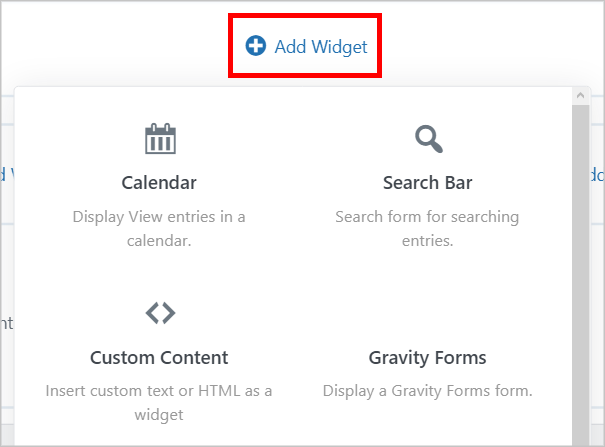
Start by adding widgets to the Top Widgets area. Widgets make it easier for users to navigate your View. If you have a large number of events, it might be helpful to add a Search Bar widget so users can quickly find events that they’re interested in.
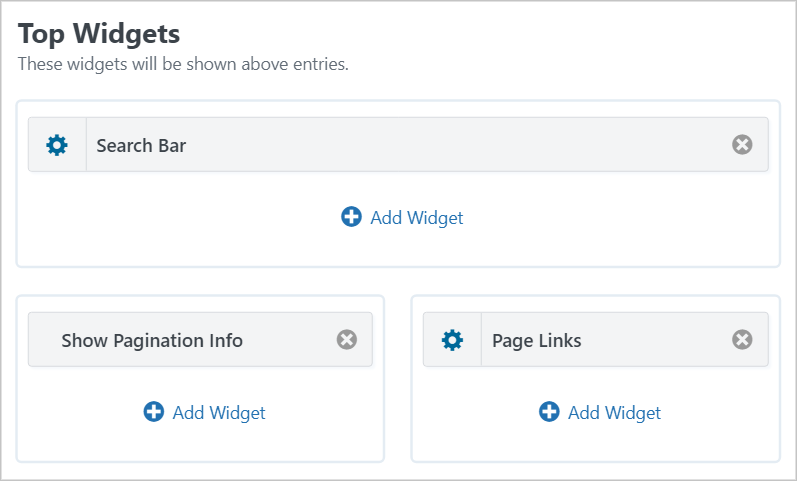
To add a new widget, click on the ‘+ Add Widget’ button and select an option from the list.
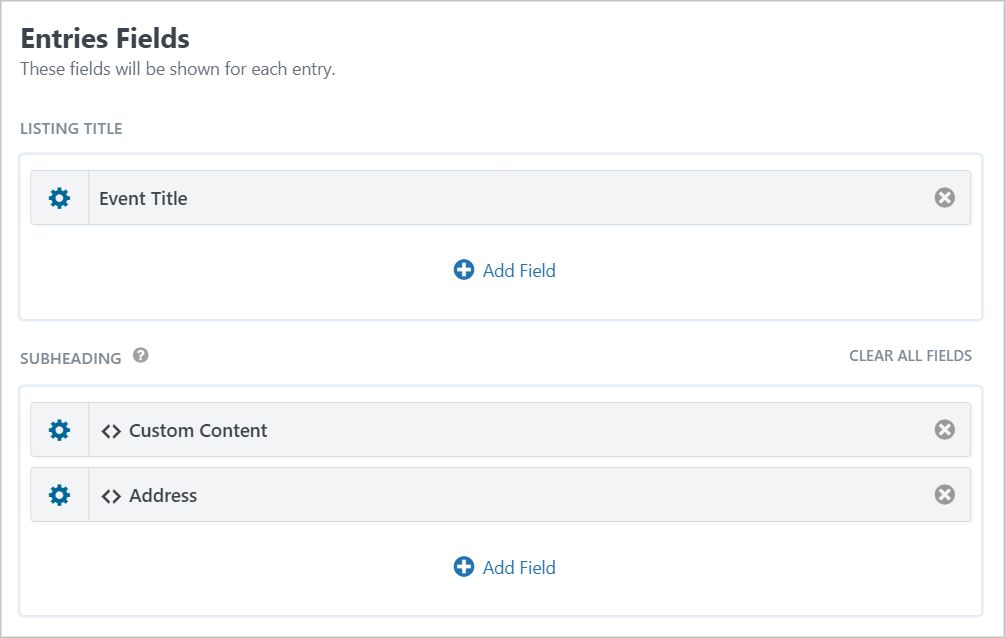
When you’re done, scroll down to the Entries Fields section to begin adding fields to your View layout.
Start by adding the Event Title field to the Listing Title section and then add the Date, Start Time, and Address fields to the Subheading section.
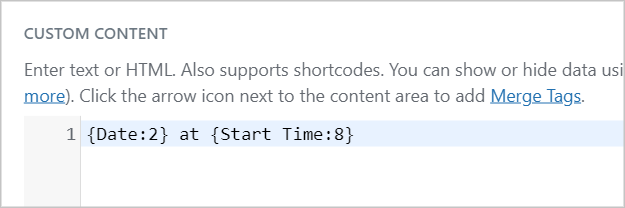
If you want the date, time, and address to appear on a single line (like in the example above), you can add these fields inside a Custom Content field.
📝 A Custom Content field allows you to add custom HTML, shortcodes and Gravity Forms merge tags to your View.
Add a Custom Content field by clicking ‘+ Add Fields’ and selecting Custom Content. Now, click on the gear icon to open up the Custom Content text editor. Here you can add merge tags along with other text and HTML.
Now add the Event Image field to the Image section and add the Event Description, Price, and Website fields to the Other Fields section.
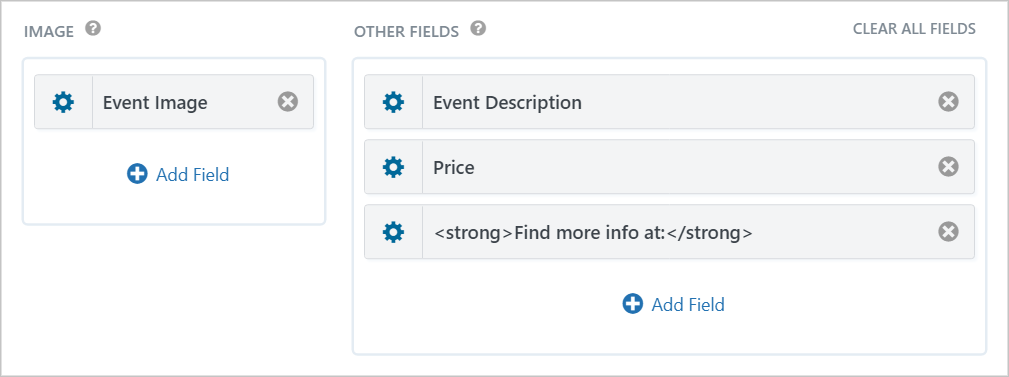
To give your field a custom label, open the field settings window by clicking on the gear icon and check the box that says “Show label”. Now enter a custom label (you can also use HTML).

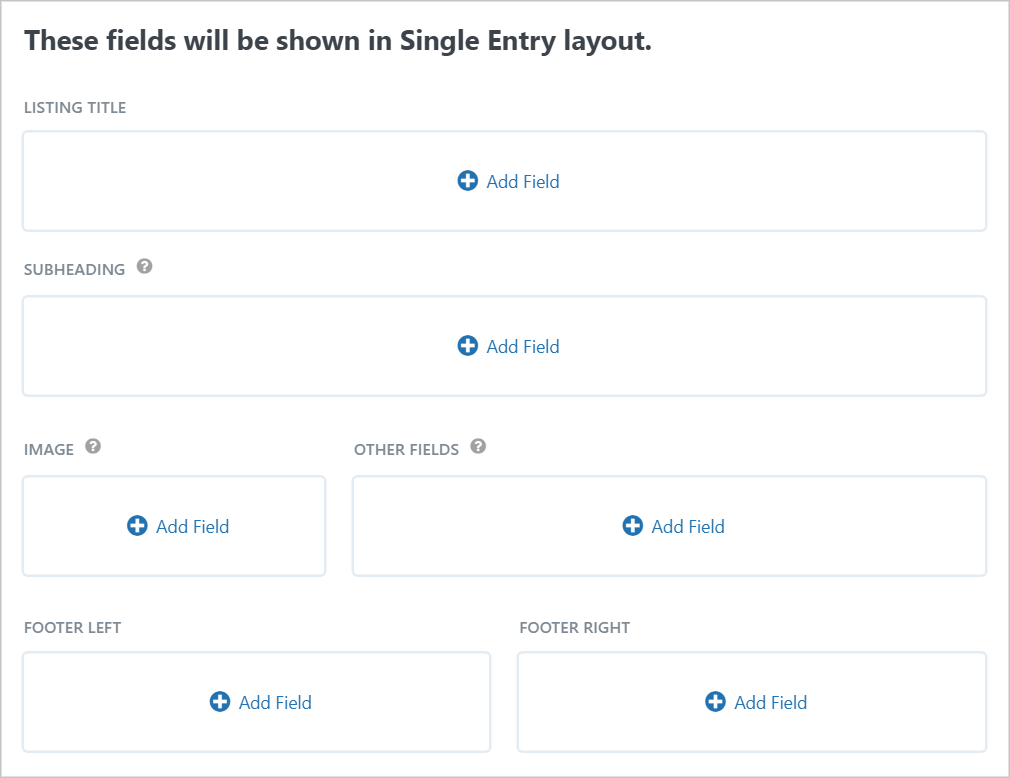
After configuring the Multiple Entries page, you can start customizing the Single Entry Layout (this step is optional).
Optional: Configure the Single Entry Layout
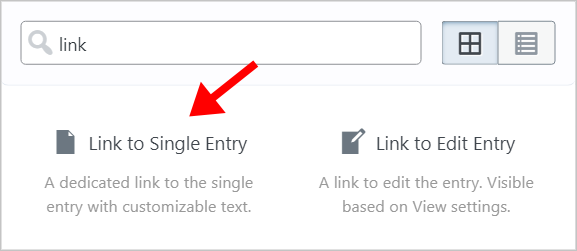
The single entry screen is useful for displaying extra information about a particular event. Before you can configure the Single Entry page, you’ll need to add a link to the Single Entry from the Multiple Entries page.
To do this, click on the ‘+ Add Fields’ button and select the Link to Single Entry field.
To configure the Single Entry page, click on the Single Entry Layout tab at the top of the View editor.
Here you can add fields in the same way as you did for the Multiple Entries Layout.
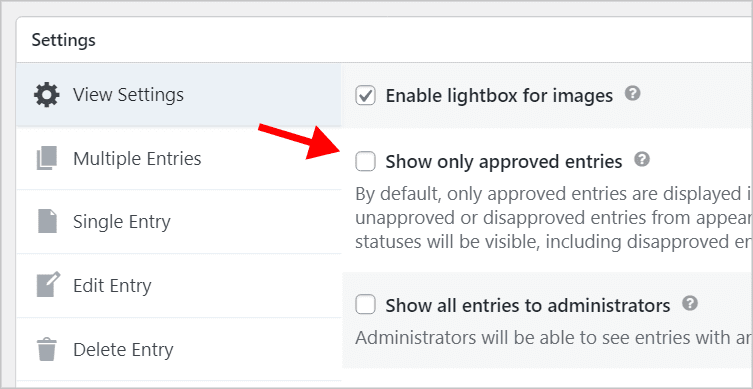
When you’re done configuring the Single Entry layout, scroll down to the Settings meta box to configure the View settings.
Configuring the View Settings
The final step is to configure the View settings. You’ll see the View Settings meta box below the drag-and-drop View editor.
If you’d like to hold events for approval before allowing them to be displayed on the front end, ensure you check the box that says “Show only approved entries”. If not, leave this box unchecked.
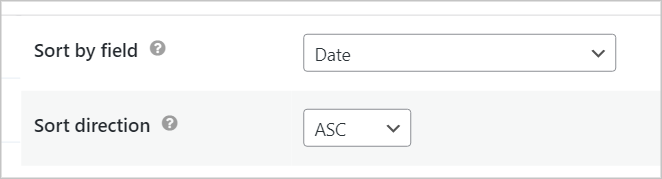
Secondly, you may wish to order events by date. To do this, click on the Filter & Sort tab, and select the Date field next to where it says “Sort by field”.
There is a range of other settings and options available so feel free to look around and customize things to your liking.
When you’re done, make sure to save your View by clicking Publish.
Embedding your View on a page or post
After publishing your View, the final step is to embed it on your website.
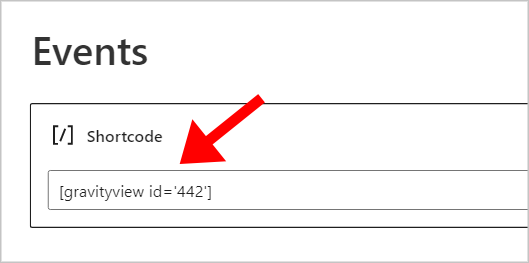
You can embed your View using the GravityView embed shortcode. You’ll find it on the View page below the Update button.
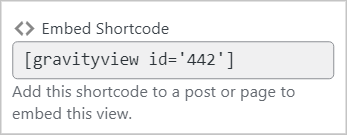
All you need to do is copy and paste the shortcode inside a WordPress Shortcode block.
Now submit a few events and preview your Gravity Forms event list on the front end!
That’s it!
Pro tipIf you want to take things further, use our Gravity Forms Calendar add-on to display events visually on a calendar.
Create a Gravity Forms event list for the holidays!
The holiday season is upon us – it’s the perfect time to relax, spend time with your loved ones, and enjoy fun activities with friends (all the while staying healthy, of course!).
In this post, we showed you how to display a list of events in your area by creating an events list using Gravity Forms and GravityView. If you enjoyed this post, join our email list so we can notify you when we publish new content.

Helpful tips right in your inbox.
Subscribe to get the latest articles, information on releases and helpful Gravity Forms tips!
More articles

Launch Log: Distance sorting for radius searches, DataTables search improvements, and import reliability fixes
The latest GravityKit releases add distance sorting to map searches, bring built-in search to DataTables, and fix GravityCharts and GravityImport edge cases.

WordPress page builder market share 2026: Elementor leads at 32.67%
Elementor reaches 32.7% of WordPress sites. WordPress Block Editor 20.6%, wpBakery 8.5%, Divi 5.7%. Latest HTTP Archive crawl, share-of-WordPress basis throughout.

Launch Log: GravityView 3.0, plus upgrades to Block MCP and GravityKit MCP
GravityView 3.0 lands with the new Vantage theme, frontend bulk actions, and AI-assisted View creation. This launch log also covers updates to GravityKit MCP, Block MCP, and Dashboard Views.