Published
•
Updated
How to display Gravity Forms entries on a page or post
Gravity Forms is a powerful WordPress plugin for collecting user input, but what if you want to display that data publicly on your site? That’s where GravityView comes in. In this tutorial, we’ll show you how to display Gravity Forms entries on a WordPress page or post using GravityView. Whether you’re building a directory, showcasing…

Gravity Forms is a powerful WordPress plugin for collecting user input, but what if you want to display that data publicly on your site? That’s where GravityView comes in.
In this tutorial, we’ll show you how to display Gravity Forms entries on a WordPress page or post using GravityView. Whether you’re building a directory, showcasing testimonials, or creating an interactive map, this guide will walk you through each step.
Let’s get started!
What is GravityView?
GravityView is a Gravity Forms Certified Add-On that makes it easy to display form entries on the frontend of your site. With its drag-and-drop builder and multiple layout options, GravityView empowers you to create dynamic directories, maps, data tables, and more—without any coding.
Using GravityView, you can build all kinds of form-based applications, including:
- Member directories
- Geolocation directories (powered by Google Maps)
- Donation dashboards
- And much more!
Pro tipTo see what’s possible with GravityView, check out our range of live demos.
Showing Gravity Forms entries on a page, a step-by-step guide
Here are the steps you’ll need to follow for displaying Gravity Forms entries on a page or post:
- Install the GravityView add-on
- Create a new “View” and link it to your Gravity Forms form
- Choose a layout for your data (e.g., List, Table, etc.)
- Build your View using the drag-and-drop editor
- Embed your View on a page or post
Let’s go through each step in detail.
Step 1: Install and activate the GravityView plugin
To begin, make sure Gravity Forms is installed and you have form submissions to display.
Next, install GravityView:
- Download the GravityView plugin
- Upload the plugin via your WordPress dashboard under Plugins
- Activate it
Once installed, you’ll see a new “GravityKit” menu in your WordPress dashboard.
Step 2: Create a new View and select a data source
For this example, we will assume that you already have a form with entries. If you don’t have a form yet, you’ll need to create one first.
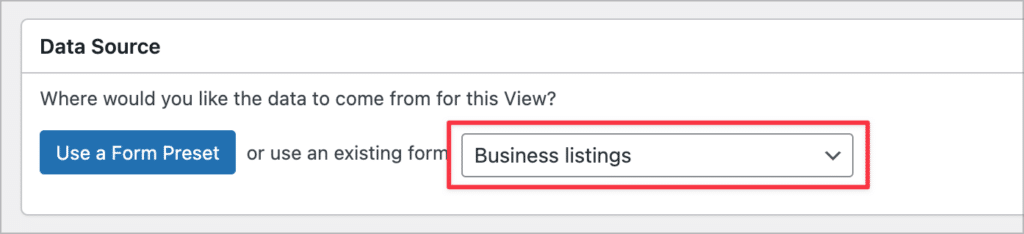
After installing GravityView, the first step is to create a new View. To do this, hover over “GravityKit” and click “New View”. After giving your View a name, you’ll need to select a data source.
The data source is a form in Gravity Forms containing the submission data you want to display. For this example, we’ll select our “Business listings” form.
After selecting a data source, the next step is to choose a View Type.
Step 3: Choose a View Type
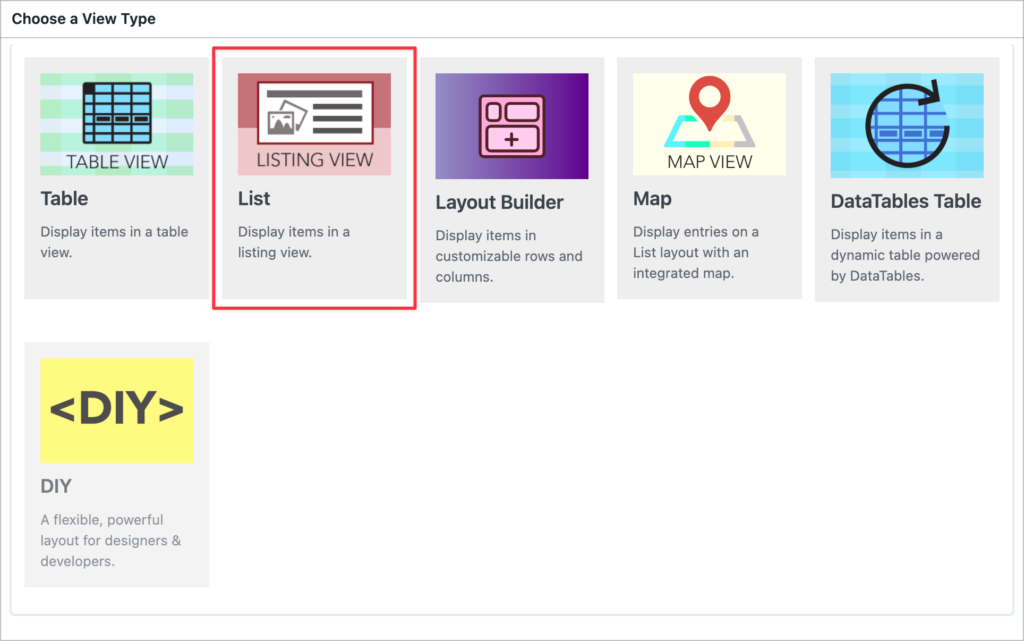
GravityView offers multiple layout options, also known as “View Types.” Choose the one that best fits your project:
- Table – Display entries in rows and columns (like a spreadsheet)
- List – Great for directories or listing content vertically
- Layout Builder – Best for complex or custom layouts
- Map – Show entries as pins on a Google Map
- DataTables – Adds advanced filtering and column sorting
- DIY – Customize your layout using HTML and CSS
For example, if you’re building a business directory, use the “List” layout. For comparison tables, use “Table”.
Step 4: Customize the View
The View editor has three tabs at the top, one for each of the three layouts that make up a View.

- The Multiple Entries Layout is where each of your entries will appear, one after the other
- The Single Entry Layout shows more detailed information about a single entry
- The Edit Entry Layout allows users to edit Gravity Forms field values from the front end
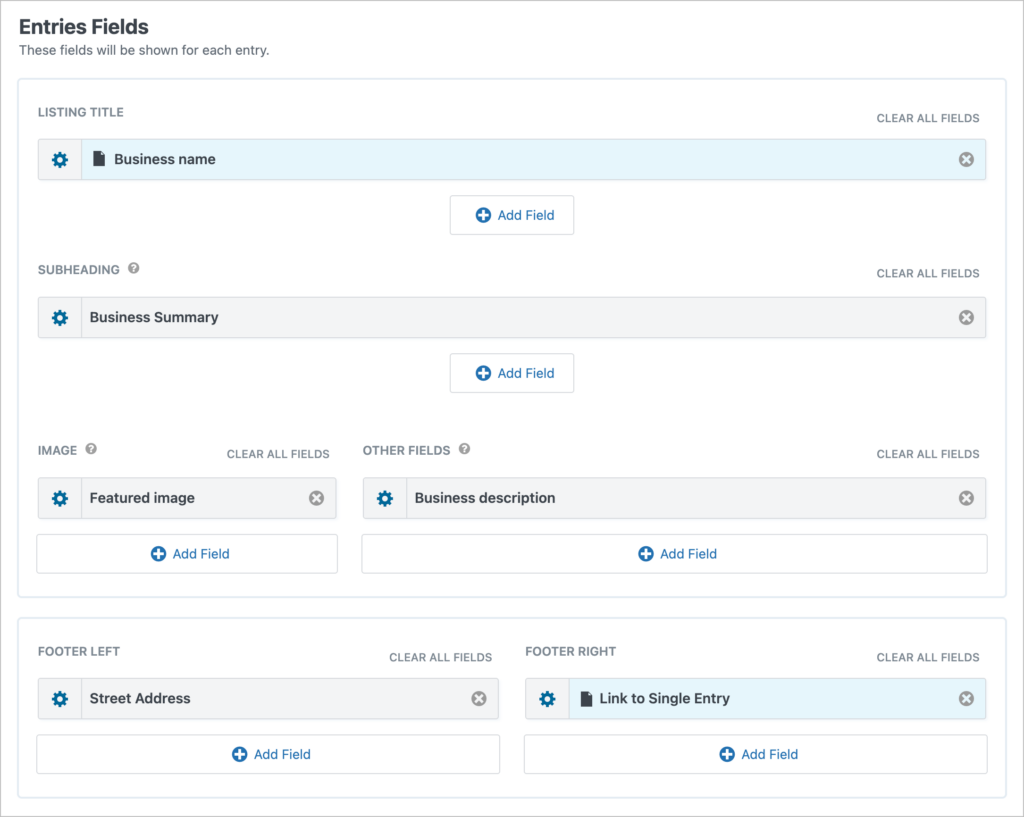
Now you can begin constructing your View using GravityView’s drag-and-drop builder. To add fields to your View, simply click on the “Add Field” button. You have full control over which fields to display and where.
Select any form field, and drag it into predefined layout areas (title, subheading, body, footer, image).
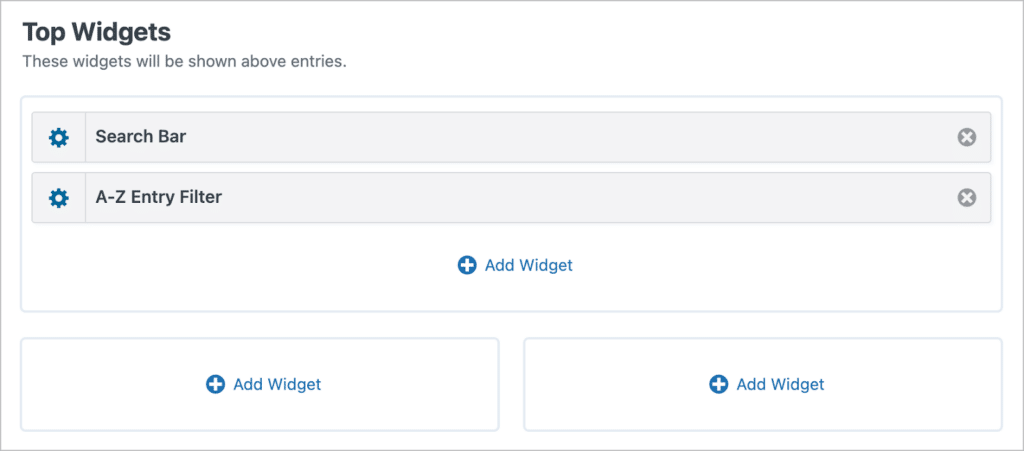
Then, add widgets like:
- Search bar
- A-Z Entry Filter
- Pagination controls
Pro tipLearn more about View construction in our in-depth guide to building a Gravity Forms business directory.
Step 5: Embed your View on the frontend
After configuring your View:
- Create or edit a WordPress page/post
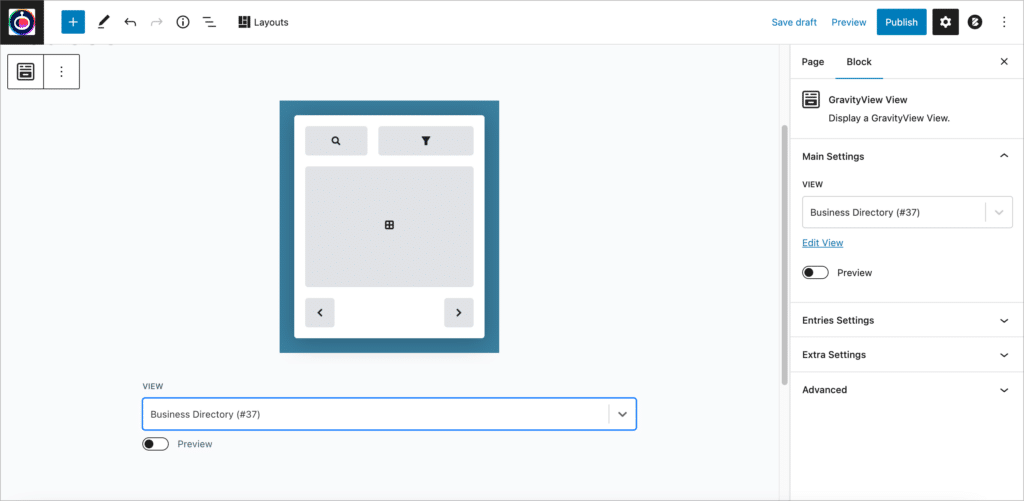
- Add the “GravityView” block in the editor
- Select the relevant View from the dropdown
- Publish or update the page
After that, check your View on the frontend:

Prefer a page builder? Embed your View there instead
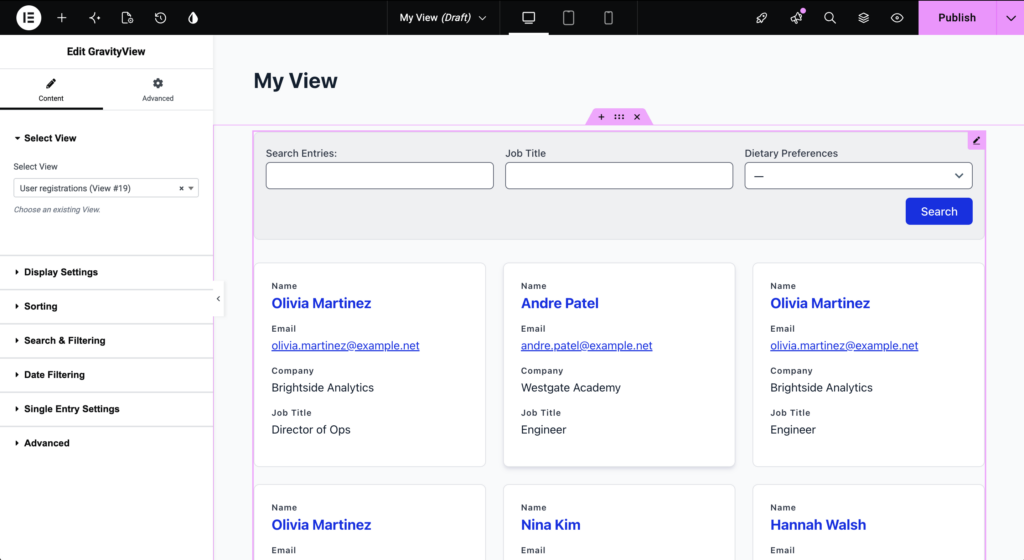
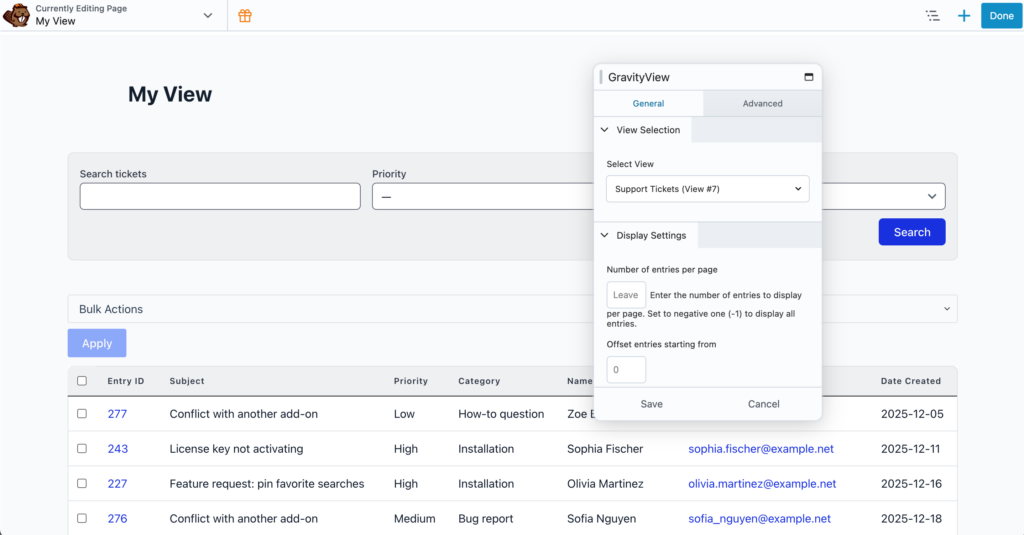
The GravityView block is the quickest way to embed a View, but you’re not limited to the block editor. GravityView 3.0 added native widgets for Divi, Beaver Builder, and Elementor, so you can drop a View straight into a page-builder layout without touching a shortcode.
In your builder, edit the page, search the widget list for GravityView, and drag the widget (or module) into place. Then choose the View you want from its settings, and your entries render right inside the design.
For setup details on each builder, see the page builder support documentation.
That’s it! Now you know how to display Gravity Forms submission data on a page or post using GravityView.
More ways to display and manage entries in GravityView 3.0
Embedding a View is just the start. GravityView 3.0 added several features that make displaying and managing your entries easier:
- Build Views with AI – Describe the View you want and let the GravityKit MCP build and configure it for you (opt-in).
- Modern themes – Apply the Vantage theme to give any View a clean, responsive look with little or no custom CSS.
- Frontend bulk actions – Let approved users approve, edit, delete, export, or resend notifications on multiple entries at once from a table View, with no dashboard access.
- Upgraded search bar – Add date range presets, a combined date picker, and min/max numeric limits so visitors can filter entries more precisely.
See everything that’s new in the GravityView 3.0 release.
Display your Gravity Forms entries on a page or post
If you use Gravity Forms on your website to collect data, you may be looking for a way to harness that data and display it on the front end.
In this post, we showed you how to display Gravity Forms entries on a page or post. All you need to do is install GravityView, create a View, and link your form as the data source. You can then embed Gravity Forms data anywhere on your website!
So what are you waiting for? Get GravityView today!

Helpful tips right in your inbox.
Subscribe to get the latest articles, information on releases and helpful Gravity Forms tips!
More articles

Launch Log: theme template editing in Block MCP, Shield silentCAPTCHA for Zero Spam, and GravityView fixes
Block MCP adds safe theme template editing, Gravity Forms Zero Spam gains Shield silentCAPTCHA support, and GravityView fixes lightbox and notice bugs.

GravityKit turns 12: a year in review, and 30% off Lifetime All Access
GravityKit turns 12. A look back at a year of GravityView 3.0, GravitySearch, and AI-assisted building, plus a birthday sale on the Lifetime All Access Pass.

Launch Log: Row headers for screen readers, smarter conditional logic, and multi-View fixes
GravityView 3.1 adds row headers for screen readers, plus smarter conditional logic in GravityCalendar and fixes for DataTables, Maps, and Dynamic Lookup.
