Published
•
Updated
Gravity Forms file uploads: A comprehensive guide (manage your files with ease!)
The Gravity Forms File Upload field allows users to upload images, videos, documents, and other files as part of their form submissions. Gravity Forms is one of the most widely used form plugins on WordPress, which runs a third of the web in 2026,...
The Gravity Forms File Upload field allows users to upload images, videos, documents, and other files as part of their form submissions.
Gravity Forms is one of the most widely used form plugins on WordPress, which runs a third of the web in 2026, so file uploads quickly become a real operational concern at any reasonable scale.
In this comprehensive guide, we’re going to show you how to accept file submissions through your forms, how to style the file upload button, what to do with uploaded files when they’re submitted, and much more.
Let’s get started!
How to upload files and documents to a form
You can upload files to a form using the Gravity Forms “File Upload” field. This is an advanced field type that you can add to your forms from inside the visual form editor. Let’s take a look at this powerful form field in more detail.
The Gravity Forms File Upload field
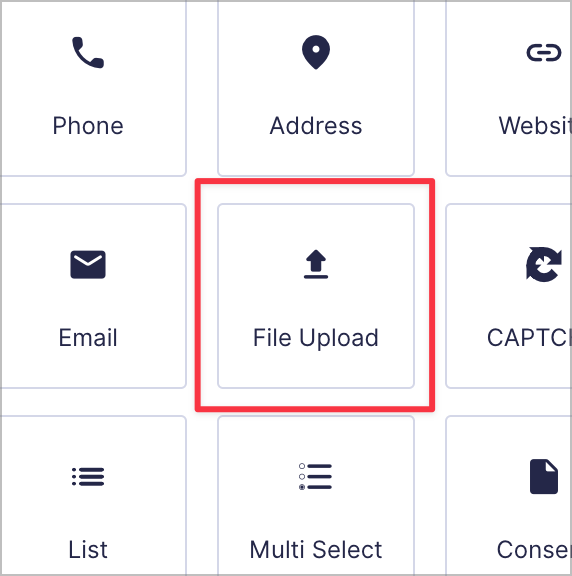
You can find the “File Upload” field in the “Advanced” panel in the Gravity Forms editor. To add this field to your form, simply drag and drop it onto the canvas.
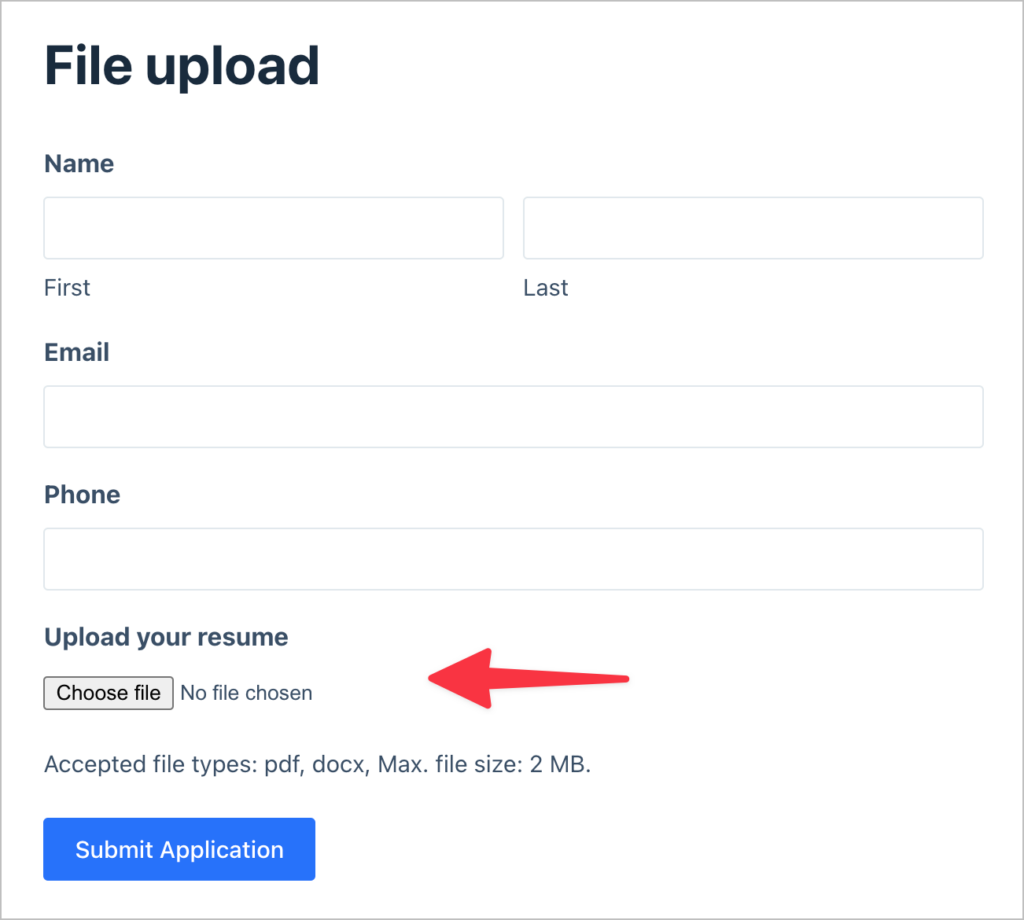
After adding the field to your form, you’ll need to configure a few settings. First is the “Allowed file extensions” setting. Here, you can set the type of files that users are allowed to upload in their submission.
For example, if you only want users to be able to upload PDF and docx files, you would add those extensions to the box separated by commas (e.g.: pdf, docx).
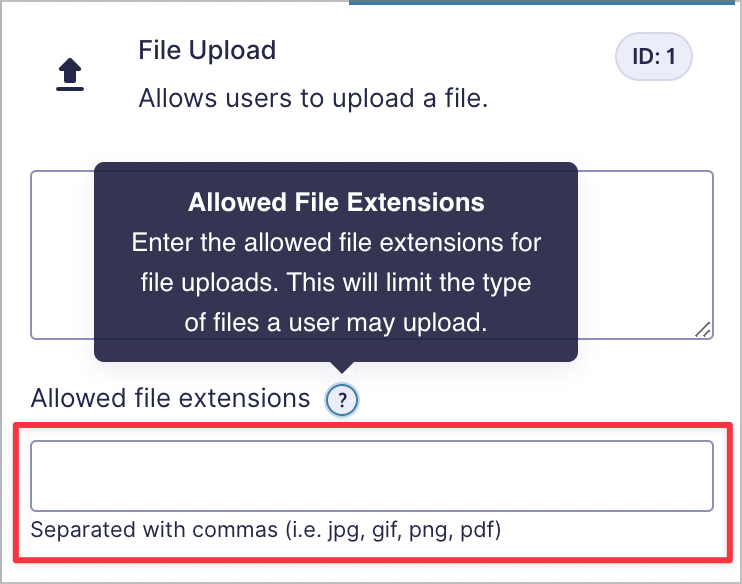
If you leave this box blank, users will be able to upload any type of file. From a security point of view, it’s best to specify the allowed file types here.
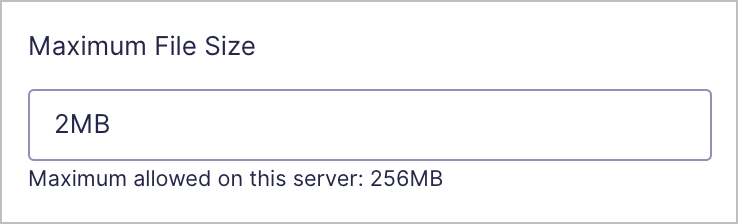
Next, you can specify the maximum allowed file size. The maximum size will default to the maximum upload size allowed on your server (usually 256MB). However, if you don’t want users to upload large files, you can specify a limit here (e.g. 2MB).
Here’s what the default Gravity Forms File Upload field looks like on the front end:
So, what if you want users to be able to upload more than one file with their submission? Luckily, that’s also possible using the File Upload field!
How to upload multiple files to a form
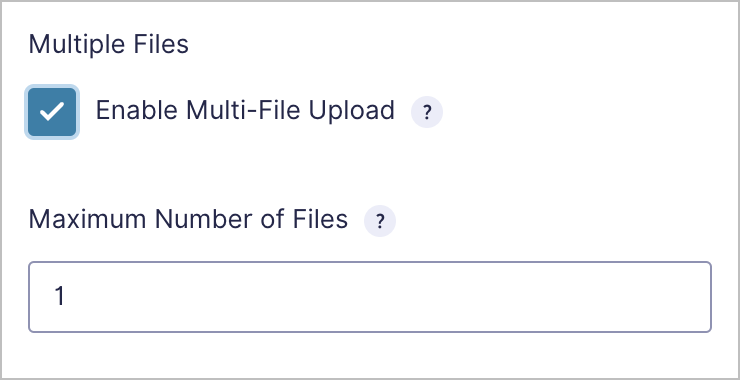
In order to upload multiple files through a “File Upload” field, you’ll need to enable the “Multi-File Upload” functionality in the field settings.
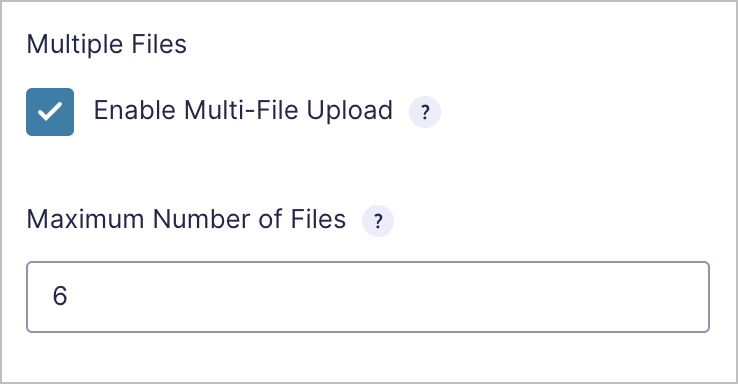
After enabling multi-file upload, you can also set the maximum number of files that users are allowed to upload with each submission.
How to style the file upload button
Let’s be honest, the default look of the File Upload field leaves much to be desired. Luckily, there are several ways to improve its look and feel, without needing to mess a round with custom code!
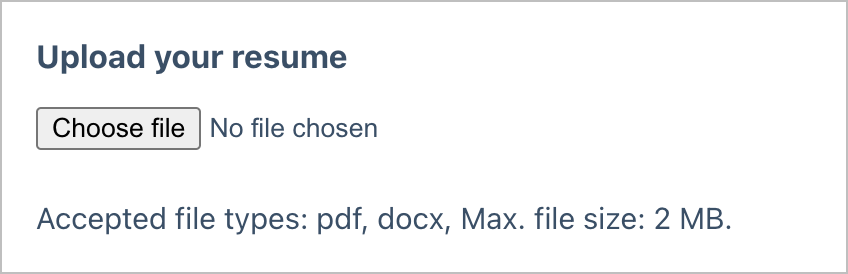
As a reminder here’s what the field looks like by default:
The easiest way to improve the look of this field is to change your form’s default theme to “Orbital”. If you’re not familiar with form themes, they were introduced in Gravity Forms 2.7 and allow you to update your form’s styles without needing to write custom code.
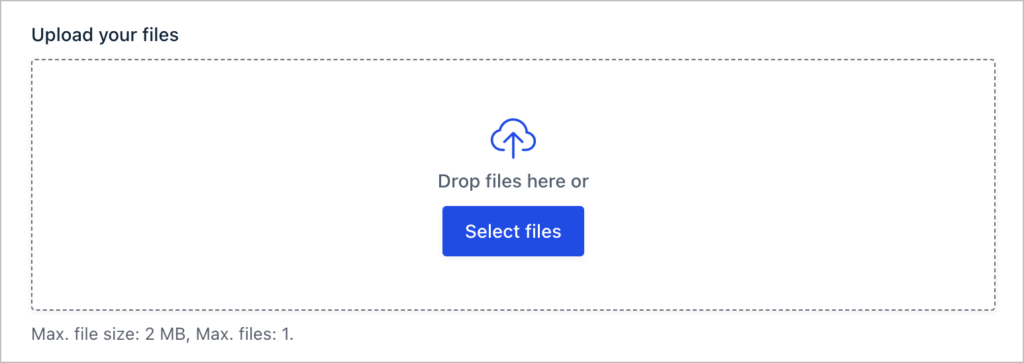
Here’s what the File Upload field looks like when using the “Orbital” theme:

There’s another way to change the look and feel of the File Upload field that doesn’t involve having to tinker with the code. If you simply enable the multi-file upload feature, the look of the field will change completely.
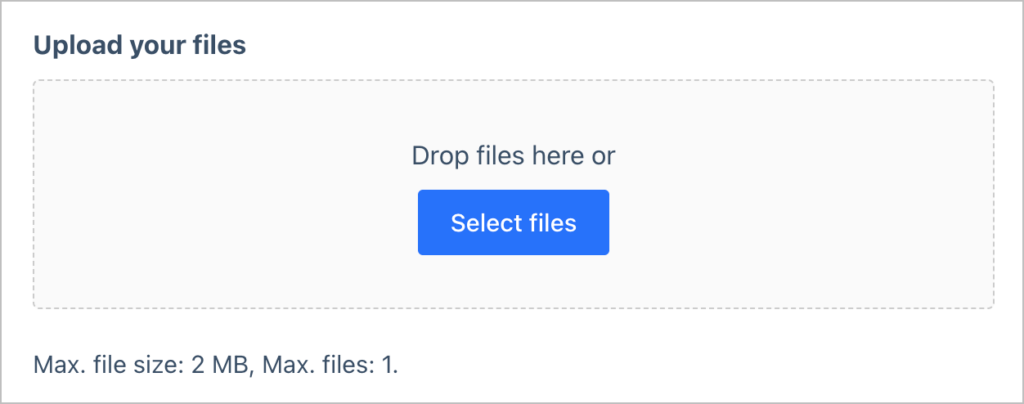
If you still only want users to be able to upload a single file, just set the “Maximum Number of Files” to 1.
And finally, the third way to change the look of the File Upload field is by combining these two approaches together! Here’s what the field looks like when setting the form theme to “Orbital” and enabling the multi-file upload option:
How to modify the Gravity Forms file upload location
Gravity Forms hides the true location of uploaded files for security purposes. If you want to view the URL for a specific file, you can follow this helpful guide.
Method 1: Changing the upload location using a filter
Gravity Forms stores uploaded files in /wp-content/uploads/gravity_forms/ by default. You can change both the storage path and the public-facing URL using the gform_upload_path filter.
The filter passes an array with two keys:
path– the full server path where files are physically stored (e.g.,/home/yoursite/uploads/custom-folder/)url– the public URL used to access those files (e.g.,https://yoursite.com/uploads/custom-folder/)
Here’s an example that redirects uploads for form #5 to a custom directory:
add_filter( 'gform_upload_path_5', 'custom_upload_path', 10, 2 );
function custom_upload_path( $path_info, $form_id ) {
    $path_info['path'] = '/home/yoursite/public_html/custom-uploads/';
    $path_info['url']  = 'https://yoursite.com/custom-uploads/';
    return $path_info;
}To apply this to all forms, use gform_upload_path (without the form ID suffix) instead.

Pro Tip
For more information about using this filter to change the file upload path, check out this guide from the Gravity Forms documentation.
Method 2: Upload files to the media library
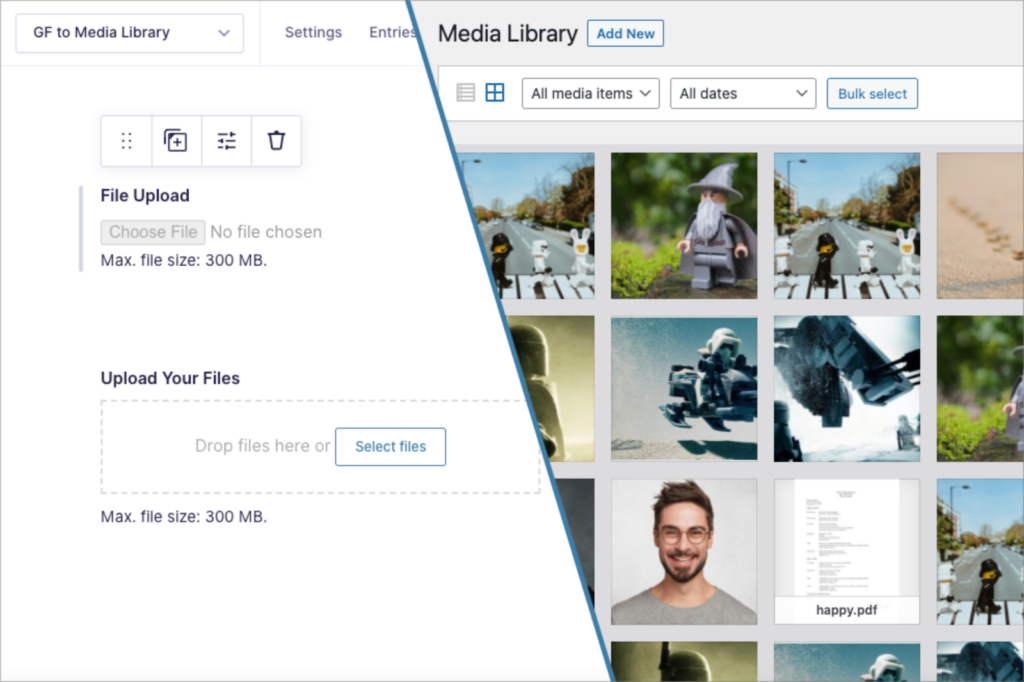
If you want to change the location of uploaded files using a less technical solution, then consider using Gravity Forms Media Library by Gravity Wiz.
Gravity Forms Media Library is a plugin that allows you to automatically import uploaded files to the WordPress media library when your form is submitted.
Method 3: Create a repository of files on your website
Changing the file upload path or adding uploaded files to your media library is helpful, but this doesn’t give you full control over your uploaded files.
If you’re looking for a way to categorize, tag, edit, and share files on your website, then why not build a document library using GravityView? Using GravityView’s flexible drag-and-drop builder, you can display files in a searchable table or list on the front-end of your site!
How to send uploaded files to external storage
You may want to back up all uploaded files to an external storage location, such as Dropbox, Google Drive, or another server running SFTP. Here are several ways to do this:
Method 1: Export entries using GravityExport
GravityExport is an add-on for Gravity Forms that allows you to export entries to CSV, XLSX (Excel), or PDF. The add-on also allows you to save entries and uploaded files to Dropbox, an external server running SFTP, or your local storage.
Method 2: Use the official Gravity Forms Dropbox add-on
You can send all files uploaded through your form directly to your Dropbox using the official Gravity Forms Dropbox add-on.
The Add-On also includes a “Dropbox” field, which you can add to a form. This allows users to upload files from their own Dropbox as part of their submission.
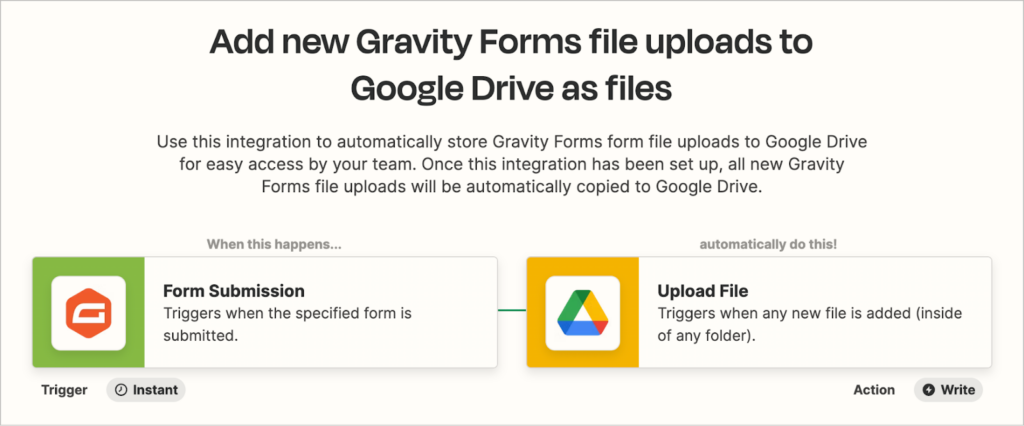
Method 3: Send files to Google Drive with an add-on
If you need a way to send uploaded files to your Google Drive, you can use the Gravity Forms + Google Drive Integration Premium add-on. This is not a Gravity Forms Certified add-on, so be sure to check when it was last updated before installing it on your site.
Method 4: Use Zapier
If you need a way to send uploaded files to a different storage location, you can set up an automation using Zapier. In fact, there is an official Zapier add-on for Gravity Forms that makes it easy to create complex automations for uploading files to different locations!
Method 5: Send files to a different server programmatically
If you’re comfortable writing custom PHP code, the gform_after_submission action hook fires after the entry is created and gives you access to the entry data, including file paths. This may allow you to create a custom workflow that sends uploaded files to another server.
Attaching file uploads to notifications
Gravity Forms includes an option that allows you to attach uploaded files to email notifications.
To create a new email notification, go to the form settings, click “Notifications” and then “Add New”. After configuring the notification, check the box that says “Attach uploaded fields to notification”.
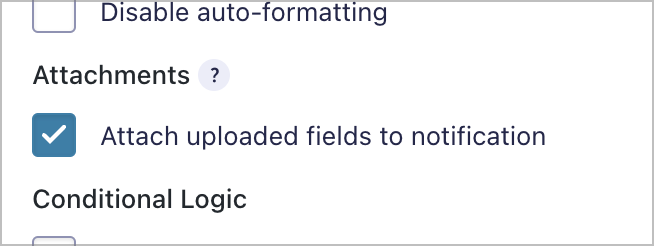
When the notification triggers, uploaded files will be added as attachments.
Gravity Forms file upload errors
You may occasionally encounter errors when using the Gravity Forms File Upload field. Here are some common errors and how to fix them.
Gravity Forms enable multi file upload not working?
If you find that you can’t enable the multi-file upload option on your form’s File Upload field, it may be because your form has already received submissions.
If your form has already received submissions, the multi-file upload option will be disabled. The reason for this is that the multi-file upload field stores files differently to the regular file upload field.
If you delete your form’s existing entries, this setting will become available again. Alternatively, you could add a new field to your form and set the existing field to “Administrative”.
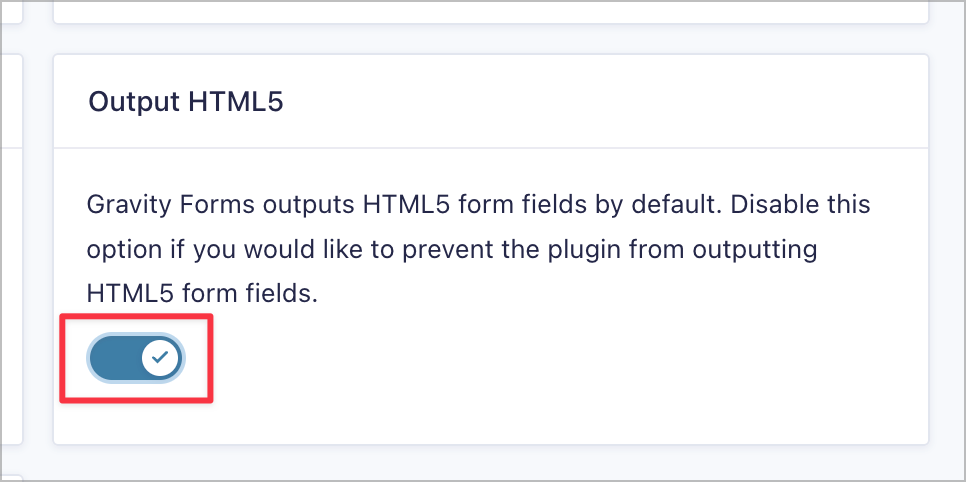
File upload not working on mobile devices
If you’re unable to upload files on a mobile device, try enabling HTML5 mode for better mobile compatibility. You can do this by hovering over “Forms” and clicking “Settings”. You’ll find the option towards the bottom of the page.
File upload failed
If you’re encountering any of the following errors
- FAILED (Temporary file could not be moved)
- FAILED (upload folder could not be created)
- Upload folder is not writable
There are several things you can do to try and rectify the issue:
- Check folder permissions
- Check folder ownership
- Ensure file isn’t potentially dangerous
For more information on troubleshooting file upload issues, read this article on the Gravity Forms docs site.
How Gravity Forms protects uploaded files
Gravity Forms applies several layers of security to uploaded files by default:
Hashed folder names. Upload directories use a salted HMAC-MD5 hash appended to the form ID, creating paths like /gravity_forms/82-ea1cf844318d032fd7e8fa8w1dacdfbe/. These folder names are practically impossible to guess through brute force, which prevents unauthorized users from browsing to uploaded files.
PHP execution is disabled. Gravity Forms automatically generates an .htaccess file in the root uploads folder that blocks PHP from being parsed inside upload subfolders. This protects against malicious file uploads that attempt to execute server-side code. The .htaccess file is regenerated daily via a WordPress cron task, so even if it’s accidentally deleted, it will be recreated.
Secure download URLs. By default, Gravity Forms obscures file download links so that users cannot determine the actual storage location on the server. Each download URL includes a hash that Gravity Forms verifies to confirm the link was legitimately generated and hasn’t been tampered with.
Directory listing prevention. Empty index.html files are placed in all upload subfolders to prevent search engines from indexing file listings on misconfigured servers.
For additional protection, you can also:
- Require login before downloads using the
gform_require_login_pre_downloadfilter - Add custom authorization logic using the
gform_permission_granted_pre_downloadfilter - Restrict allowed file extensions in the field settings to only accept expected file types (e.g.,
.pdf, .jpg, .png) - Avoid using file upload merge tags in confirmations or notifications sent to non-admin users, as this exposes the upload folder path
For more details, see the Gravity Forms Security Best Practices documentation.
Displaying files uploaded to Gravity Forms
Using GravityView, you can display files uploaded through your forms using preset layouts! GravityView includes a drag-and-drop builder, making it easy to build powerful web applications without any code.
Here are some example:
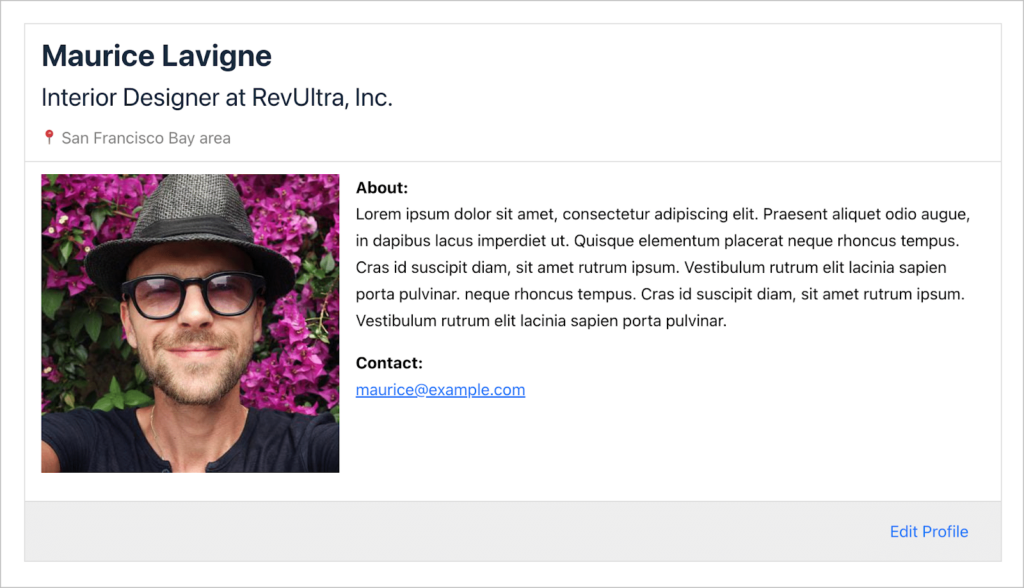
Creating people profiles
If you use Gravity Forms to register new users on your site, you can use GravityView to create and display people profiles. If users upload profiles pictures or other images as part of the registration process, you can easily display those on the front end.
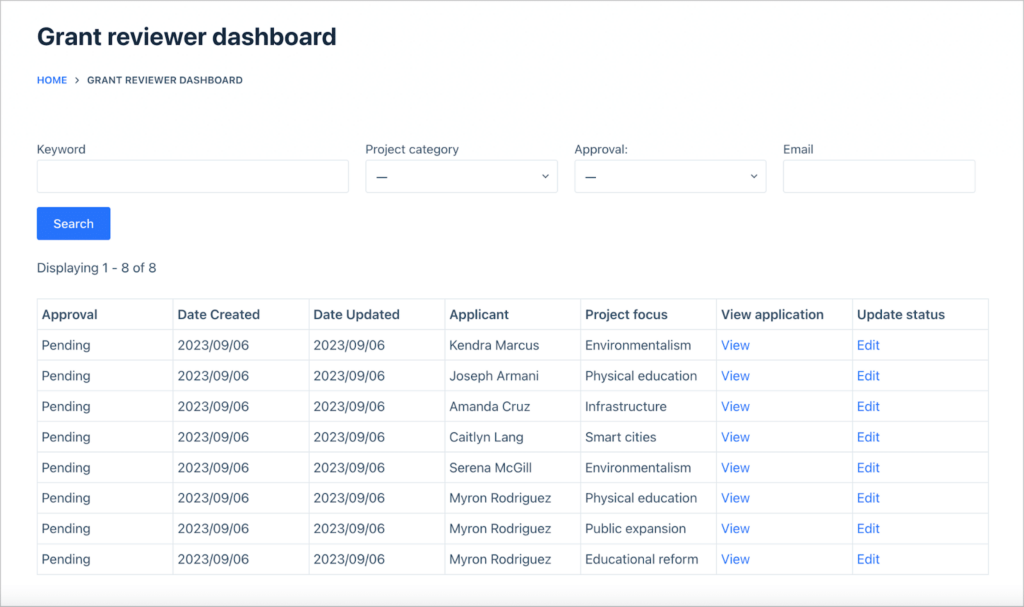
Managing job applications
If you’re using Gravity Forms for job application submissions, you can use GravityView to build an application management system. GravityView’s powerful, built-in entry approval functionality makes it easy to approve or deny applications that you receive.
GravityView also allows you to manage uploaded resumes and other documents.
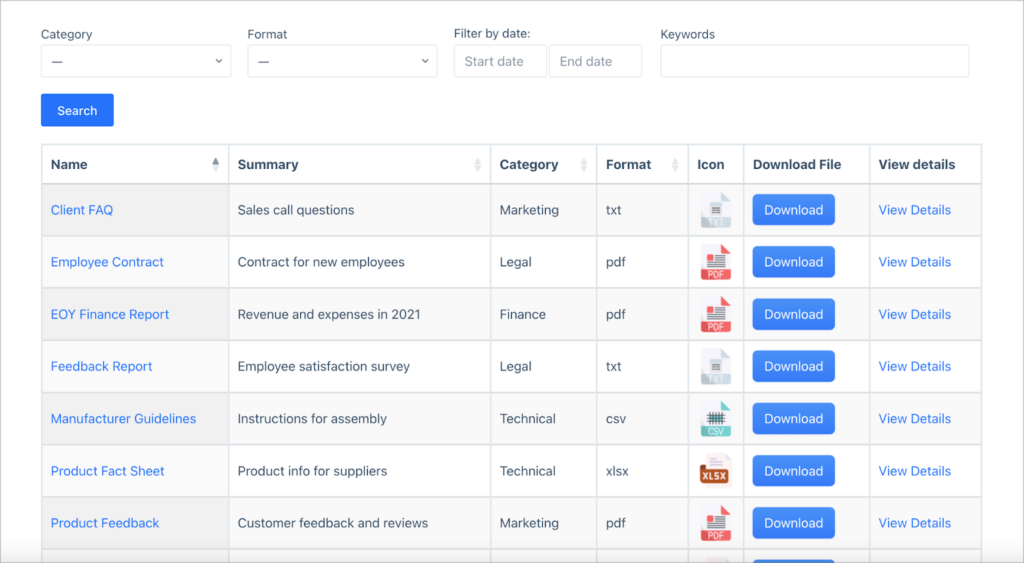
Managing important documents
Using GravityView’s builder, you can also create powerful front-end interfaces for managing submitted files. To see an example of how to create a document library using Gravity Forms and GravityView, read How to Create a WordPress Document Library Using GravityView DataTables.

Building an online library
Use the Gravity Forms File Upload field to collect resources that you can display in an online library or a resource hub for your school, academic institution, or private organizations!

Managing uploaded files in Gravity Forms
That concludes our comprehensive guide on managing uploaded files in Gravity Forms! The Gravity Forms File Upload field is a powerful field enabling users to submit files and documents as part of their submission.
If you found this post helpful, subscribe to our newsletter below for more Gravity Forms tips, guides, and tutorials!

Helpful tips right in your inbox.
Subscribe to get the latest articles, information on releases and helpful Gravity Forms tips!
More articles

Launch Log: Distance sorting for radius searches, DataTables search improvements, and import reliability fixes
The latest GravityKit releases add distance sorting to map searches, bring built-in search to DataTables, and fix GravityCharts and GravityImport edge cases.

WordPress page builder market share 2026: Elementor leads at 32.67%
Elementor reaches 32.7% of WordPress sites. WordPress Block Editor 20.6%, wpBakery 8.5%, Divi 5.7%. Latest HTTP Archive crawl, share-of-WordPress basis throughout.

Launch Log: GravityView 3.0, plus upgrades to Block MCP and GravityKit MCP
GravityView 3.0 lands with the new Vantage theme, frontend bulk actions, and AI-assisted View creation. This launch log also covers updates to GravityKit MCP, Block MCP, and Dashboard Views.