If you use Gravity Forms on your website to collect data, you may be looking for a way to display that data on a Google Map.
Google Maps is the go-to when it comes to Maps applications. In fact, Google Maps powers 83% of all websites using map technologies!
The GravityView Maps View allows you to integrate Gravity Forms with Google Maps and display your form entries as markers on a map. It also comes with a host of powerful settings for customizing the look and feel of your maps on the front end.
Using the GravityView Google Maps integration, you can create directories, review websites, business listings, and hundreds of other map-based applications!
💡 Check out our live demo applications and get your own free trial site preloaded with all GravityKit add-ons!
What you’ll need
Here’s what you will need to integrate Gravity Forms with Google Maps:
- Gravity Forms
- GravityView
- GravityView Maps View (included in the All Access license)
The GravityView Maps Premium View
GravityView is an add-on for Gravity Forms that allows you to display Gravity Forms entries on the front end of your website and build dynamic, form-based web applications. GravityView supports a range of preset layouts, including the Maps View, which allows you to display your form entries as markers on a Google Map!
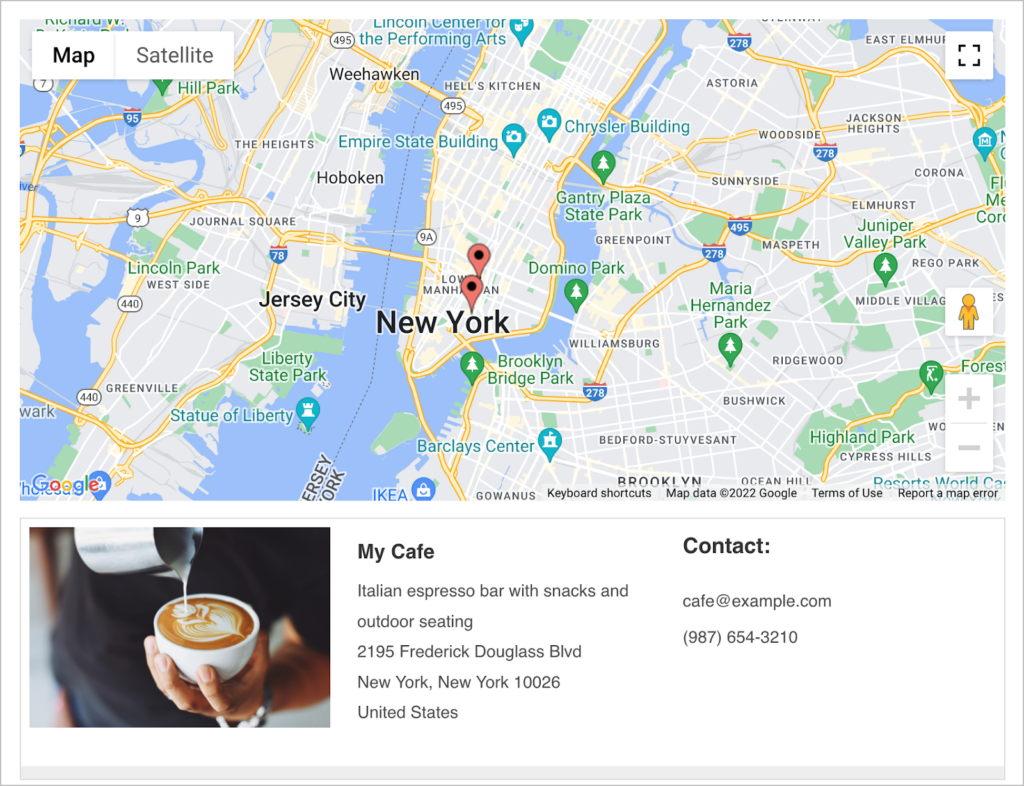
Here’s an example of what it looks like on the front end.
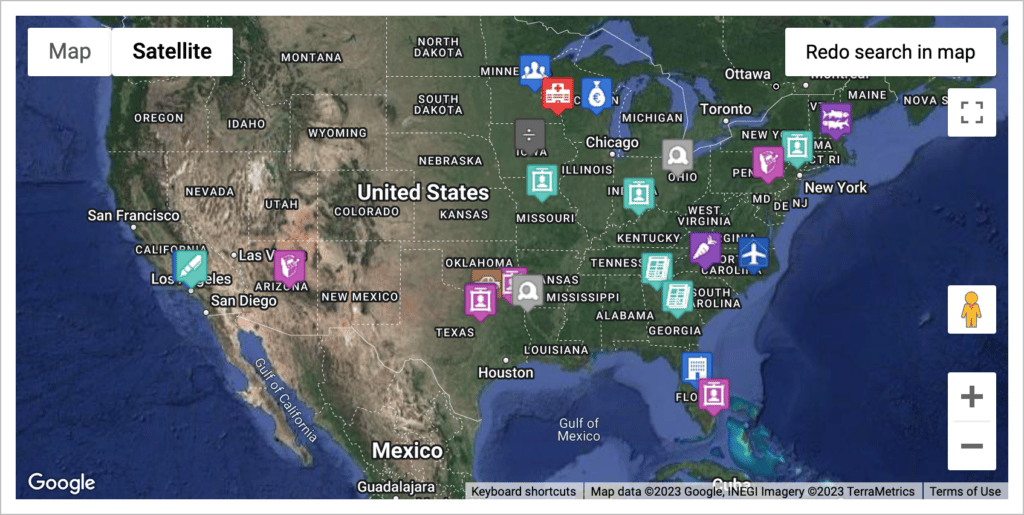
The Maps View comes with dozens of configuration options, and can be added to other layouts, giving you the versatility to create custom map-based applications.
💡 Pro tip: Check out our live demos to see the GravityView Maps View in action.
Before you get started: Ensure you have a Google Maps API key
Before you can start configuring your Maps layout, you need to create a Google Maps API key. You can create a new API key by following the instructions on this page.
After creating your key, ensure that you enable both the Geocoding API and the Geolocation API.

Now, hover over “GravityKit” in your WordPress menu, click “Settings” and then click “GravityView Maps”. Now paste your API key into the box and click “Check Key”.
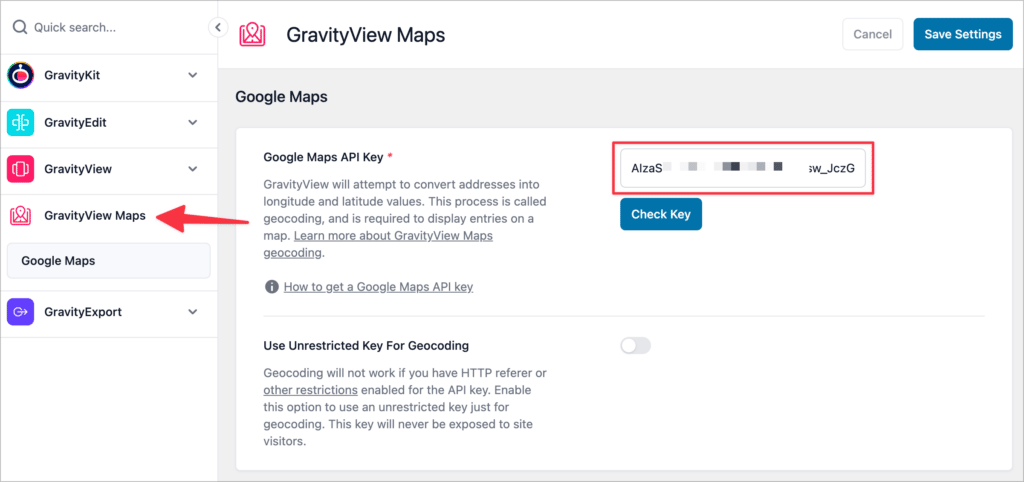
If your key is valid, click the button that says “Save Settings”. Now that you’ve added your Google Maps API key, you can start building your map-based application using Gravity Forms and GravityView!
Create a form with an Address field
First, create a new form in Gravity Forms by hovering over “Forms” and clicking “Add New”. Next, add an “Address” field to your form. You can find the “Address” field under the “Advanced Fields” tab on the right.
The GravityView Maps View uses the Gravity Forms “Address” field as the source when geocoding your data, so this step is crucial.
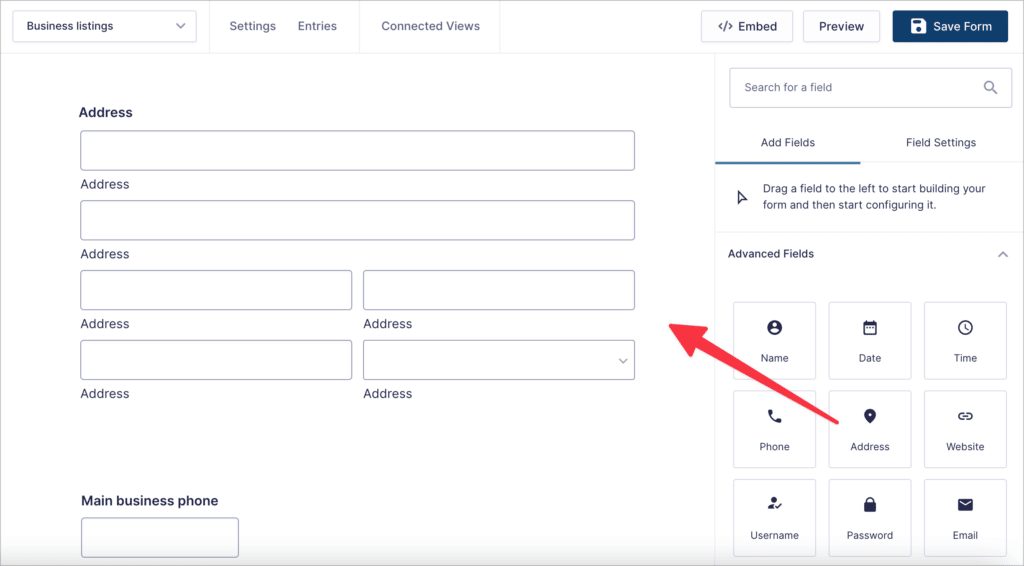
Now feel free to add any other fields that you want to. In this example, we’re going to build a View that displays business listings, so we’ve added the following fields:
- Business name
- Business summary
- Business description
- Phone
- Web Address
When you’re finished constructing your form, save it by clicking “Save Form”.
💡 Pro tip: If you want to pull the address from a field that isn’t an “Address” type, you can do so using this code snippet.
Creating the Maps View in GravityView
Now that your API key is active, you can create a new Map View in GravityView. To do this, hover over “GravityKit” and click “New View”.
When creating a new View, the first step is to select a data source. The data source is the Gravity Form with the entries you want to display in your Map.
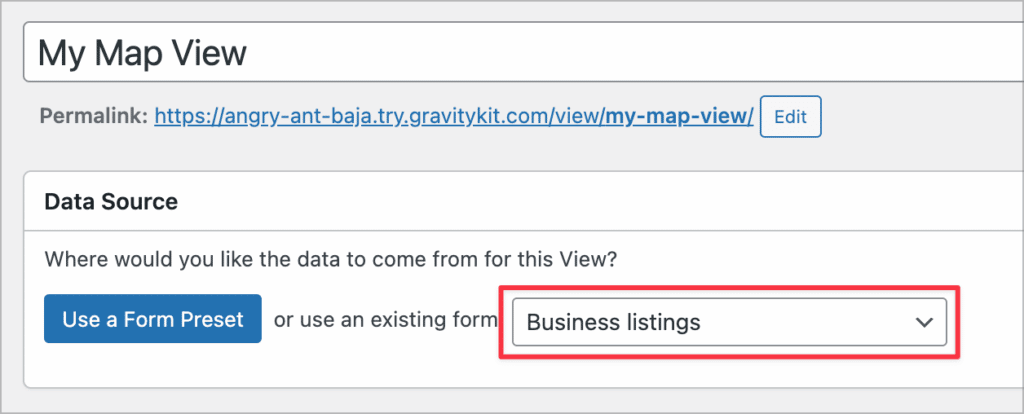
After selecting your form, you’ll need to choose a View Type. View Types allow you to display Gravity Forms entry data using different layouts.
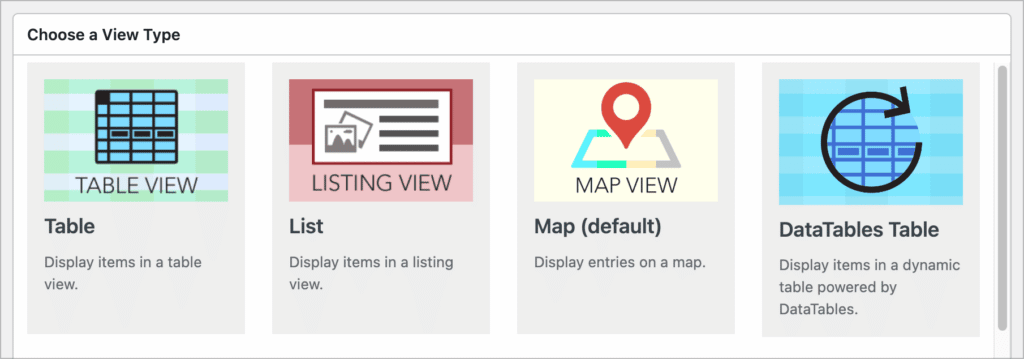
While there is a dedicated “Map” View Type, you don’t need to use this in order to display entries on a map. You can select any View Type and add your map to it using a widget! For this example, we’ll select the “Table” layout.
After selecting your View Type, you can start constructing your View using GravityView’s drag-and-drop builder.
Adding widgets and fields to your View
In the View editor, you’ll see a top and bottom widgets area, allowing you to add widgets to your View. Here you can add your Google Map by selecting the “Multiple Entries Map” widget.

The “Entries Fields” section of the View is where you can add form field values for displaying on the front end. To add fields, click on the “Add Field” button and choose a field from the list. Fields you add here will be displayed in a table, below the map.
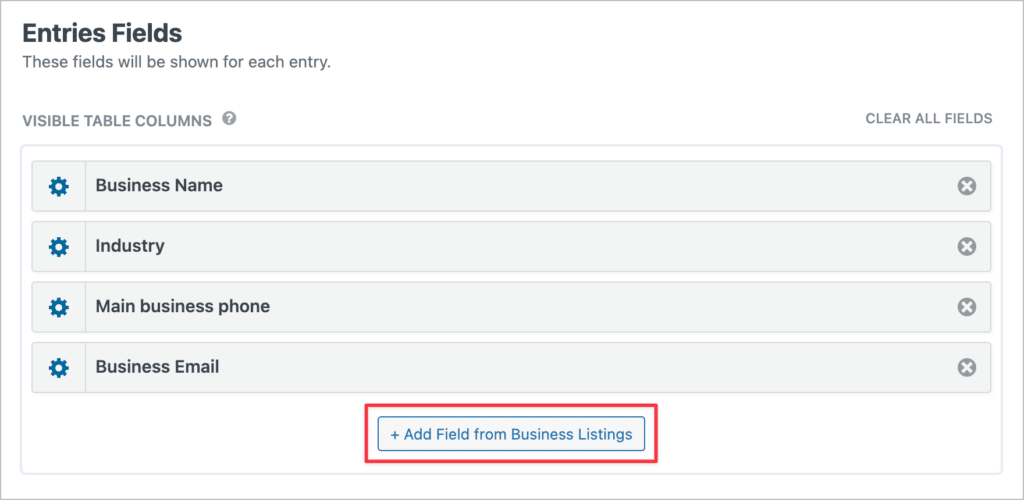
After adding your map widget and fields, you’ll need to configure the Maps settings.
Configuring the Map View settings
The GravityView Maps Premium view comes with an array of settings that allow you to customize the look and feel of your map. To access the Map settings, scroll down to the “Settings” meta box and click on the tab that says “Maps”.
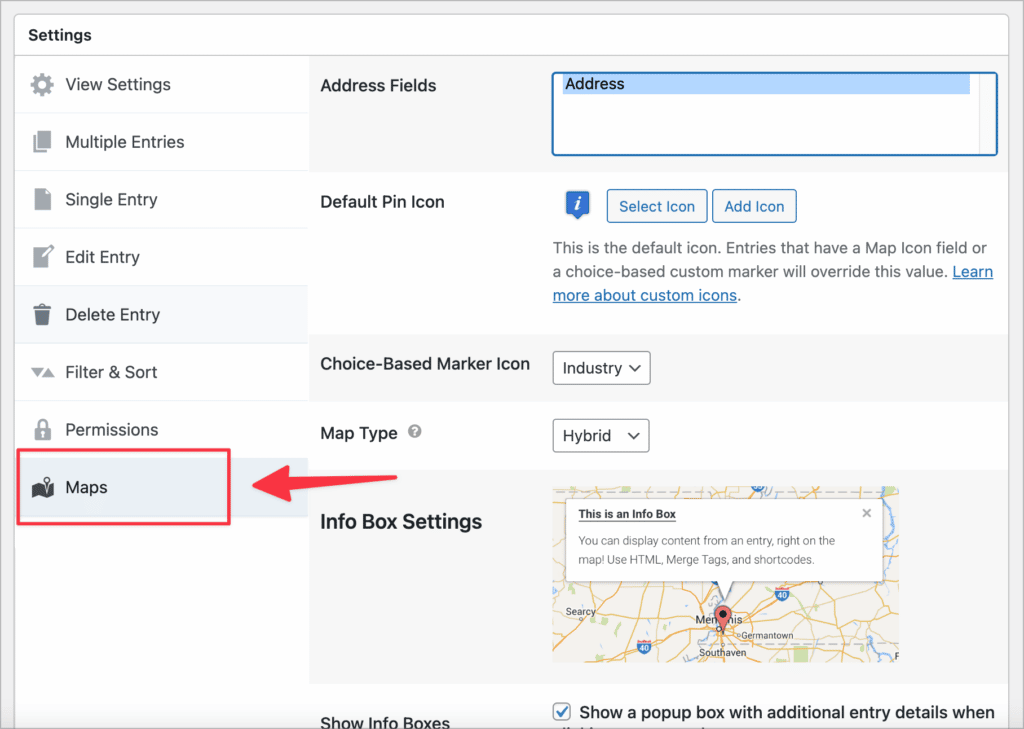
The first thing you’ll need to do here is select the form field that you want GravityView to use when geocoding your entries. You can select any “Address” field type from the list.
It’s important to know that the Maps View supports multiple address fields. This allows you to display more than one marker for a single entry. So if you’re building a business directory and a business has more than one location, you can show all of them at once!
To do this, hold down the shift key and select the different Address fields inside the “Address Fields” box.

Let’s take a look at some of the other important settings below.
Custom pin icon
When you create a new Map view, it will show the default Google Maps pin icon. However, you can change this to a different option, or even add your own, custom icon!
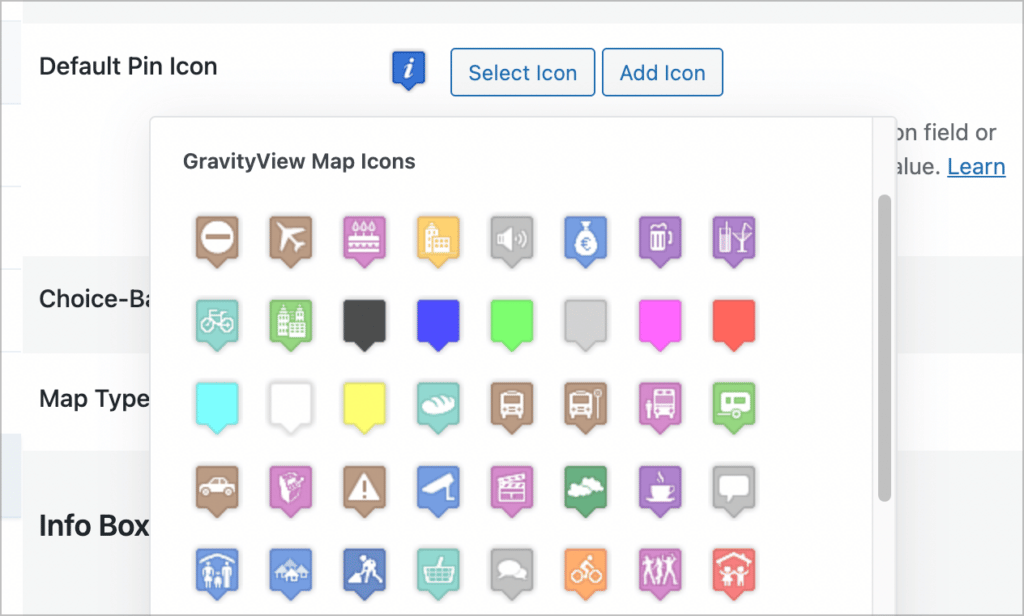
💡 Pro tip: GravityView also allows you to associate a custom marker with a Gravity Forms field value.
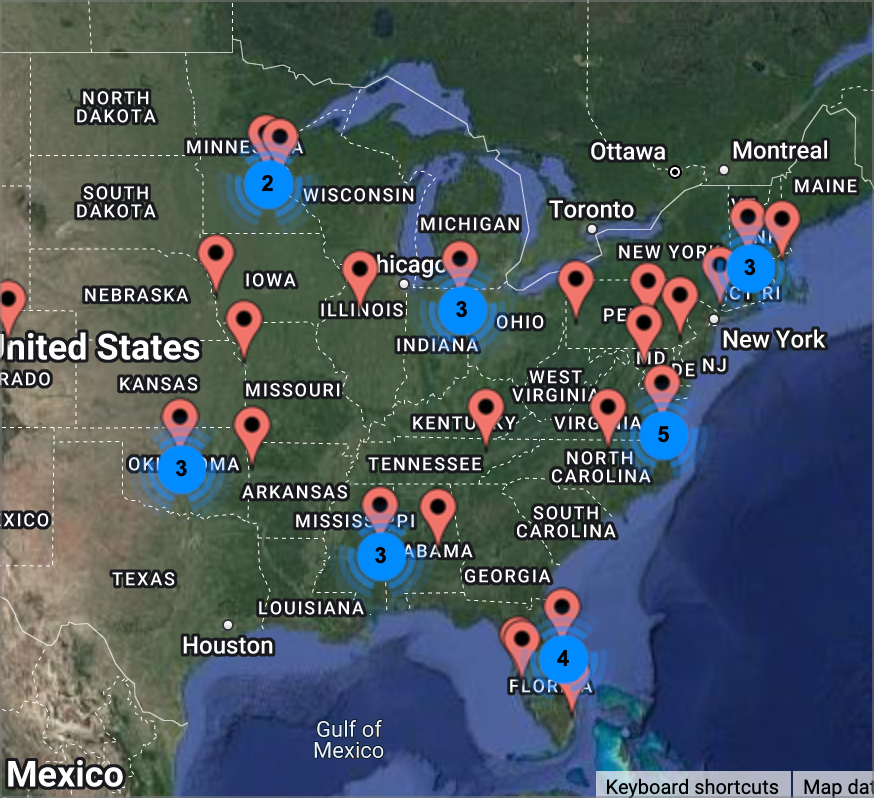
Marker clustering
The Maps layout also gives you the ability to group nearby markers into clusters. You can do this by checking the box next to where it says “Marker Clustering”.
Map type
To change the map type, choose an option from the “Map Type” dropdown menu. The choices are:
- Street
- Satelite
- Hybrid
- Terrain
Map Info Boxes
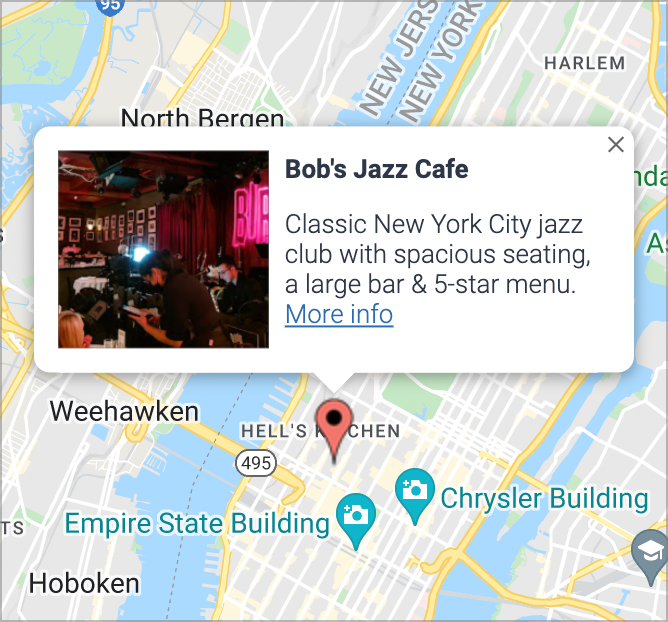
One of the most powerful features of the GravityView Google Maps integration is the ability to add info boxes to map listings. Info boxes allow you to display additional information about an entry when a user clicks on its marker.
To enable info boxes, check the box next to where it says “Show Info Boxes”. Next, fill in the title and content. Here you can use Gravity Forms merge tags to dynamically display field values. You can also use shortcodes, plain text, and HTML!
Embedding your Maps View
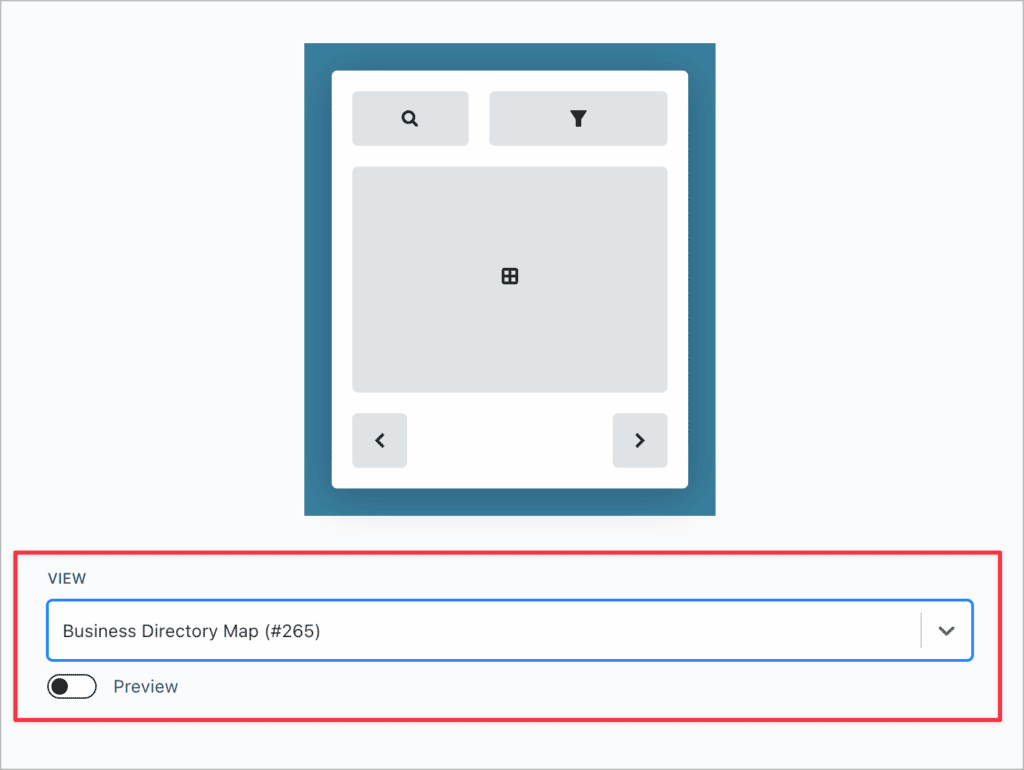
When you’re done configuring your View, you can embed it on a post or page using the “GravityView View” block in the WordPress editor.
Bonus: Styling your Google Maps in WordPress
If you’d like to style your map, you can add custom CSS styles inside the Custom Map Styles box in the Map Settings.

Alternatively, you can download and install the Snazzy Maps plugin. The plugin comes with hundreds of pre-built templates that allow you to change the style of your Google Maps with just a few clicks.
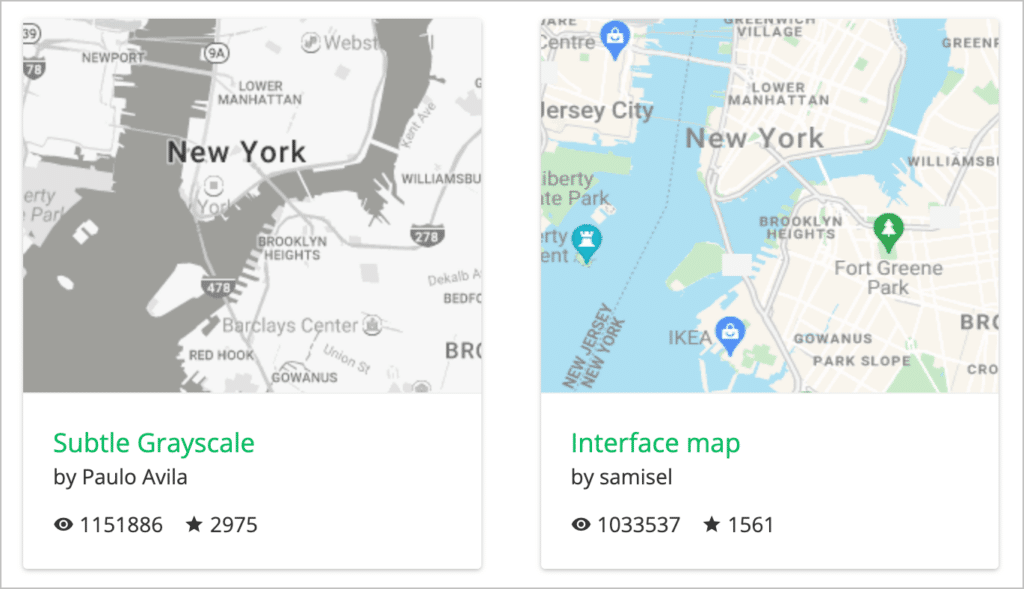
To get started with Snazzy Maps, first, download and install the plugin. Next, create an account on the Snazzy Maps website and sign up for a free API key.
The plugin is free to use for personal websites and projects. However, if you want to use it for business purposes, you’ll need to purchase a license starting from $10 per month.
Get started with our Gravity Forms Google Maps integration
The GravityView Maps View allows you to display Gravity Forms entries as markers on a Google Map.
The Maps View comes with several settings, allowing you to customize the look and feel of your maps on the front end. Upload a custom pin icon, display info boxes, show multiple addresses for the same listing, group markers into clusters, and more!
Styling your maps is also made easy by using the Snazzy Maps WordPress plugin. To get started using Google Maps for Gravity Forms, purchase a GravityView All Access license today.

Helpful tips right in your inbox.
Subscribe to our weekly newsletter for tips, special offers, and more!
Helpful tips right in your inbox.
Subscribe to our weekly newsletter for tips, special offers, and more!
