Published
•
Updated
How to build an eSports team page using GravityView
Build a dynamic eSports team roster page on WordPress using GravityView. A step-by-step tutorial recreating the OG Dota 2 team page layout with Gravity Forms data.
Experts predict that by 2023, 15.5% of US internet users will watch eSports at least once a month!
Games like Dota 2, Fortnite, Counterstrike and League of Legends attract millions of players and viewers from all over the world. In fact, viewership for some of these games is expected to outperform major sporting events such as Formula 1!
Professional gamers make money by joining teams, gaining sponsorships and winning tournaments. Every eSports team has a page on their website proudly showcasing their most skilled players.
In this tutorial, we’re going to have some fun while showing off the power of GravityView and how you can use it to build eye-catching team pages! We’ll be recreating the OG Dota 2 team page using our own unique layout.
Keep reading to find out more!
Sneak peek
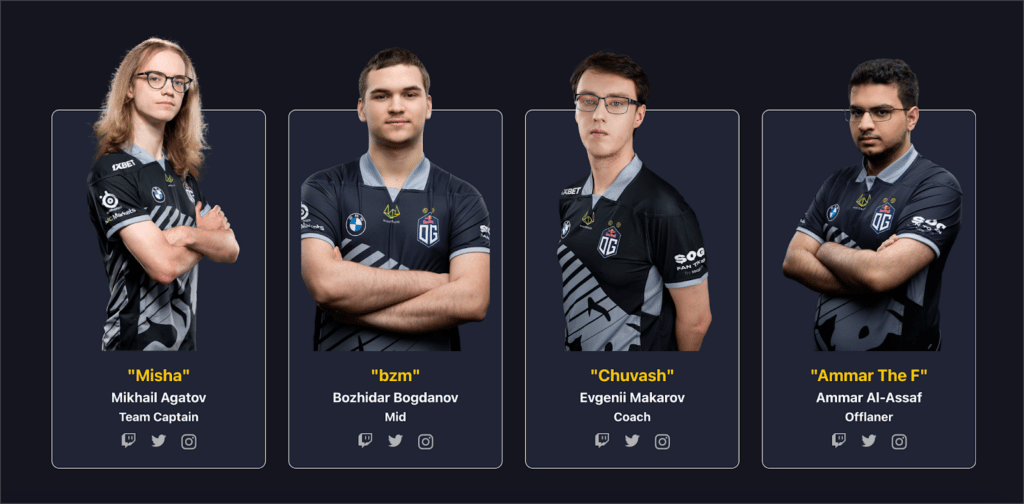
Here’s the finished eSports team page that we’re going to build in this tutorial:

It’s fully responsive so the grid layout will adjust based on screen size! The images are real pro gamers from OG’s Dota 2 team!
Wanna try it?
Spin up a demo
See what you can build with GravityView — explore the live demo.

What you’ll need
Here are the plugins you’ll need if you want to follow along with this tutorial:
Why all eSports teams need a team page
All eSports teams need a team page on their website in order to show off their roster and feature their players. The team page gives viewers a unique insight into the history and skills of each team member.
Just like “regular” sports, viewers support teams with whom they feel a connection. Knowing the different players on the team and how they operate gives users a window into the team dynamics and how each player thinks about the game.
Looking at examples of eSports team pages
Before we start building our own eSports team page using Gravity Forms and GravityView, let’s take a look at some examples of existing team pages. This will help us get familiar with the style that most eSports websites employ.
T1 (League of Legends)
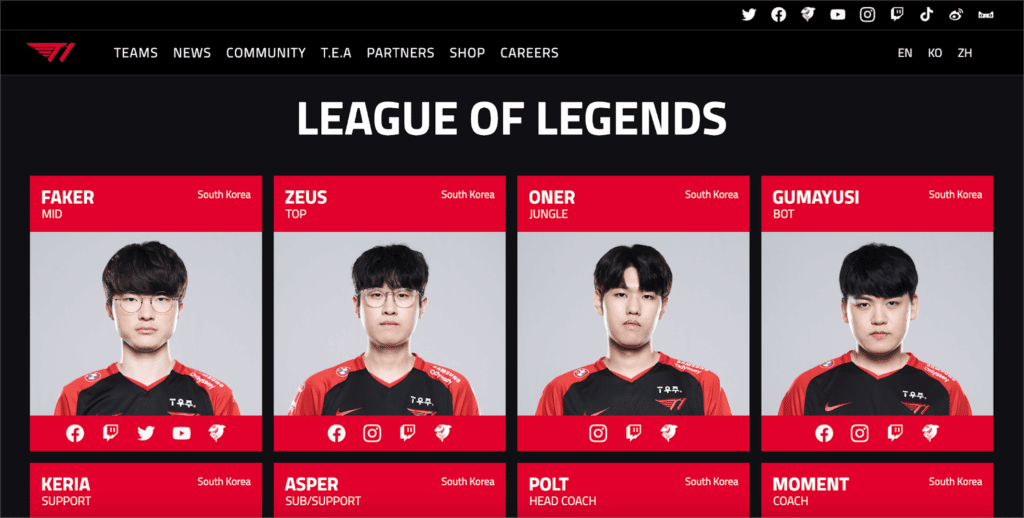
T1’s team page uses a grid layout to showcase each player including their in-game alias, name, photo, nationality and links to their social accounts.
Each player has their own “card” with a red header and footer. The dark background really makes the red pop out! Having the social links as icons is a nice touch.
Team Secret (Dota 2)

As you can see, Team Secret’s team page is full-on dark mode. The design is also more minimalist. Each player card includes a photo, the player’s in-game alias and their name.
Team Vitality (CS:GO)
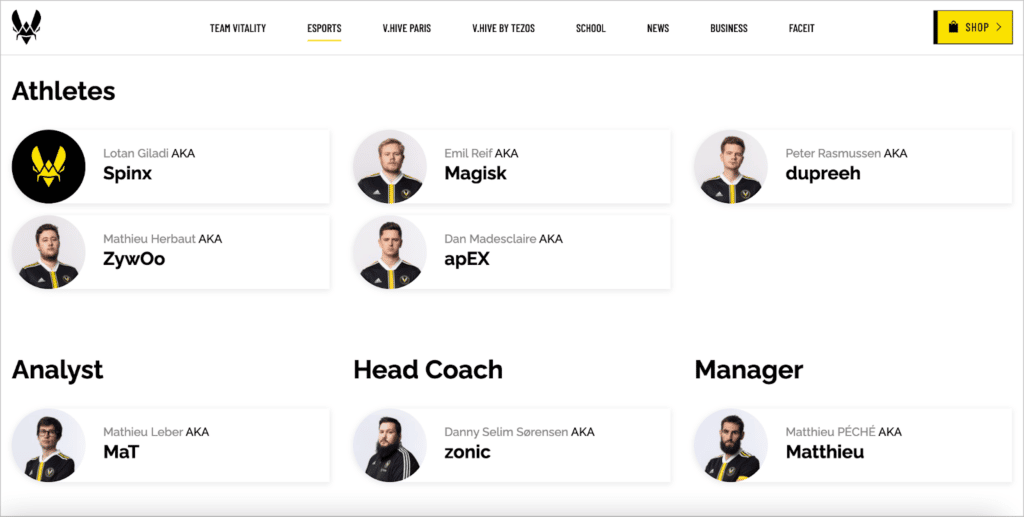
Team Vitality’s team page has a light background and horizontal player cards instead of vertical ones. I would argue that this design is the least appealing, as the player photos are too small.
Creating a custom eSports team page using GravityView
Now let’s start building our custom eSports team page using Gravity Forms and GravityView.
Here’s the process we’re going to follow: First, we’ll create a player registration form for team members to submit their information. Next, we’ll use GravityView to display that information on the front end. Finally, we’ll configure the View so that players can update their profile information from the front end.
Creating the player registration form
To create a new form in Gravity Forms, hover over Forms in your WordPress sidebar and click New Form. Give your form and name and an optional description and then click “Create Form”. Now you can start adding fields using the drag and drop, visual form builder.
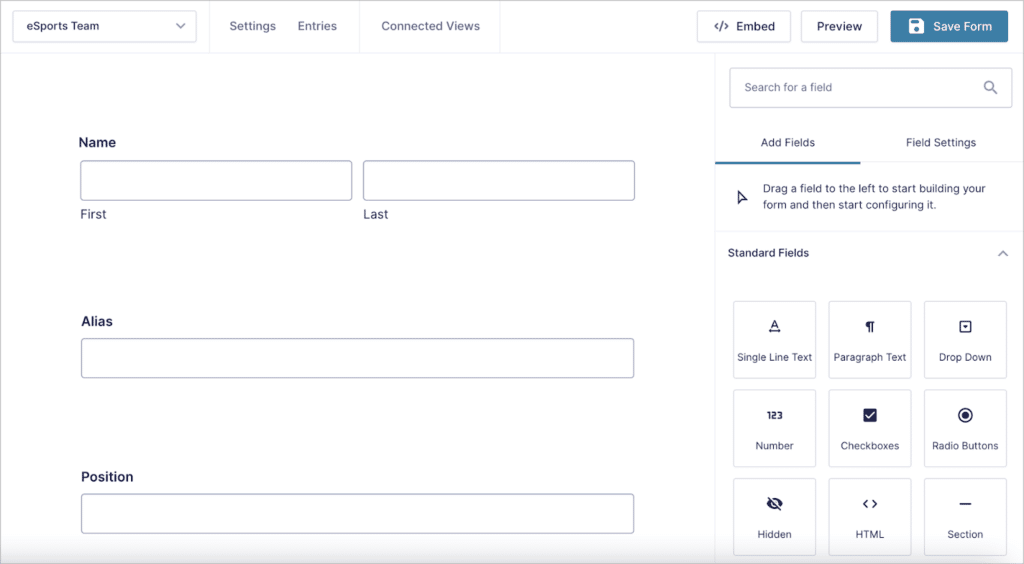
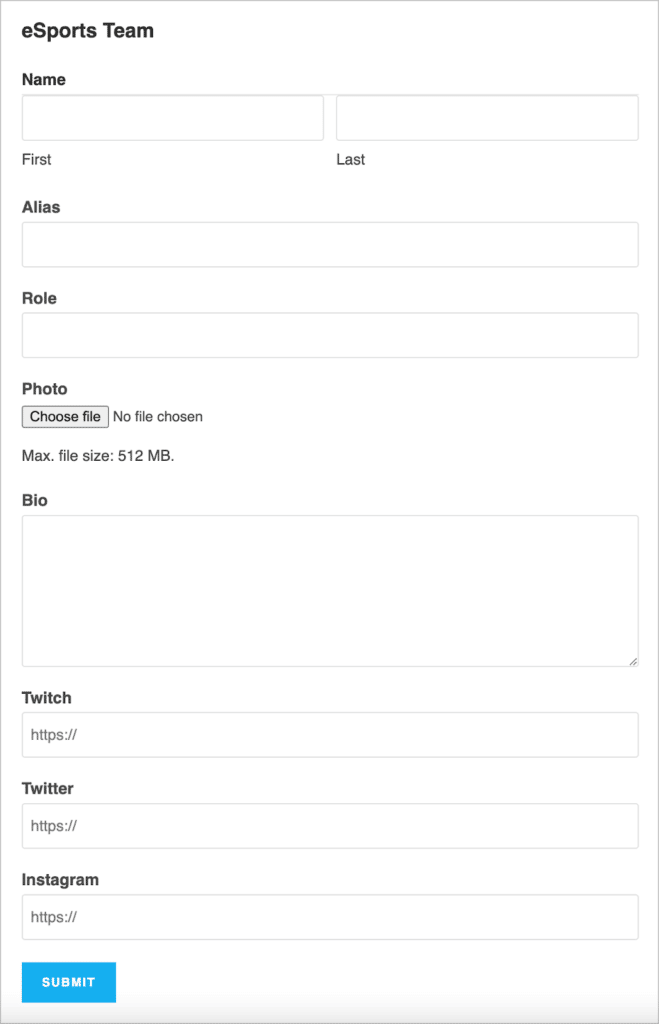
For this example, we’ll keep things simple by adding the following fields to our form:
- Name (Name field)
- Alias (Single Line Text field)
- Role (Drop Down or Single Line Text field)
- Photo (File Upload field)
- Bio (Paragraph field)
- Twitter URL (Website field)
- Twitch URL (Website field)
- Instagram URL (Website field)
Feel free to customize your form by adding the fields you feel are necessary. For example, you may want to add a field for nationality and one for age.
Here’s what our form looks like on the front end:
After creating the player registration form, we can start building the View to display player profiles on the front end.
Creating a View to display team member profiles
Hover over Views in your WordPress menu and select New View. After giving your View a name, you’ll need to select a data source.

This is a form in Gravity Forms that contains the entries you want to display on the front end. Go ahead and select your player registration form that you created in step one.
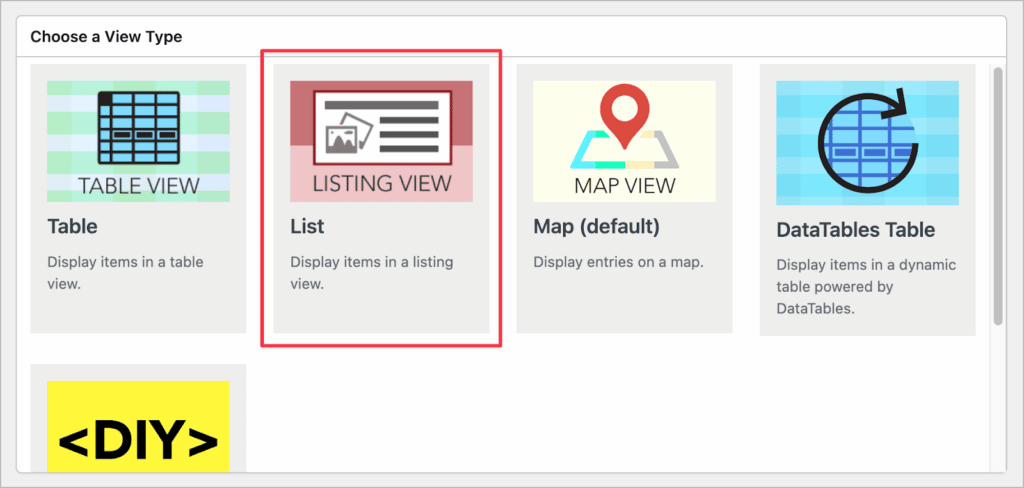
Now you’ll need to choose a View layout. GravityView includes several layout options for displaying Gravity Forms entries. For this example, we’re going to select the “List” layout, as this is the best option for team pages.
After selecting your View layout, you can start adding fields to your View using the drag and drop editor.
Configuring the Multiple Entries Layout
There are three tabs at the top of the View editor, corresponding to the three layouts that make up a View. We’ll start by configuring the Multiple Entries Layout. This is the page where each player profile will be displayed on the front end.

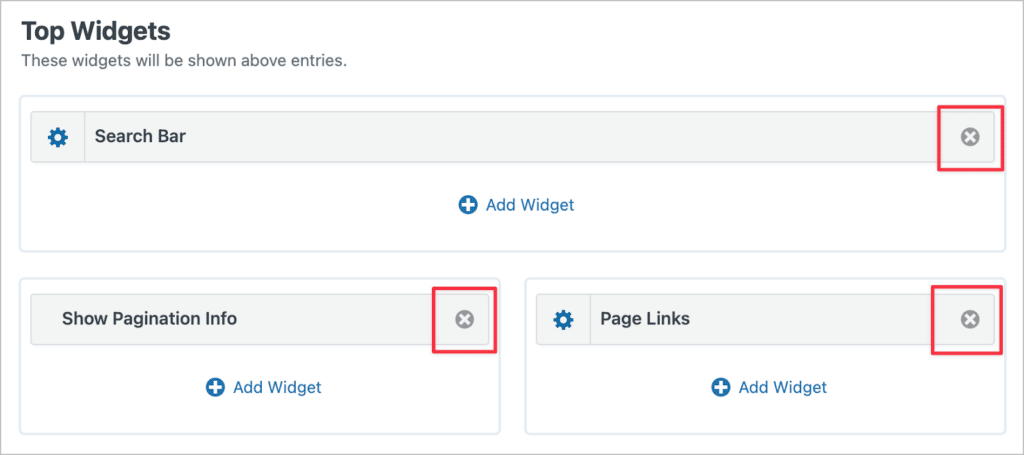
At the top and bottom of the View editor, you’ll see spaces to add widgets. These are helpful tools for navigating through entries (such as search bars or pagination links). We don’t need widgets on our team page, so start by removing all of these from the View. You can do this by clicking on the ‘X’ icon on the right.
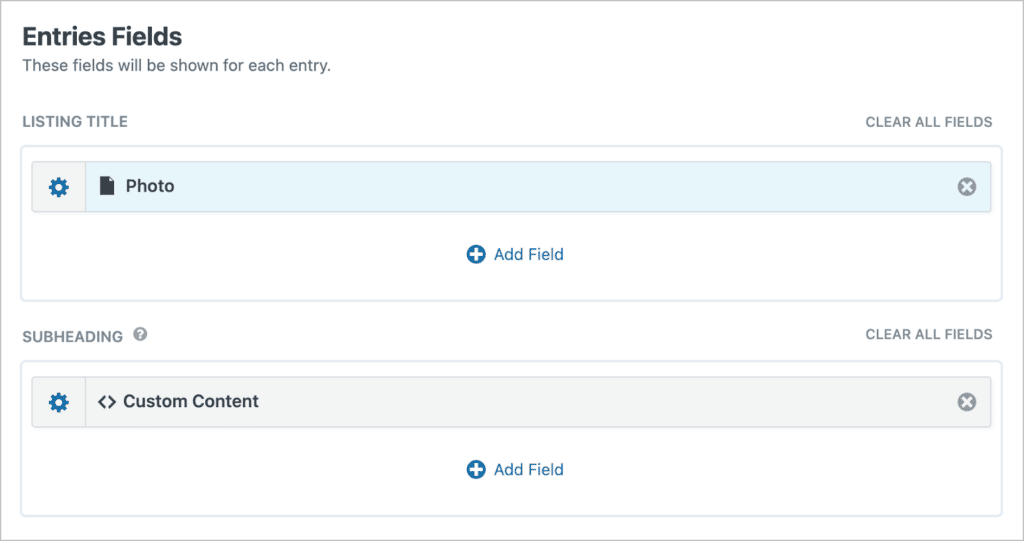
After removing all the widgets, scroll down to the “Entries Fields” section. Here, we’re going to add the fields that we want to display on each player card.
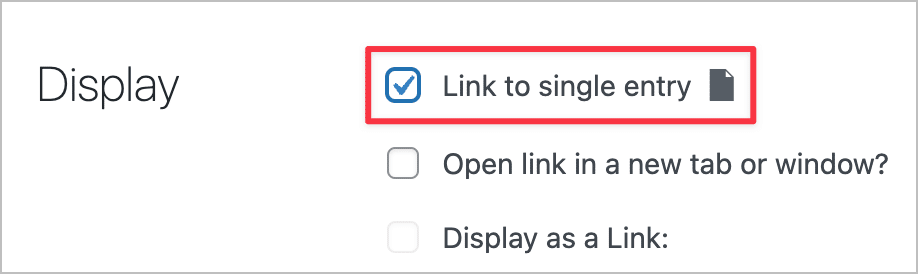
Start by adding the “Photo” field to the “Listing Title” section. After that, click on the gear icon to open the field settings and check the box that says “Link to single entry”. This will make the image a clickable link that takes the user to that player’s full profile. We’ll configure the Single Entry Layout in the next step.
Next, add a Custom Content field to the “Subheading” section. We’re going to add the rest of the fields inside the Custom Content field as this makes it easier for us to add styles.
If you click on the gear icon next to the Custom Content field label, you’ll see a text editor. Here you can add HTML code, shortcodes and Gravity Forms merge tags.
If you want to copy our design, you can paste the below HTML code inside your Custom Content text editor (just be sure to replace the merge tags with your own!):
The icons for Twitch, Twitter and Instagram are powered by Font Awesome (using their SVG pack). If your theme doesn’t include the Font Awesome script, you’ll need to create a free account and add the script yourself. Follow this tutorial on w3schools if you need help.
Now for the custom styles. As you can see, we’ve given each HTML element its own unique class, allowing us to style it using CSS. We also added some CSS to the View container in order to create the grid layout.
Here are the custom styles:
Pro tipIf you need help adding custom CSS to your website, check out this helpful article on our docs site.
Now that we’ve finished configuring the Multiple Entries layouts, let’s turn our attention to the Single Entry Layout.
Customizing the Single Entry Layout
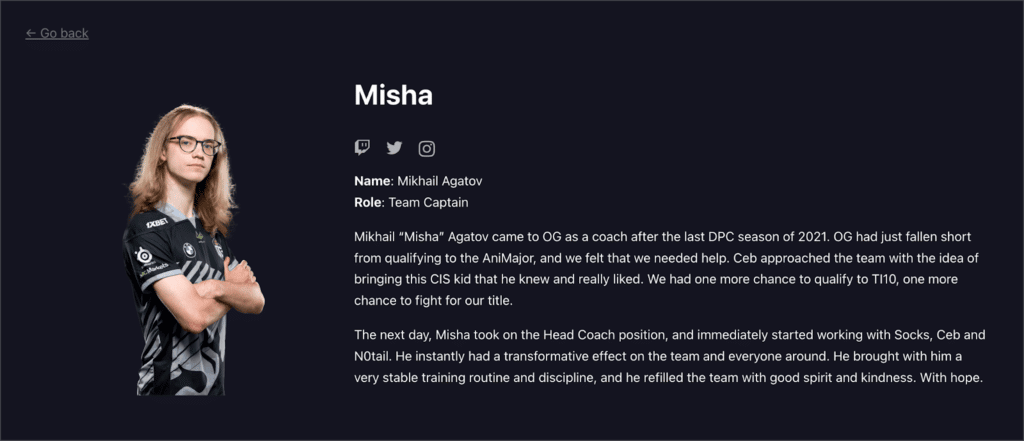
After configuring the Multiple Entries Layout, scroll to the top of the View editor and click on the “Single Entry Layout” tab.

Here, we can display additional information about each player. Think of it like each player’s own, personal profile page. Here’s the simple profile layout that we created:
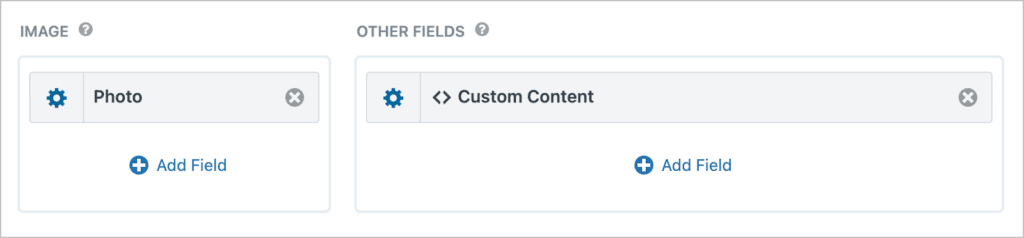
To achieve this, we added the “Photo” field to the “Image” block and the remaining fields to a Custom Content field in the “Other Fields” section.
The next step is to configure the Edit Entry page and allow players to update their profiles from the front end.
Configuring the Edit Entry page (optional)
If you want players to be able to edit their profile information from the front end, you’ll need to enable the “User Edit” feature and configure the Edit Entry layout.
To enable User Edit, scroll down to the View Settings, click on the “Edit Entry” tab and check the box that says “Allow User Edit”.

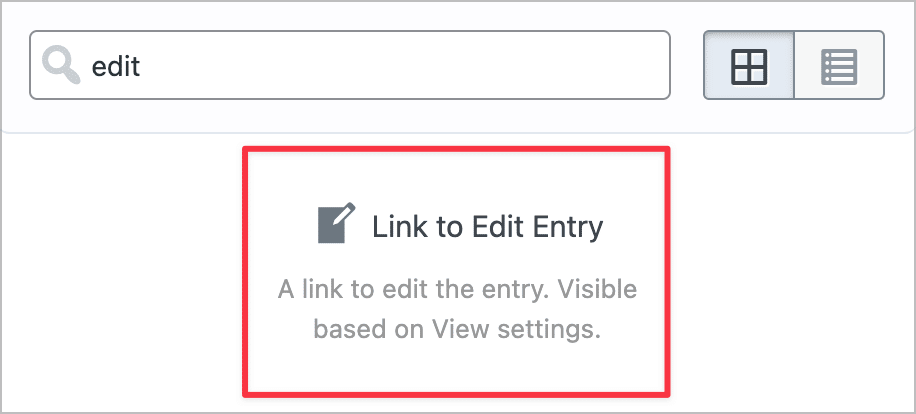
Before configuring the Edit Entry Layout, you’ll need to add a link on the Single Entry page. To do this, click on the “Add Field” button and select the “Link to Edit Entry” field.
Now when players log in and open their profile, they’ll be able to edit their information from the front end!
By default, all form fields will be editable, but if you want to restrict editing to certain fields only, you’ll need to add them to the Edit Entry Layout. You can do this by clicking on the “Edit Entry Layout” tab at the top of the View editor and adding fields using the “Add Field” button.
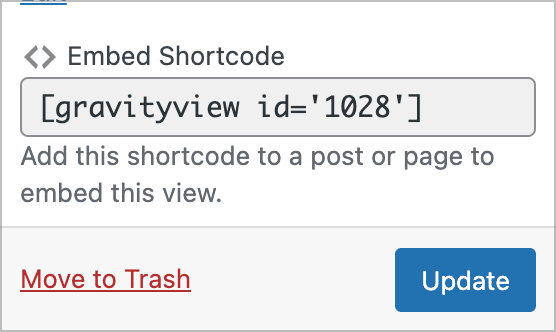
Embedding the View on the front end
We’re almost done! The final step is to embed your View on the front end. To do this, all you need to do is copy the embed shortcode and paste it into a WordPress Shortcode block wherever you want to feature your eSports team!
Here’s what our new team page looks like on the front end:
That’s it!
Create a team page for your eSports organization!
The eSports industry is growing at a rapid rate. In fact, over the next few years, eSports tournaments are projected to attract more viewers than popular sporting events such as the UEFA Champions League!
There are several successful eSports teams out there that attract top talent. On their websites, they often have a team page where they showcase their current roster along with the coaches and support staff.
In this post, we recreated OG’s Dota 2 team page using Gravity Forms and GravityView. If you enjoyed this tutorial, see how you can build other powerful web applications using GravityView, including member directories, and more!

Helpful tips right in your inbox.
Subscribe to get the latest articles, information on releases and helpful Gravity Forms tips!
More articles

Launch Log: Distance sorting for radius searches, DataTables search improvements, and import reliability fixes
The latest GravityKit releases add distance sorting to map searches, bring built-in search to DataTables, and fix GravityCharts and GravityImport edge cases.

WordPress page builder market share 2026: Elementor leads at 32.67%
Elementor reaches 32.7% of WordPress sites. WordPress Block Editor 20.6%, wpBakery 8.5%, Divi 5.7%. Latest HTTP Archive crawl, share-of-WordPress basis throughout.

Launch Log: GravityView 3.0, plus upgrades to Block MCP and GravityKit MCP
GravityView 3.0 lands with the new Vantage theme, frontend bulk actions, and AI-assisted View creation. This launch log also covers updates to GravityKit MCP, Block MCP, and Dashboard Views.