Published
•
Updated
Feature Highlight: Entry Approval in GravityView
Control which form submissions appear in your GravityView Views using entry approval. Approve or reject entries from the backend, front end, or automatically on submission.
In this edition of Feature Highlights, we’re exploring entry approval in GravityView. This is a powerful feature for directories and other applications where you need to be able to approve entries before they show up in a View on the front end.
There are several ways to approve entries in GravityView. You can approve entries on the backend, on the front end, or set up automatic entry approval upon form submission. Keep reading as we explore the ins and outs of entry approval in GravityView 👇
Wanna try it?
Spin up a demo
See what you can build with GravityView — explore the live demo.

What Is Entry Approval and Why Should You Use It?
GravityView’s entry approval system allows you to review new form submissions before they show up in a View. When a user submits a new entry, you have the option to either approve or reject it.
If you reject an entry, it will remain visible inside the Admin interface on the Gravity Forms “Entries” page, but it will not show up in your View. When you approve an entry, it will show up in your View where it may be visible to the public.
Here are some situations where entry approval comes in handy:
- You’re managing a directory, and you need to approve or reject new listings.
- You run a membership site and you want to review new profiles first before allowing other members to see them.
- You’re using GravityView to capture user-generated content (such as forum posts, testimonials or product reviews) and you want to approve new entries before making them public on your website.
💡 Pro tip: Entry approval is not a requirement in GravityView – you can disable this feature if you don’t need it.
Enabling and Disabling Entry Approval
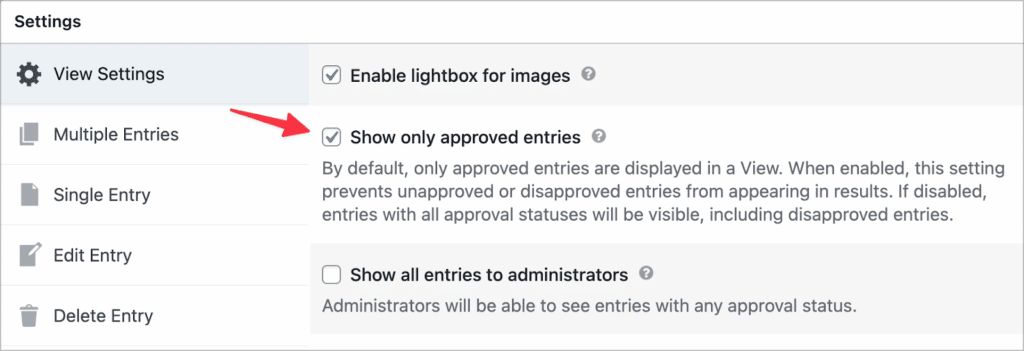
When you create a new View, scroll down to the Settings. Here you’ll see a checkbox labeled “Show only approved entries”. This box is checked by default on all new Views. Simply uncheck it to disable the entry approval functionality.
If you want site administrators to be able to see all entries, no matter their approval status, check the box below labeled “Show all entries to administrators”.
How to Approve Entries on the Backend
You can approve new entries on the Gravity Forms Entries page. To do this, hover over Forms and click Entries. After that, select your form from the dropdown menu at the top. Now you’ll see all the entries for that specific form.
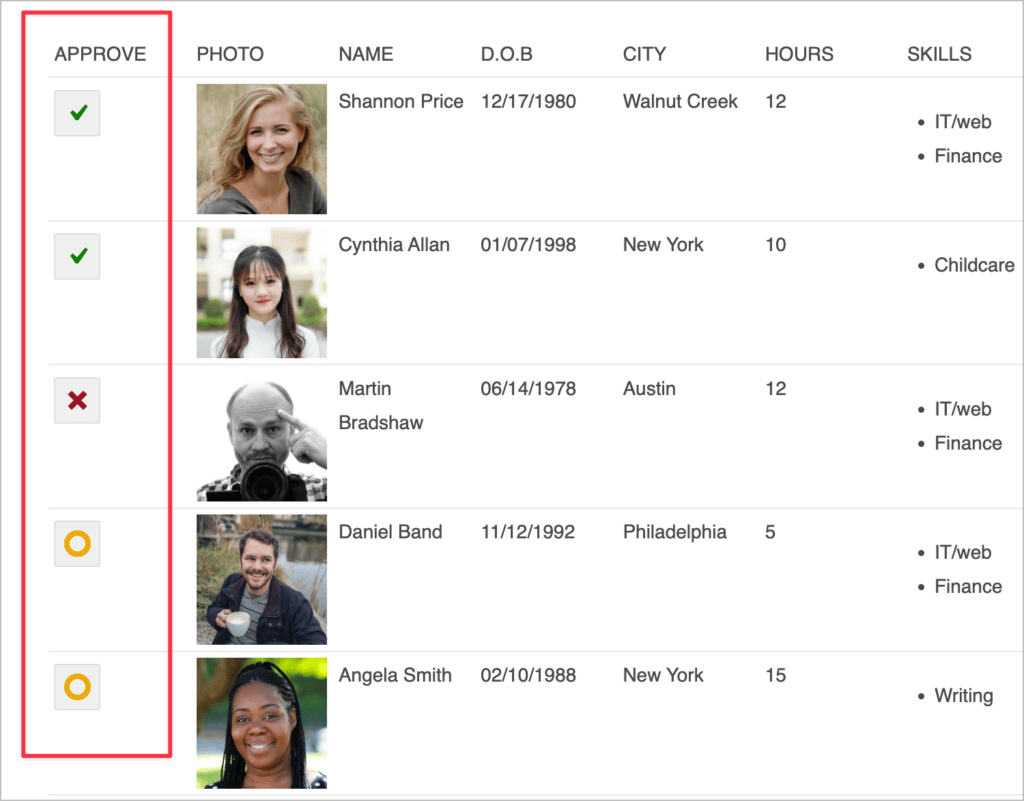
To approve or reject an entry, hover over the circle icon and click on either the green check mark (“approve”) or the red cross (“reject”).
How to Approve Entries on the Front end
In GravityView, it’s also possible to approve entries on the front end of your site. First, scroll down to the Settings and check the box that says “Show all entries to administrators”.

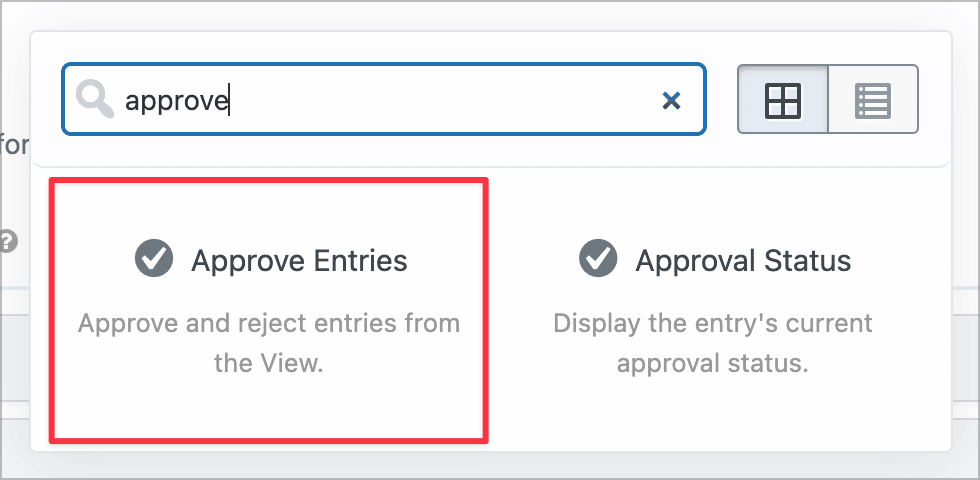
Next, click on the “Add Field” button and select the “Approve Entries” field to add it to your View.
Now save your View and open it on the front end. You’ll see a new field allowing you to approve or reject entries. When logged-out users access your View, they will only see the approved entries.
Now let’s look at the final way to handle entry approval in GravityView – by approving entries automatically.
How to Approve Entries Automatically
Now let’s look at how you can ensure that all new entries are approved automatically upon submission.
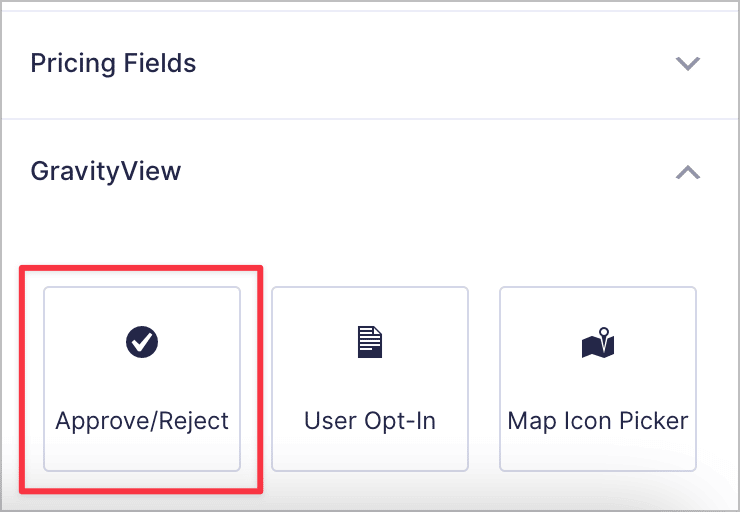
Edit your form in Gravity Forms, click on the GravityView tab on the right and add the “Approve/Reject” field to your form. This is an Admin only field and is not visible to regular users.
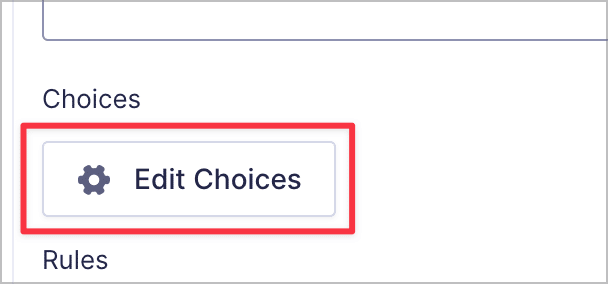
Now click on the field to open the Field Settings panel on the right, scroll down and click on “Edit Choices”.
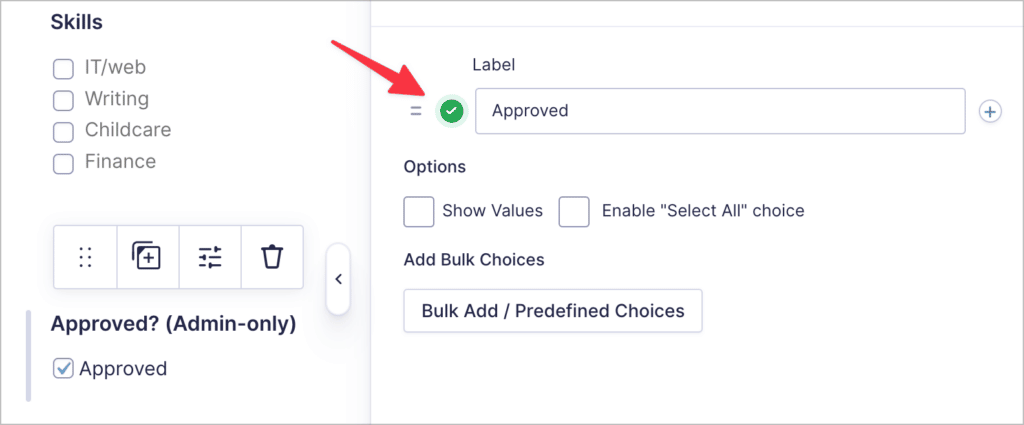
You’ll see a new fly-out menu appear, allowing you to edit the choices for the field. Next to “Approved” click on the check mark (you’ll see it go green). This will ensure that each entry that gets submitted is approved by default.
That’s it! When you’re done, don’t forget to update your form.
Bonus: Send Notification Emails When New Entries Are Approved/Rejected
From inside the form editor, hover over Settings and select Notifications. Now click Add New to create a new notification email. After giving your notification a name, click on the “Event” drop down menu to select a trigger for when the notification email should be sent.
Here are all the available options:
- Entry is approved
- Entry is rejected
- Entry approval is reset
- Entry approval is changed

You can now configure the notification as you would with a regular Gravity Forms notification email.
Get Started With Entry Approval in GravityView!
In this edition of Feature Highlights, we explored the entry approval functionality in GravityView. Entry approval allows you to review and approve new entries before they show up in a View.
In this post, we looked at three ways to approve entries in GravityView (from the backend, on the front end, and automatically). We also showed you how to send notification emails when the approval status of an entry changes.
If you found this post helpful, check out our tutotial on building an application review system using GravityView.

Helpful tips right in your inbox.
Subscribe to our weekly newsletter for tips, special offers, and more!
Helpful tips right in your inbox.
Subscribe to our weekly newsletter for tips, special offers, and more!

Helpful tips right in your inbox.
Subscribe to get the latest articles, information on releases and helpful Gravity Forms tips!
More articles

Launch Log: GravityView 3.0, plus upgrades to Block MCP and GravityKit MCP
GravityView 3.0 lands with the new Vantage theme, frontend bulk actions, and AI-assisted View creation. This launch log also covers updates to GravityKit MCP, Block MCP, and Dashboard Views.

Announcing GravityView 3.0: a fresh new look, AI View creation, and native page builder support
GravityView 3.0 is here: restyle Views with the new Vantage theme, build them with AI, embed them in any page builder, and run bulk actions on the front end.

Launch Log: GravitySearch arrives, plus AI spam review and GravityView fixes
This week, releases are anchored by a brand-new product! GravitySearch joins the GravityKit suite with cross-form entry search for Gravity Forms. Alongside it, Gravity Forms Zero Spam picks up an AI-powered review step, and GravityView sees fixes for Enhanced Security, Edit Entry, and Entry…