Published
•
Updated
How to use GravityKit with Zapier and connect to 8,000+ apps
Zapier is one of the tools out there spearheading the no-code boom. With Zapier, you can create powerful workflows and automations to improve your business operations. In this post, we’re going to show you how to integrate GravityKit with Zapier and connect your Gravity...
Zapier is one of the tools out there spearheading the no-code boom.
With Zapier, you can create powerful workflows and automations to improve your business operations.
In this post, we’re going to show you how to integrate GravityKit with Zapier and connect your Gravity Forms applications with over 8,000 other platforms. Let’s get started!
Wanna try it?
Spin up a demo
See what you can build with GravityView — explore the live demo.

What you’ll need
If you want to follow along with this tutorial, you’ll need to have the following:
- GravityView
- Uncanny Automator Pro
- Zapier (free!)
What is Zapier?
If you’re unfamiliar with Zapier, it’s one of the most popular automation tools for businesses of all sizes. Zapier allows you to create automated workflows across more than 5,000 different apps!
Most businesses use a range of different SaaS apps or tech platforms for handling their day-to-day operations. For example, this might include WordPress for website management, Notion for task-management, Slack for internal communication and Google Sheets for marketing.
It can be frustrating when these different apps don’t “talk” to each other. That’s where Zapier comes in. Using Zapier, you can connect your different work apps, giving you “more focus and less frustration”.

Benefits of using Zapier with GravityKit
At GravityKit we build and maintain a toolkit of essential add-ons for Gravity Forms. Our flagship plugin, GravityView, allows you to display Gravity Forms entries on the front end and build powerful web apps!
Whether you’re using GravityView to power a directory, events calendar, customer portal, or user profile, Zapier can be a welcome addition to your workflow.
By integrating your GravityKit application with Zapier, you can connect your app with over 5,000 other applications and platforms! This allows you to scale your existing app, save time and resources, and eliminate manual processes so you can focus on driving revenue.
Is there a GravityKit app on Zapier?
No, GravityKit isn’t listed in the Zapier App Directory, and none of our individual plugins (GravityView, GravityEdit, GravityCharts, and so on) have their own Zapier apps either.
Gravity Forms itself does have a native Zapier integration, with a “Form Submission” trigger and “Submit Form” and “Create Entry” actions. But that only covers the base form-submission event, not GravityView-specific events like entry approval or rejection. So if you want a Zap to fire when an entry is approved or rejected in GravityView, the native Gravity Forms app alone won’t do it.
That’s why this tutorial uses Uncanny Automator as a bridge: it exposes GravityView’s approval and rejection events as webhook triggers Zapier can catch.
Create automated workflows with Uncanny Automator and Zapier
Okay, let’s get into the nitty-gritty of connecting GravityKit with Zapier. GravityKit doesn’t support integrating with Zapier out of the box, so we’re going to use Uncanny Automator to act as the go-between.
Pro tipYou can also connect GravityKit with Zapier using WP Webhooks.
To follow along with this tutorial, you’ll need an active Zapier account, so go ahead and create one if you don’t have one already (it’s free!).
Step 1: Install Uncanny Automator
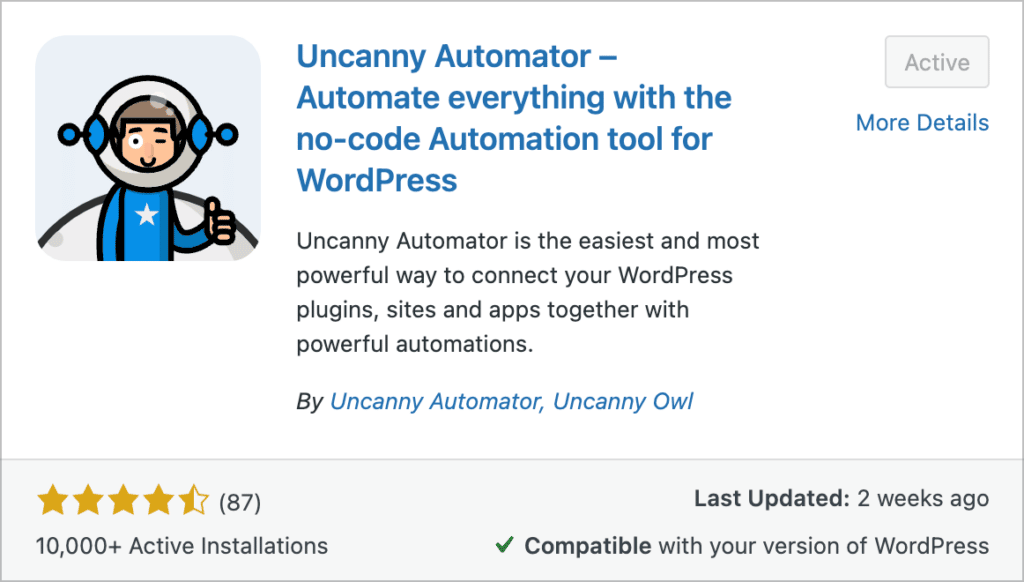
Now that you’ve got your Zapier account set up, you’ll need to install the Uncanny Automator plugin on your WordPress website.
Uncanny Automator is a WordPress plugin that makes it possible to configure automated workflows for dozens of popular plugins and apps. Without writing any code, you can create “recipes” that cause certain activities on your site to trigger other activities.
While there is a free version of Uncanny Automator, you’ll need the Pro version in order to utilize the GravityKit integration. (Just know that the Pro version of the plugin requires the free version to be installed as well!).
Step 2: Create a new “Zap”
Now that you’ve created a Zapier account and installed Uncanny Automator, you can start configuring the GravityKit-to-Zapier integration. Start by going to your Zapier account and creating a new “Zap”.
After clicking the “+ Create Zap” button, you’ll need to choose an app and event to act as the trigger. Select the app labeled Webhooks by Zapier. This is the method we’re going to use to send information from GravityKit to Zapier and then on to another app.
If you lean more towards the non-technical side of things, you’re probably wondering what a webhook is. A webhook is a service that powers one-way data sharing, triggered by events. Webhooks enable applications to share data and functionality.

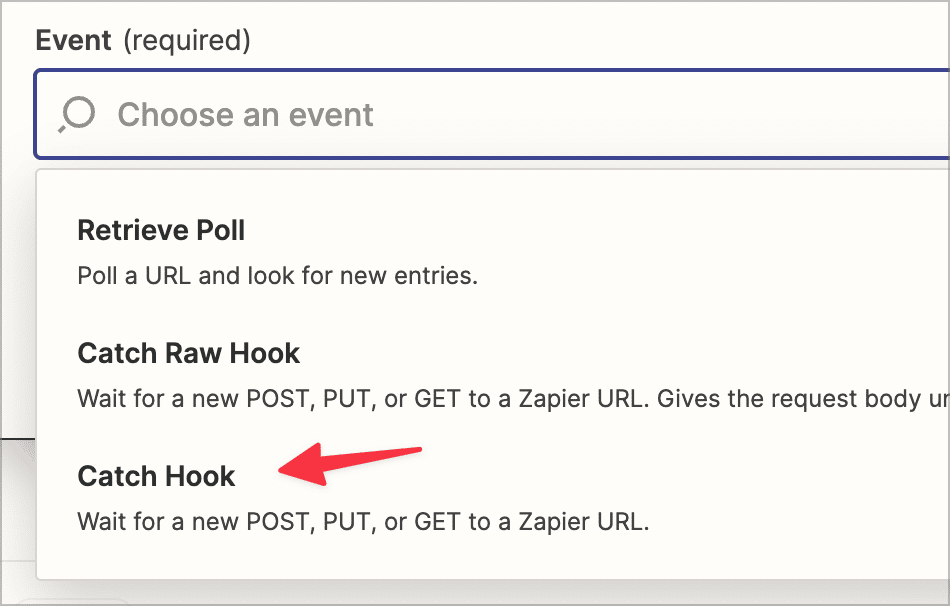
After selecting your app, you’ll need to choose an event to trigger the “Zap”. There are three choices: “Retrieve Poll”, “Catch Raw Hook” and “Catch Hook”. Go ahead and select the third option, “Catch Hook”.
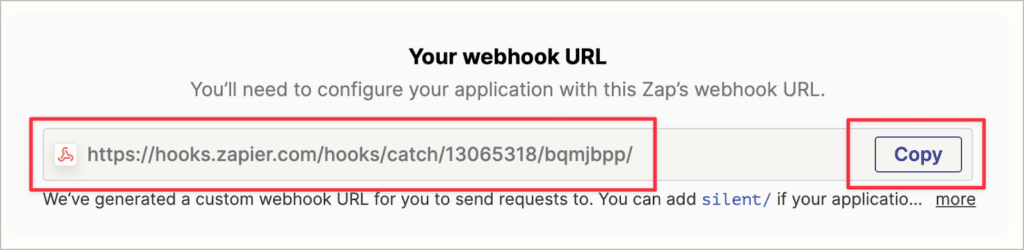
After that, Zapier will generate a webhook URL. Copy this URL to your clipboard, as you’ll need it in the next step!
Okay, after copying the webhook URL, leave your Zap for now and head back to your WordPress website.
Step 3: Send data to Zapier via webhook
The next step is to create a new “recipe” in Uncanny Automator to send data to Zapier via webhook. In Uncanny Automator, a “recipe” is made up of a trigger and an action. The trigger is the event that causes the action to take place.
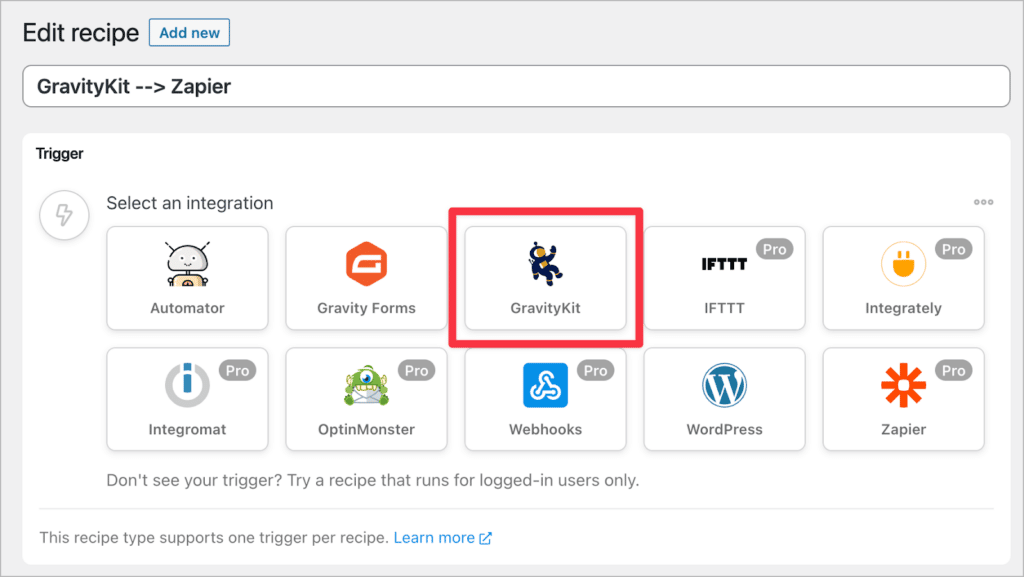
Start by hovering over Automator in your WordPress sidebar and click Add new. After giving your recipe a name, select GravityKit as your integration.
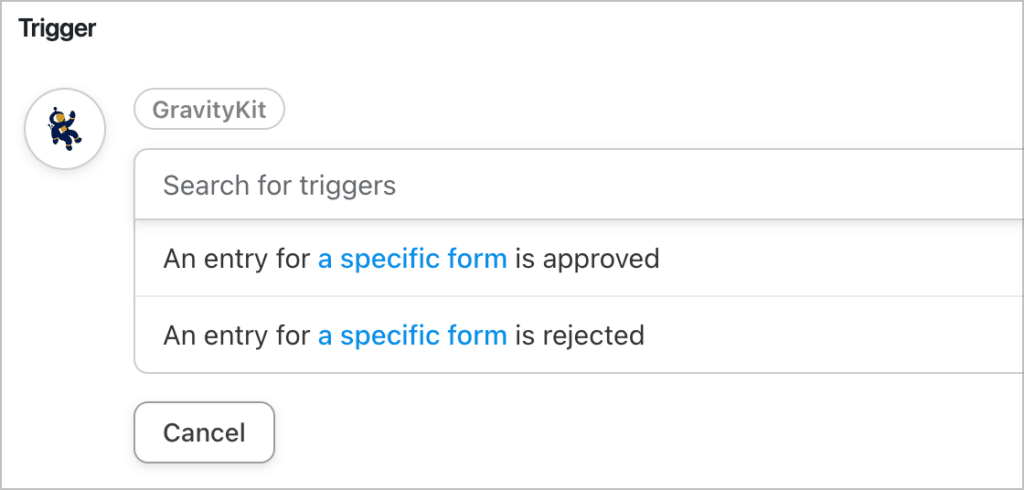
Now define your trigger (there are two options: “An entry for a specific form is approved” or “An entry for a specific form is rejected”).
After selecting your trigger. You’ll need to choose which form it applies to. In this example, we chose our “Galactic Tour Registration” form 🧑🚀🚀.

Now that your trigger has been set up, you’ll need to specify an action. This is the activity that happens when the trigger has been fired. In this case, our action is going to be sending data to Zapier.
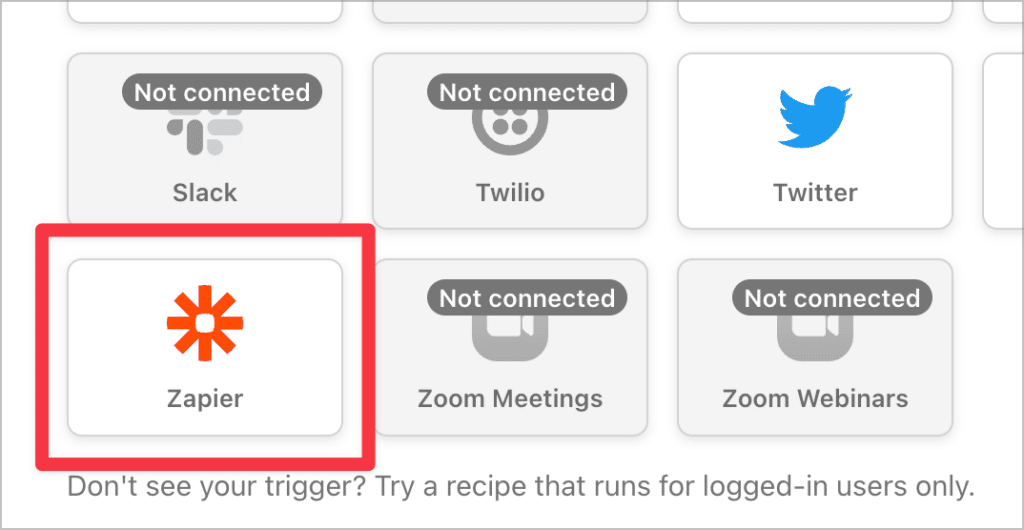
After selecting Zapier as your integration, you’ll need to specify a webhook URL. This is the same URL you copied in the previous step! Go ahead and paste it in the box.
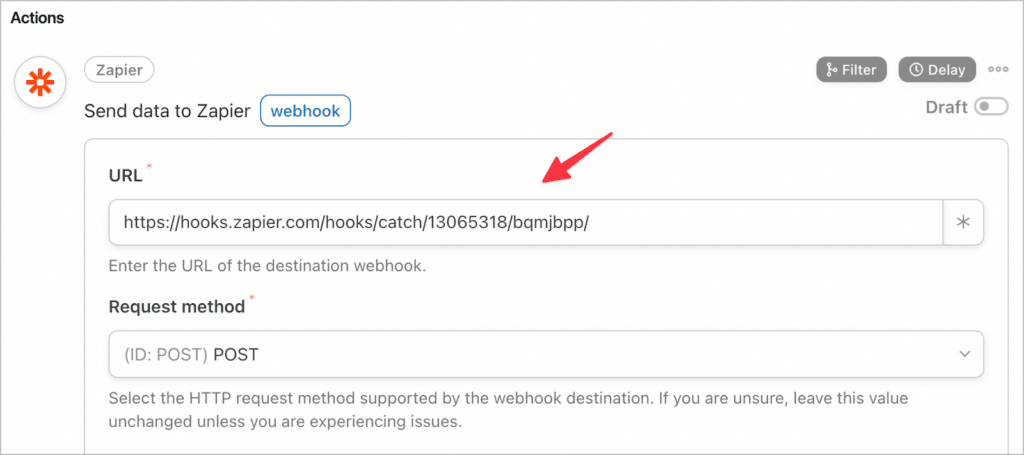
There’s no need to change any of the other settings. Everything should be set up and ready to go. All you need to do is specify the data you want to send to Zapier and then test the integration.
Step 4: Test the integration
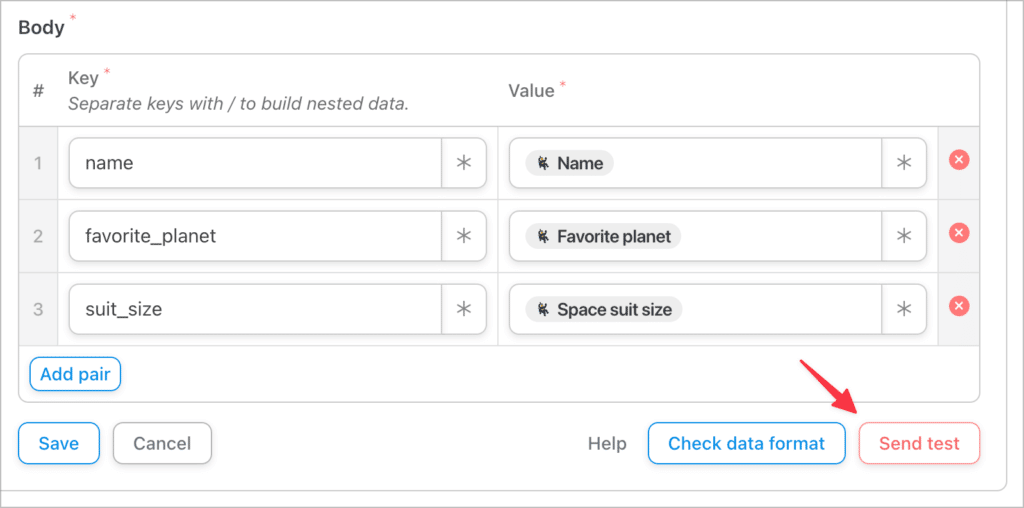
In the “Body” section of your webhook request, you can specify the data you want to send to Zapier by using Key-Value pairs. The values you set should be the information from the entry you’ve either approved or rejected.
In this example, we’re sending three values to Zapier, the name of the user, their favorite planet and their space suit size. When you’ve added the information you want to send to Zapier, click the “Send test” button.
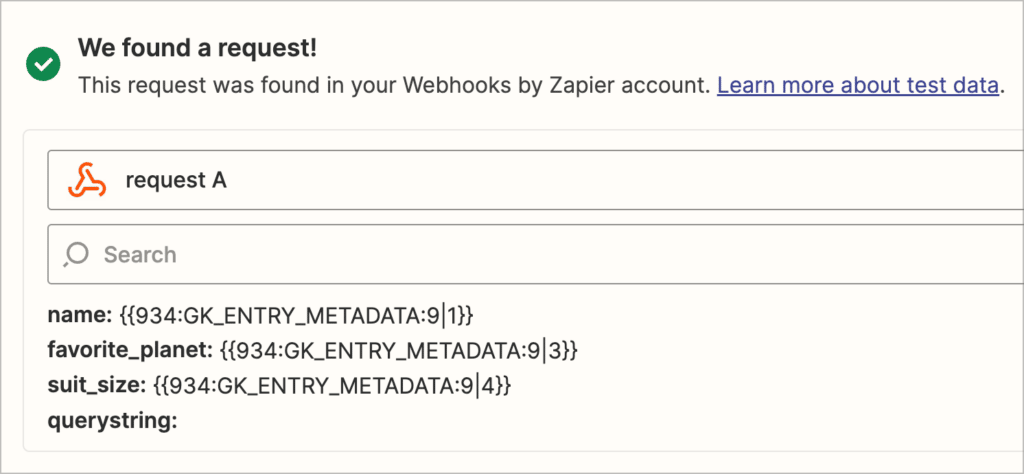
Now head back to your Zapier “Zap” and click “Test trigger”. If the integration was successful, Zapier will display a green check mark with a success message saying “We found a request!”.
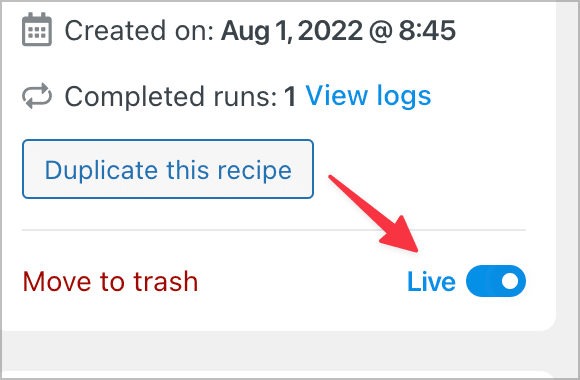
If your integration is working as expected, go ahead and activate your recipe by switching it from “Draft” to “Live”.
Awesome! Our integration is working and we’re able to send our Gravity Forms data to Zapier whenever an entry is approved or rejected in GravityView!
However, although our data is getting sent to Zapier, nothing is actually happening with it yet. To finish off our workflow, we need to add an event in Zapier.
#5 Add an event in Zapier
Head back to your “Zap” in Zapier and add an event. This is the activity that will occur when Zapier receives your data. Zapier integrates with over 5,000 different apps, so there are literally thousands of choices for what should happen once your data has been received.
You could trigger a Slack notification, set up an event in Google Calendar, or add a new task in Trello. All you need to do is search for the app you want to use for the event.
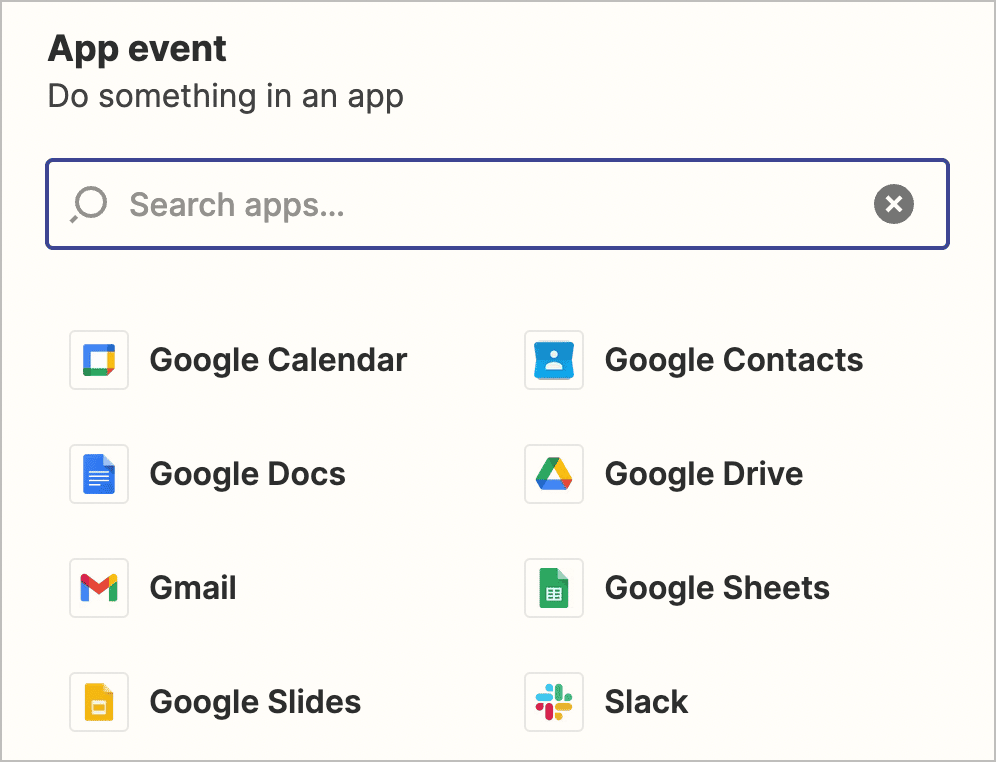
For this example, we’ll keep it simple by adding a new row to a Google Sheet. All we need to do is select the “Google Sheets” app and authorize Zapier to connect with our Google Account.
After that, we can select a Google Sheet in our Drive and decide what to do with the data we receive from our webhook. In this example, we’re creating a new row in Google Sheets each time a new entry is approved.
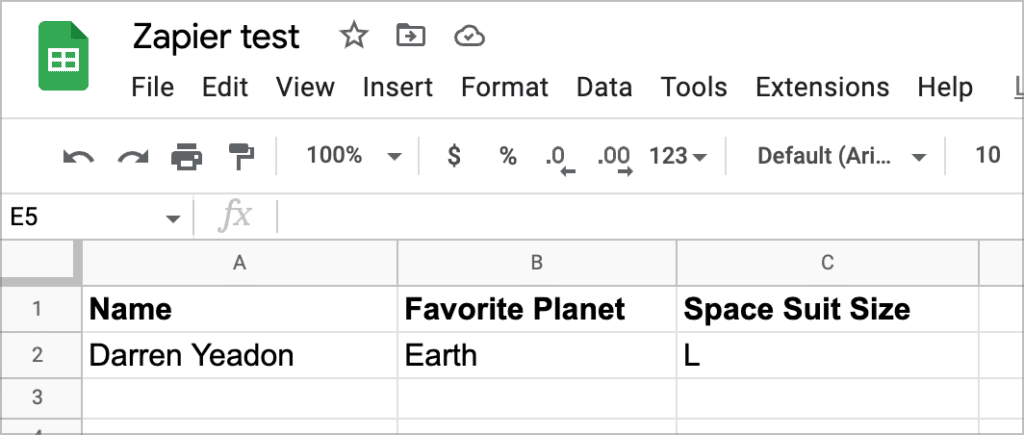
That’s it! You can now connect GravityKit with thousands of other apps using Uncanny Automator and Zapier.
Uncanny Automator vs. WP Webhooks: which connector should you pick?
Both Uncanny Automator and WP Webhooks can bridge GravityView events to Zapier. They differ in which triggers are free vs. Pro, in pricing at the top tier, and in how wide their broader WordPress integration surface is.
| Uncanny Automator | WP Webhooks | |
|---|---|---|
| Free version on WordPress.org | Yes (50,000+ installs, 4.9★) | Yes (20,000+ installs, 4.6★) |
| GravityView “entry approved” trigger | Pro only | Free |
| GravityView “entry rejected” trigger | Pro only | Pro only |
| Send data to Zapier (outbound action) | Free | Free |
| Receive data from Zapier (inbound trigger) | Pro | Pro |
| 1-site paid plan | $149/yr | $149/yr |
| 10-site paid plan | $249/yr | $249/yr |
| Top-tier plan | $399/yr (50 sites) | $499/yr (75 sites) |
| Integration breadth | 10,000+ triggers and actions across hundreds of WordPress plugins and SaaS apps | 100+ integrations, webhook-focused |
Pricing and WordPress.org stats current as of April 2026.
Which one should you pick?
- If you only need to fire Zaps when an entry is approved, WP Webhooks’ free plugin handles that without a paid upgrade.
- If you need both approved and rejected triggers, both plugins require their paid tier, and the price is the same at 1 and 10 sites.
- At Pro pricing, the decision usually comes down to scope. Uncanny Automator is a broader automation platform, so if you also plan to automate WooCommerce, LearnDash, membership plugins, and so on, one Automator license covers them all. WP Webhooks is leaner and webhook-focused, which makes it a simpler fit if Zapier (or another external endpoint) is your only destination.
Both plugins send data to Zapier out of the box via their free versions. The Pro upgrade mainly unlocks the inbound trigger (Zapier sending data back to WordPress) and, in Uncanny Automator’s case, all of the GravityView triggers.
Connect GravityKit with Zapier today!
Zapier is one of the most popular no-code tools, allowing you to connect over 5,000 different apps and create automations that save your business time, money and headaches.
In this post, we showed you how to connect GravityKit with Zapier using the Uncanny Automator plugin for WordPress. If you found this post helpful, make sure you subscribe to our newsletter so we can notify you when we publish new content!

Helpful tips right in your inbox.
Subscribe to get the latest articles, information on releases and helpful Gravity Forms tips!
More articles

WordPress page builder market share 2026: Elementor leads at 32.67%
Elementor reaches 32.7% of WordPress sites. WordPress Block Editor 20.6%, wpBakery 8.5%, Divi 5.7%. Latest HTTP Archive crawl, share-of-WordPress basis throughout.

Launch Log: GravityView 3.0, plus upgrades to Block MCP and GravityKit MCP
GravityView 3.0 lands with the new Vantage theme, frontend bulk actions, and AI-assisted View creation. This launch log also covers updates to GravityKit MCP, Block MCP, and Dashboard Views.

Announcing GravityView 3.0: a fresh new look, AI View creation, and native page builder support
GravityView 3.0 is here: restyle Views with the new Vantage theme, build them with AI, embed them in any page builder, and run bulk actions on the front end.