Published
•
Updated
How to embed a Gravity Forms form on your WordPress site: Step-by-Step guide
Embed Gravity Forms on any WordPress site using the Block Editor, Classic Editor, or page builders like Elementor and Divi. Step-by-step guide with screenshots.
Gravity Forms is one of the most powerful and trusted form plugins for WordPress. With its robust feature set and accessibility-first approach, it’s the ideal form solution for any WordPress site.
In this guide, I’ll show you several ways to embed Gravity Forms on your WordPress website, whether you’re using the Block Editor, Classic Editor, or a page builder like Elementor or Divi.
Why use Gravity Forms?
Apart from being one of the oldest and most trusted WordPress form plugins available, there are several other reasons why you should consider using Gravity Forms above other form plugins.
Accessibility leader
Gravity Forms is built with accessibility in mind and makes it easy to create forms that comply with WCAG (Web Content Accessibility Guidelines). This ensures your forms are usable for people with disabilities (a crucial aspect of inclusive design).
Well supported and actively maintained
As one of the longest-standing WordPress form plugins (launched in 2009), Gravity Forms benefits from a dedicated development team that regularly rolls out updates, feature improvements, and security patches.
Packed with features
Key functionality includes:
- Drag-and-drop form builder
- Conditional logic
- File uploads
- Third-party integrations (e.g., Mailchimp, HubSpot, Zapier)
- AJAX form submission
- Email notifications
- Entry management and export tools
A wealth of powerful add-ons
Gravity Forms is more than just a form plugin, it resides at the core of an entire ecosystem of plugins and developers. One of the reasons users choose Gravity Forms over other WordPress form plugins is due to its extensive library of both first and third-party add-ons.
Option 1: Use the Gravity Forms block
If you’re using the WordPress block editor (Gutenberg):
- Edit or create a new page/post
- Click the “+” icon and search for the “Gravity Forms” block
- Select your form from the dropdown
- Customize display settings (e.g., enable AJAX, hide title)
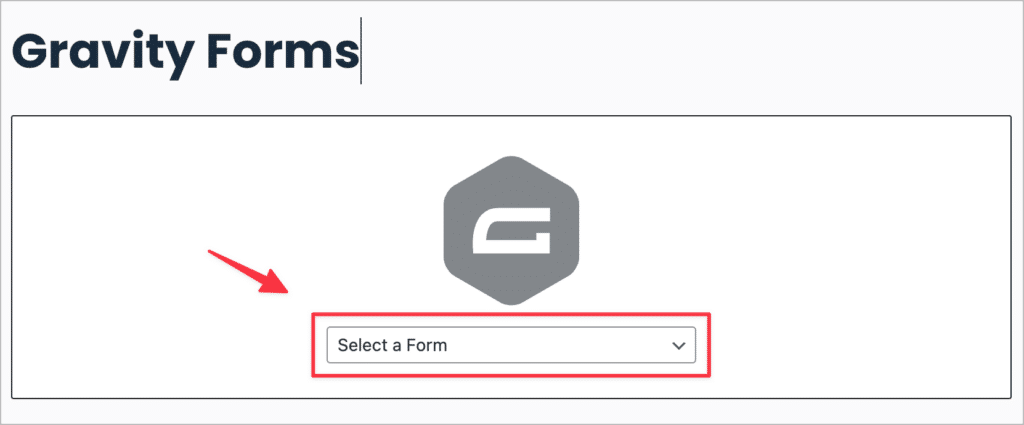
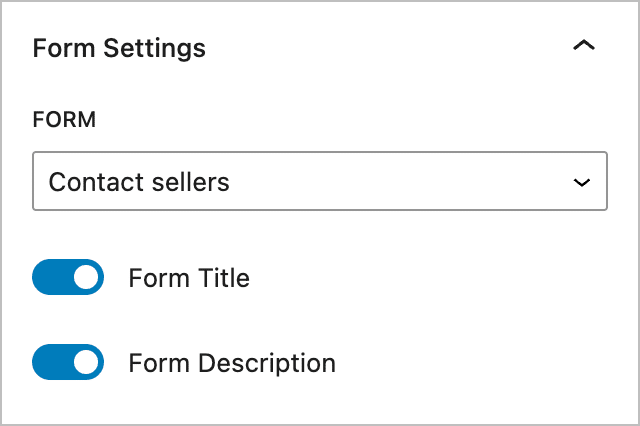
After choosing the form you want to embed, you should see a preview of how it will look. On the right-hand side, you’ll also see various form settings allowing you to customize the way your form is displayed on the front end. For example, under “Form Settings”, you can enable or disable the form title and description.
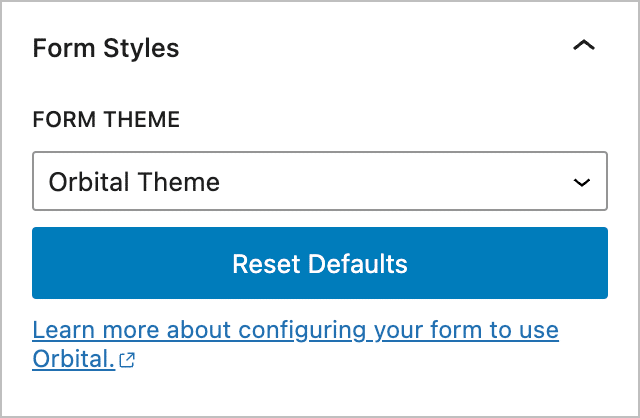
You can also select a form style. Gravity Forms supports different “themes”, allowing you to change the look and feel of your embedded forms on the front end!
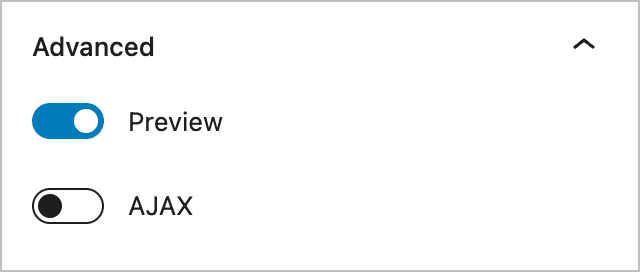
Finally, by opening the “Advanced” tab you can enable or disable AJAX.
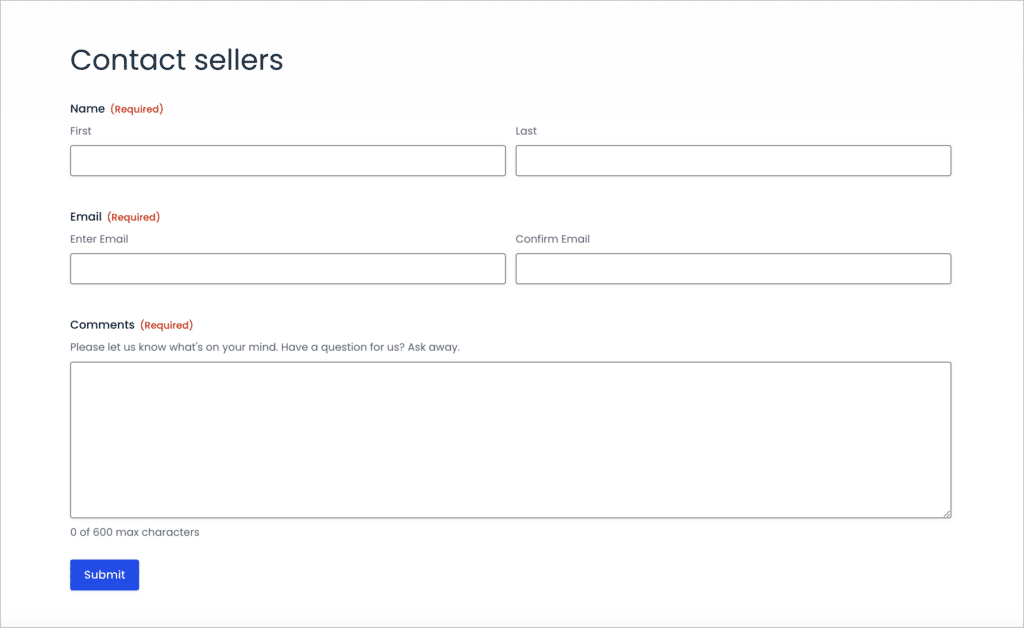
When you’ve finished configuring the form settings, save your page/post and open it on the front end.
Want to add a form to your sidebar or footer? Since WordPress 5.8, widget areas use the block editor, which means you can add the Gravity Forms block directly—no shortcode needed.
Here’s how:
- Go to Appearance > Widgets in your WordPress dashboard
- Click the + icon inside the widget area where you want your form (e.g., “Sidebar” or “Footer”)
- Search for “Gravity Forms” and select the Gravity Forms block
- Choose your form from the dropdown and click Update
That’s it! Your form will now appear in the widget area on the front end.
Note: If your theme uses the newer Full Site Editor (FSE), you can add forms to template parts like headers, footers, and sidebars by going to Appearance > Editor, selecting the relevant template part, and inserting the Gravity Forms block there.
Shortcodes are also useful for embedding forms in custom post types or other contexts where the block editor isn’t available.
Option 2: Use a shortcode
WordPress shortcodes are small bits of code that allow you to display information or create objects that would usually require programming skills.
The Gravity Forms embed shortcode allows you to embed forms anywhere on your website! The shortcode supports several parameters, enabling you to customize the look of your form and configure other options.
Here’s an example:
[gravityform id="7" title="false" description="false" ajax="true"]id– The ID of your form (e.g.,124)title– Show or hide the form title (trueorfalse)description– Show or hide the form description (trueorfalse)ajax– Enable AJAX to submit the form without reloading the page (trueorfalse)
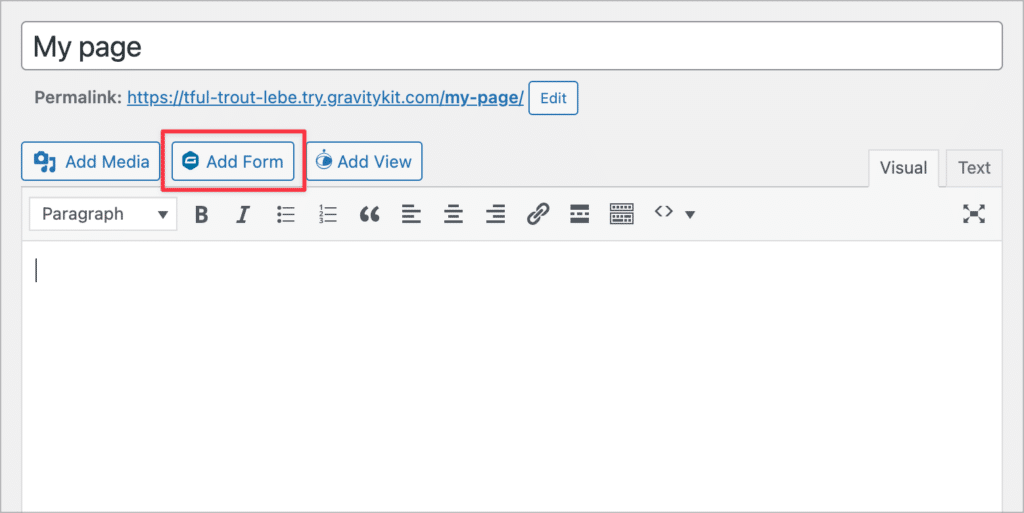
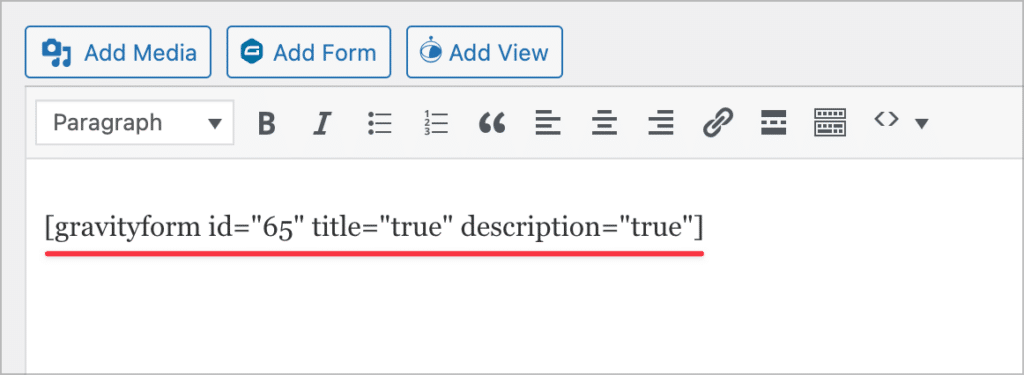
If you’re using the WordPress Classic Editor, you can insert the embed shortcode without having to construct it yourself. To do this, click the “Add Form” button above the text editor.
Now, select your form from the dropdown menu and configure the form settings. When you’re done, click “Insert Form”.
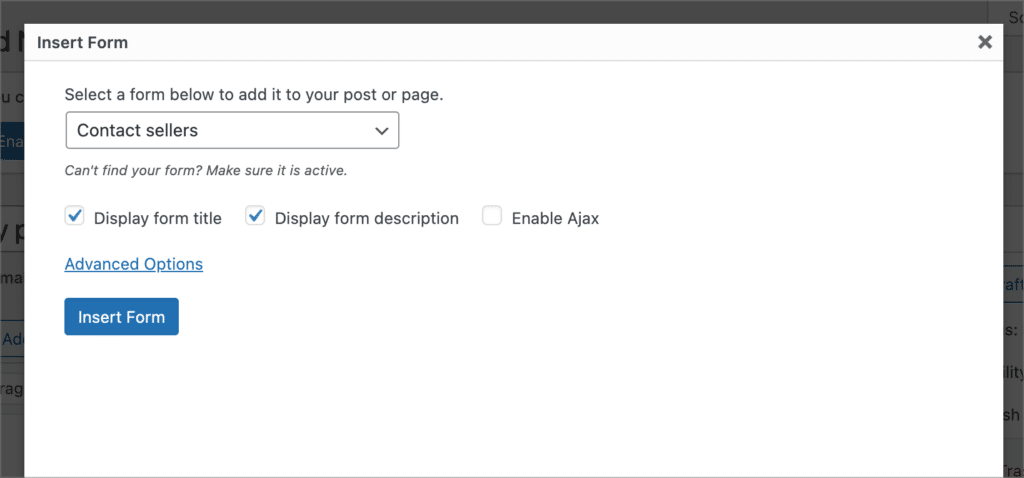
Your shortcode will now automatically be added to your page layout.
Embedding forms in popular page builders
You can also embed Gravity Forms using visual builders. Here’s how:
Elementor
- Option 1 (recommended): Use the free Gravity Forms Widget for Elementor add-on to add forms to your site using the Elementor visual interface.
- Option 2: Paste the Gravity Forms shortcode into an Elementor Text Editor widget.
Read our full Gravity Forms + Elementor guide.
Divi
- Option 1: Use the Gravity Forms module included in the WP Tools Gravity Forms Divi Module plugin.
- Option 2: Paste the Gravity Forms shortcode into a Divi Text module.
Read our full Gravity Forms + Divi guide.
Beaver Builder
Paste the Gravity Forms shortcode into a Text Editor module where you want the form to appear. See our step-by-step guide.
Want to show submitted entries, not just the form? GravityView 3.0 adds native widgets and modules for Elementor, Divi, and Beaver Builder, so you can embed a View of your Gravity Forms entries directly in any of them without a shortcode. See the page builder guide.
FAQ
If you’re using the WordPress block, you can style your forms from within the block settings. All you need to do is select “Orbital” as your form theme. You can then customize the form styles from the editor sidebar.
Go to Forms > Forms. Hover over the form you wish to edit and click “Edit”. Update field settings, reorder fields, or tweak form logic. Changes are reflected anywhere the form is embedded (no need to reinsert the form).
Unfortunately, no. Gravity Forms is a WordPress-specific plugin and requires: WordPress v5.0+, PHP v7.2+ (as of 2024 best practices), and MySQL v5.6+ / MariaDB v10.1+.
Final thoughts: Embed powerful, accessible WordPress forms
Gravity Forms gives you everything you need to build and embed high-quality, accessible forms on your WordPress site. Whether you’re managing registrations, surveys, file uploads, or customer contacts, embedding is easy using blocks, shortcodes, or page builders.
Ready to take things to the next level? Explore plugins from our GravityKit suite, including tools for displaying entries, importing and exporting data, and inline editing.

Helpful tips right in your inbox.
Subscribe to get the latest articles, information on releases and helpful Gravity Forms tips!
More articles

How to build a searchable directory on Gravity Forms by chatting with AI
Build a searchable directory from your Gravity Forms entries by chatting with AI. See how the free GravityKit MCP creates a GravityView directory in minutes.

10 things you can ask AI to do with Gravity Forms (using the free GravityKit MCP)
See 10 practical things you can ask AI to do with Gravity Forms using the free GravityKit MCP: create forms, manage entries, build Views, and more.

Launch Log: theme template editing in Block MCP, Shield silentCAPTCHA for Zero Spam, and GravityView fixes
Block MCP adds safe theme template editing, Gravity Forms Zero Spam gains Shield silentCAPTCHA support, and GravityView fixes lightbox and notice bugs.