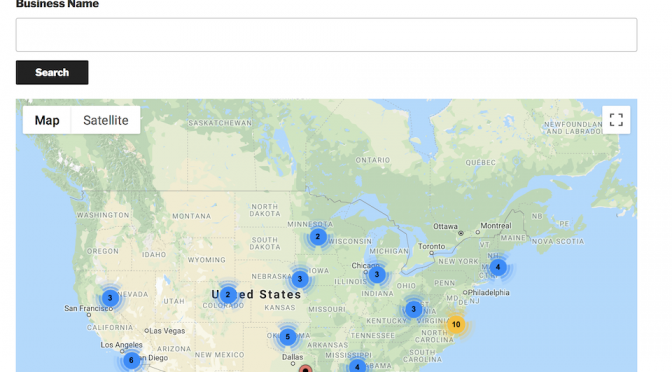
In this new series, we’ll be looking at features of GravityView and the awesome things you can do with them. In this post, we’ll explore the ways you can search through your entries.
The search functionality is one of the most important aspects to building an application with Gravityview. If you have hundreds or thousands of entries, you’ll naturally want a way to search through them!
How to Add a Search Widget to Your View
Before you do anything, you’ll want to add the search bar to your site. To do this, simply add a widget on the View page. You can add a widget above or below your fields and on the right, left, or center.
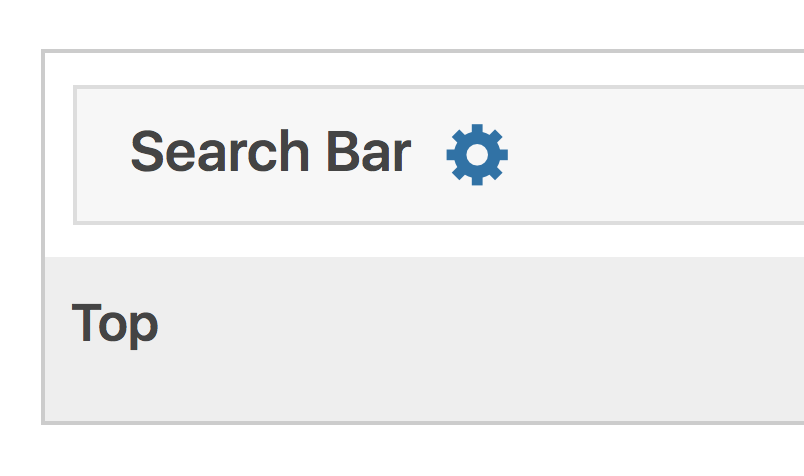
Once you’ve decided where to put the widget, press the Add Widget field. Then, click or drag it into your View.
To customize the search options, press the blue gear icon next to the field. The options are divided into three parts, the first two of which are pretty straightforward.
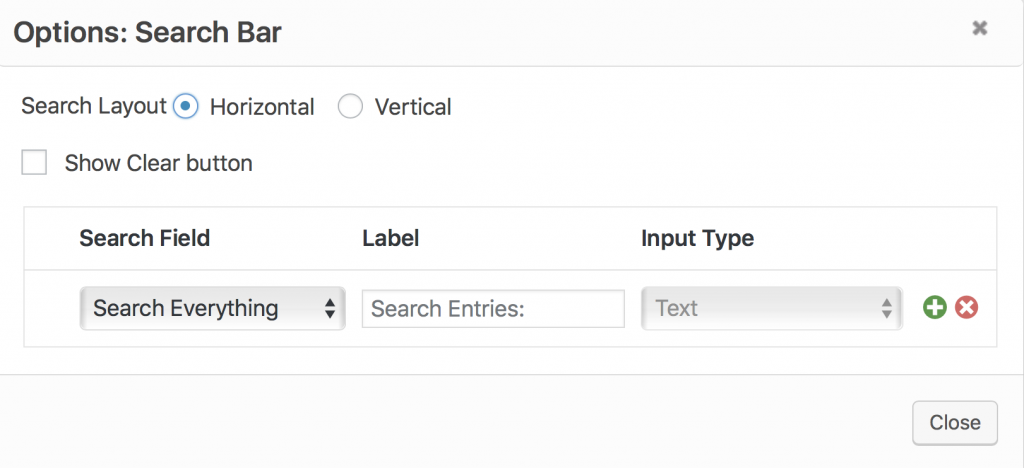
- Search Layout: here, you can choose to display the search fields horizontally, side-by-side, or on top of each other, vertically.
- Show Clear Button: If this is enabled, there will be a “clear” button next to the search bar. If you press this button, the search bar will be cleared.
- The Search Field Manager: Here, you can add and customize the fields that your search bar will search through. Let’s talk about this in more detail.
By default, everything will be searched through. But what if you want your search bar to only search through certain fields? No problem.
To do that, click the little green plus sign. You’ll first notice that a new option called “Search Mode” has appeared:

- Match Any Fields: If this is enabled, entries will appear in search results if the search query is found in at least one of the fields. It doesn’t need to match all of the fields. This is useful if you want any relevant results to be displayed.
- Match All Fields: If this is enabled, entries will only appear if they match all of your search fields. This is useful if the search results are only relevant if they are very specific. For example, a search for “Mexican restaurants” in “New York City” is only relevant if both fields are true – you aren’t looking for an Italian restaurant in New York City and you aren’t looking for Mexican restaurants located in a far-off city.
Now let’s talk about the search fields themselves. The options available will depend on the field’s type.
For example, for our “Country” field, we can made the Search input type to be Select, Radio or Links.

Each of these options will display the search options in a separate way. We probably don’t want to use the Radio input or Links type for the Country field, as they take up a lot of space – but you may want to.


Finally, remember that you can change the label of the field to whatever you like – it doesn’t need to be the same as the field’s name.
Display Only the Search Bar at First
Do you want to only display entries if they match a search? In other words, do you want to display a search bar by default, then show entries after a search is performed?
For example, you may have a directory of thousands of people. You don’t want to display all of them at one time. Instead, you only want to display an entry after searching for it.
To do this, simply go to the Settings panel in your View and enable Hide View data until search is performed.
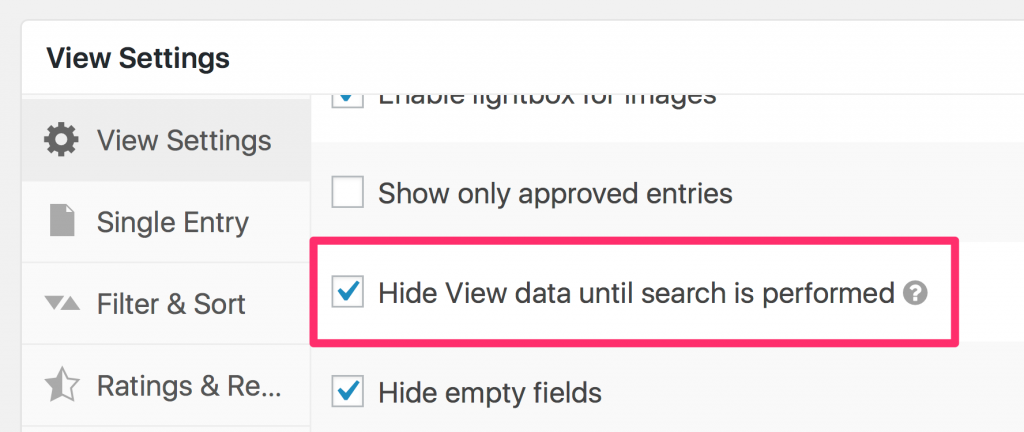
Your View will now only show entries after you perform a search.
Linking to a GravityView Search Result
Want to have a page that automatically links to search results? It’s easy! All you need to do is perform a search and then copy the URL, then paste it on a page.


This is useful if you want to use links to display particular combinations of search results, rather than requiring the user to select the options themselves.
Read more about linking to a search.
GravityView Search Feature: More Customization
Want to customize the GravityView search options even more? Check out these guides:
