Published
•
Updated
How to connect GravityKit with Make (Integromat) and put your business on autopilot
Make (formerly “Integromat”) is a visual, no-code platform for creating automated workflows and business processes. At the time of writing, Make integrates with over 1,200 different apps, allowing you to streamline your business operations so you can save time, energy and resources! In this...
Make (formerly “Integromat”) is a visual, no-code platform for creating automated workflows and business processes.
At the time of writing, Make integrates with over 1,200 different apps, allowing you to streamline your business operations so you can save time, energy and resources!
In this tutorial, we’re going to show you how to integrate GravityKit with Make and connect your WordPress site with hundreds of other applications. Are you ready? Let’s get started! 👇
Wanna try it?
Spin up a demo
See what you can build with GravityKit — explore our live demo site.

What you’ll need
Here’s what you’ll need to follow along with this tutorial:
- GravityView
- WP Webhooks
- Make account (free!)
What is Make (Integromat)?
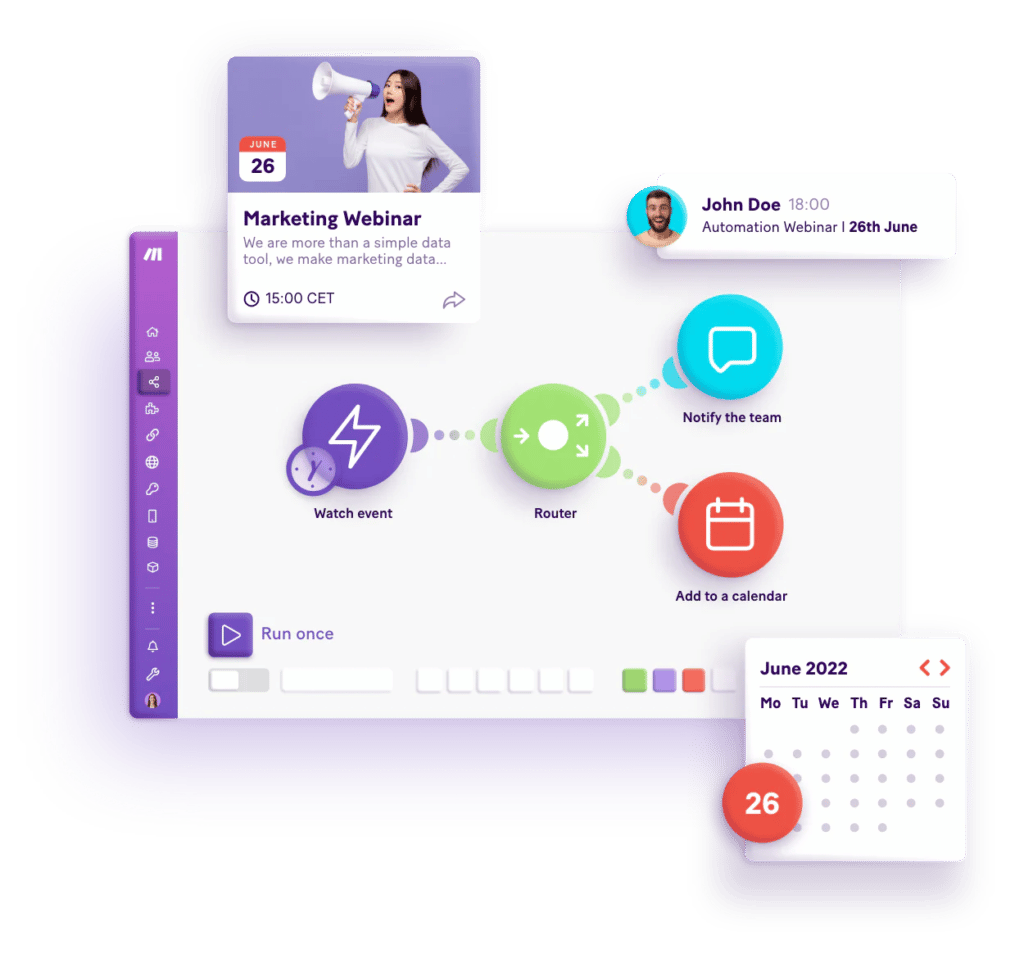
Make is an automation platform for connecting different apps and building automated workflows. Make provides a powerful, visual interface for integrating your apps, systems and tasks.
What makes Make unique is its “non-linear” approach to automation. While Zapier and other automation platforms offer linear, no-code integrations, Make takes things further by allowing you to build workflows visually. This means you’re only limited by your imagination.
Furthermore, Make’s interface is more like a mind map, while Zapier uses a more conventional, list-type approach to making automations. This results in very different user experiences.
Use Make to connect GravityKit with the world
If you’re looking to connect your GravityKit applications with other systems, using Make is a great option. In fact, Make allows you to connect GravityKit with over 1,200 different apps!
However, Make doesn’t support a GravityKit integration out-of-the-box, so you’ll need to use a webhook, and that’s where WP Webhooks comes in.
WP Webhooks is a WordPress plugin that allows you to put your website on autopilot while you focus on what’s important to grow your business. Using WP Webhooks, you can connect GravityKit with Make in a few simple steps.
Example “Scenarios”
In Make, automation workflows are called “scenarios”. Here are some examples of different scenarios you can create using GravityKit.
- When a new entry is approved, publish a new Tweet
- When a new entry is approved, add a row in Google Sheets
- When an entry is rejected, send a notification on Slack
- When an entry is rejected, receive a message on Telegram
- When a new entry is approved, add a new task in Notion
Connecting GravityKit to Make using WP Webhooks, step by step
Now let’s run through exactly how to connect GravityKit with Make, in 5 simple steps. But before we begin, you’ll need to register a Make account (if you don’t have one already). Don’t worry, it only takes two minutes, and it’s free!
Now that you have your Make account set up, let’s start creating our first automated workflow.
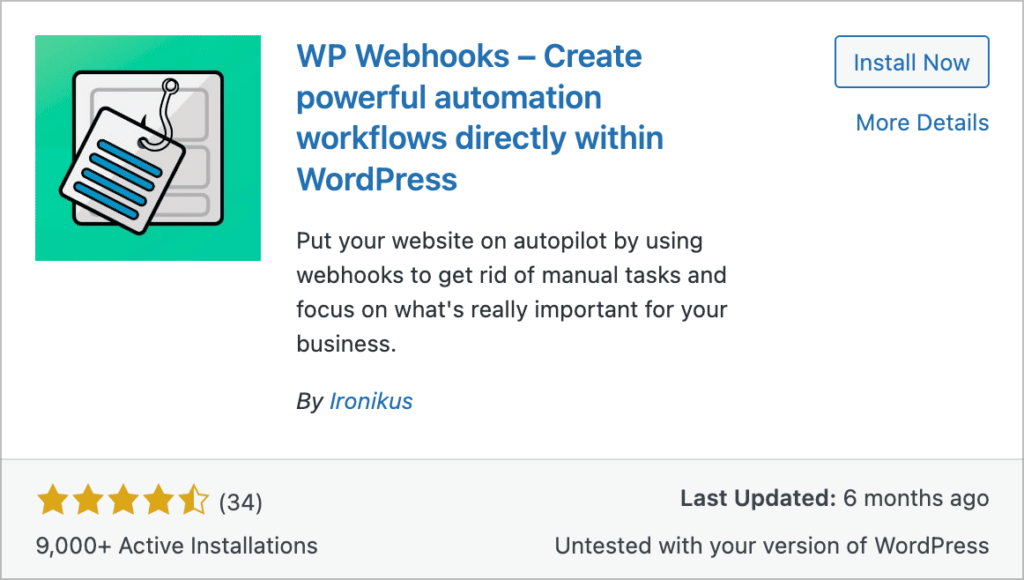
Step 1: Install WP Webhooks
Start by installing the WP Webhooks plugin on your WordPress website. We’re going to use WP Webhooks to send data from GravityKit to Make.
While there is a free version of WP Webhooks available, you’ll need the Pro version to utilize the GravityKit integration. Once you’ve got the Pro version installed, move on to step 2.
Step 2: Create a new scenario
After installing WP Webhooks on your site, head over to your Make account and create a new “scenario” by clicking the “Create a new scenario” button.

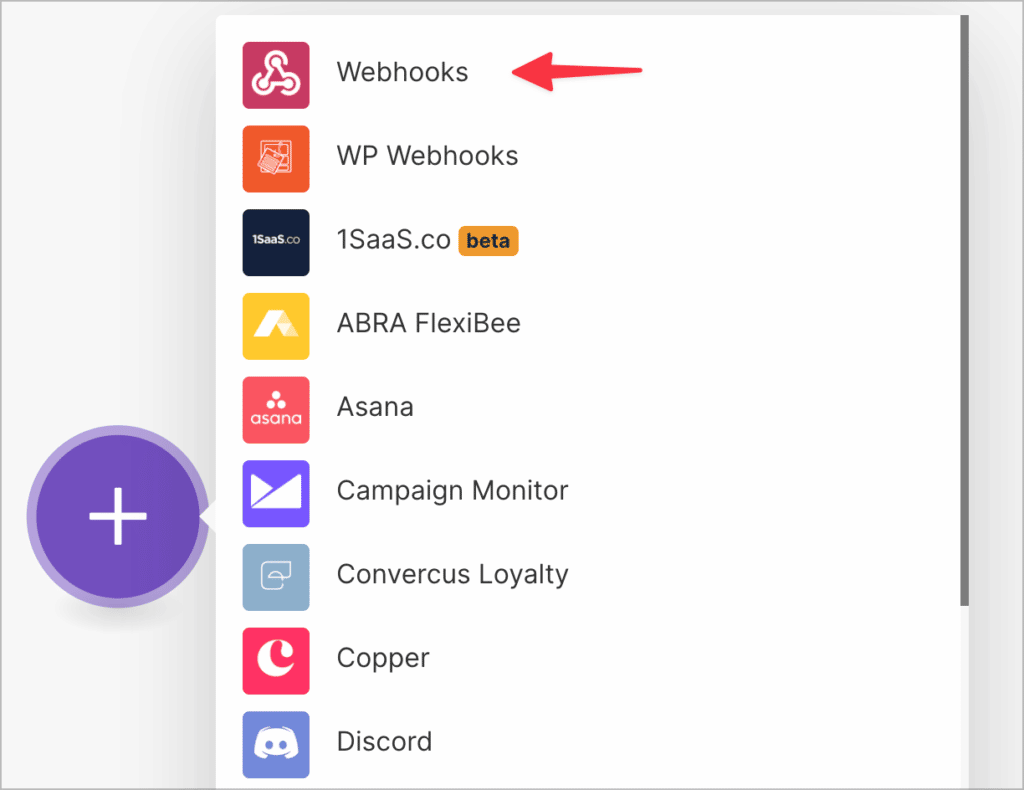
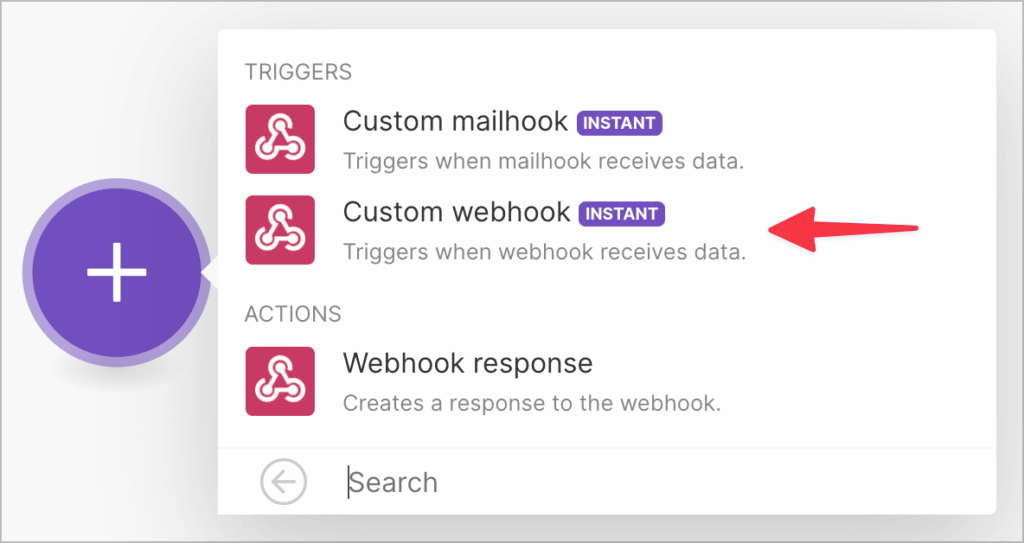
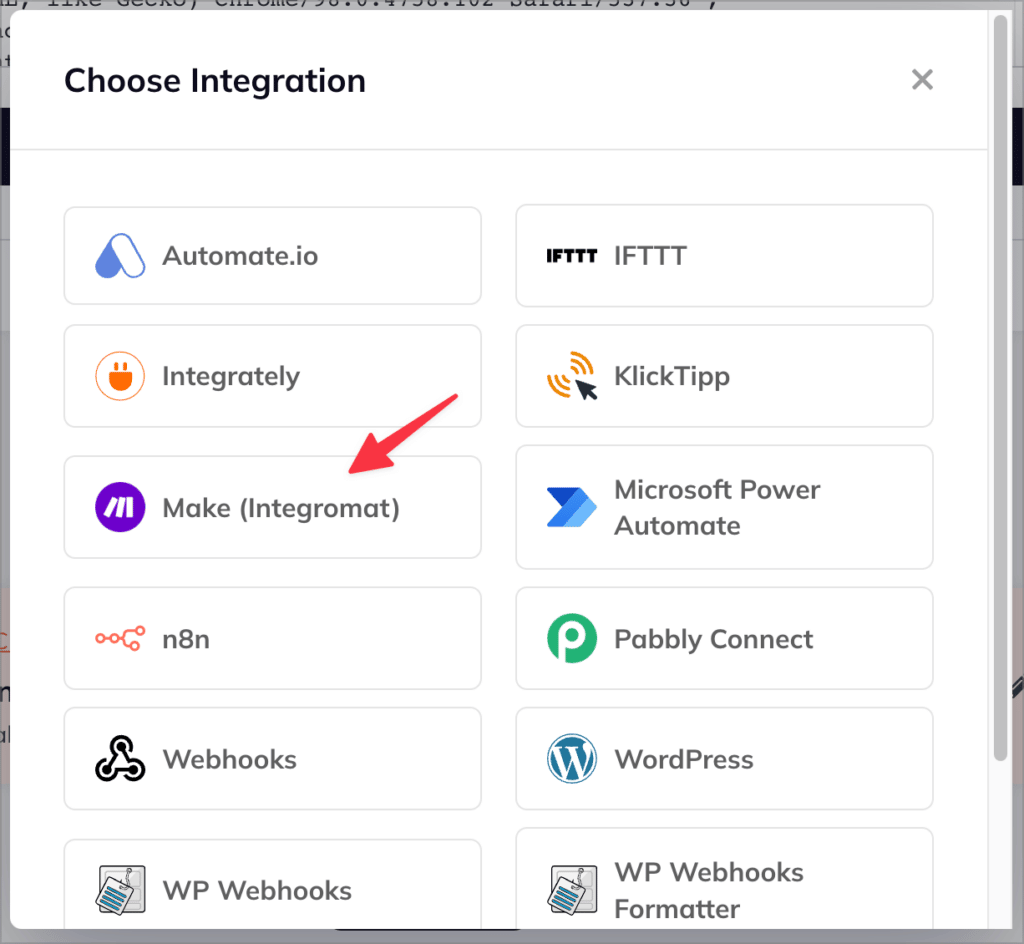
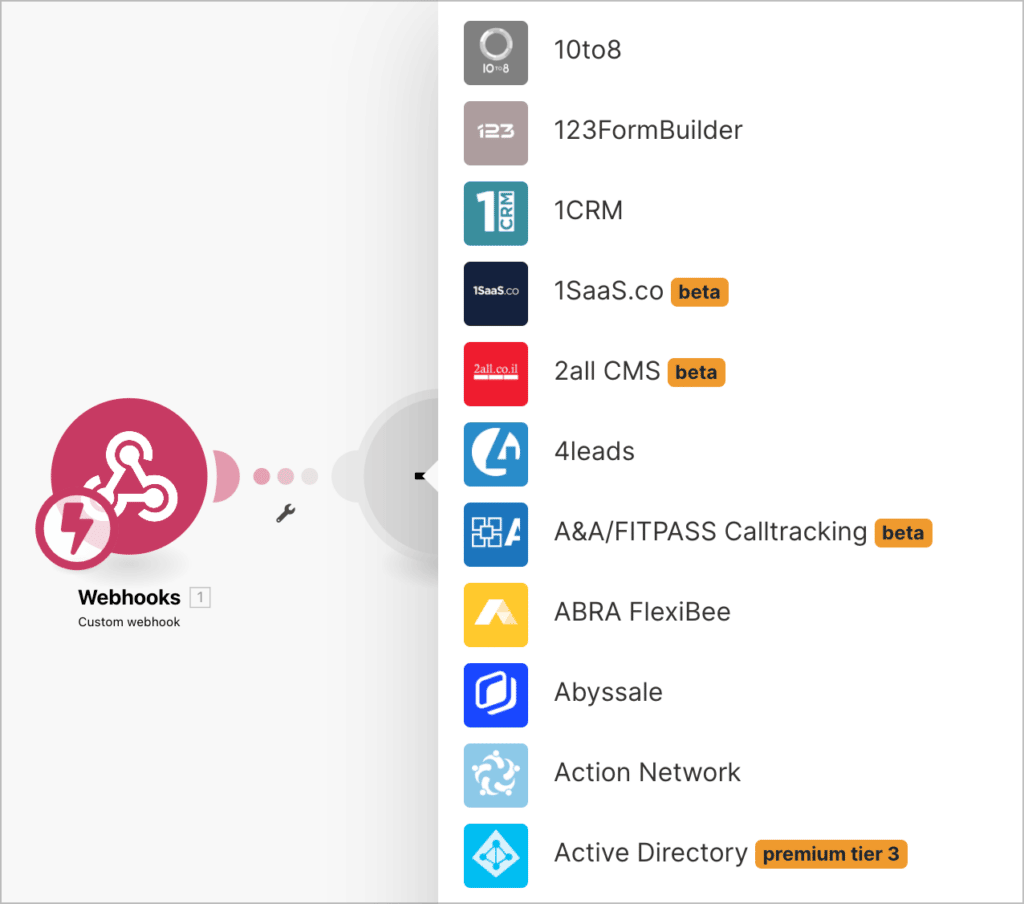
Make will now load its visual builder, allowing you to configure a new automated workflow. Click the big “+” in the middle of the screen to get started. Now you’ll need to select an integration. Search for “Webhooks” and click on it to add it to your workflow.
Now you’ll need to select a trigger. The trigger is an activity that causes another activity to happen. Set the trigger to “Custom webhook”.
After giving your webhook a name, Make will generate a unique webhook URL for you (“1” in the screenshot below). You’ll need this URL in the next step, so go ahead and copy it to your clipboard (2).
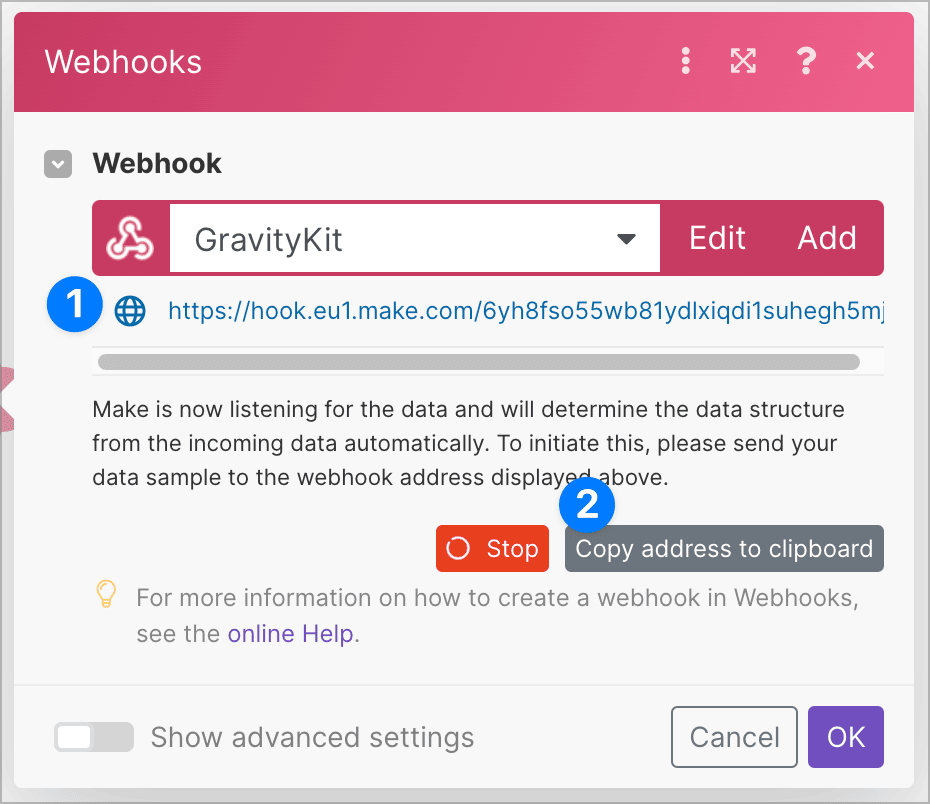
After copying your webhook URL, save your scenario in Make and head over to your WordPress website.
Step 3: Create a new flow in WP Webhooks
The next step is to create a new “Flow” in WP Webhooks that sends data from GravityKit to Make. “Flows” are automations or workflows.
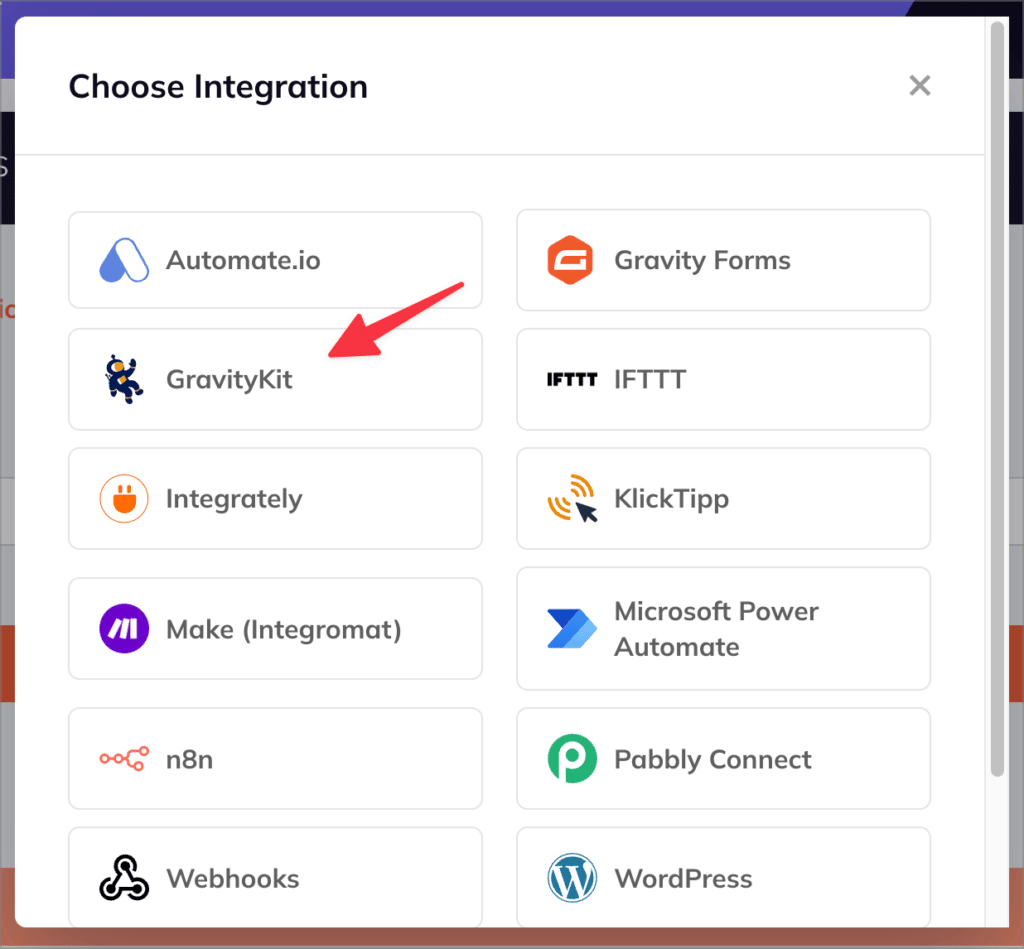
Hover over “WP Webhooks Pro” in your WordPress sideba, click on “Automations (Flows)” and then select “Create Flow”. Now start by adding a trigger and select GravityKit as your integration.
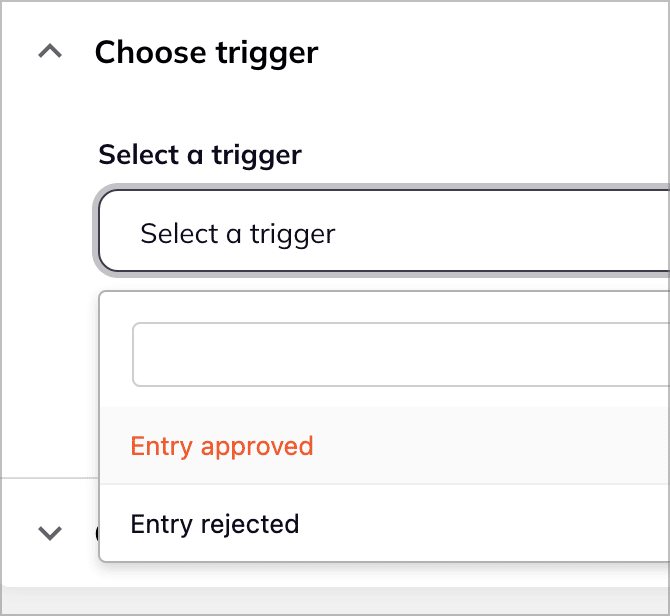
The next step is to choose the specific trigger. This is the activity that will kick off your automation. WP Webhooks supports two GravityKit triggers:
- Entry approved
- Entry rejected
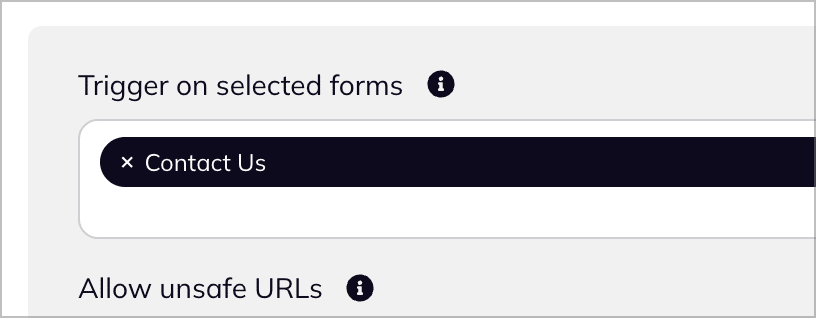
After selecting your trigger, you’ll need to specify a form (or multiple forms) in Gravity Forms to which the trigger should apply. To do this, click inside the box and search for the name of your form.
Now that you’ve set up the trigger, you’ll need to add an Action. This is the activity that will happen once the trigger fires. In this case, our action will be sending data to Make. To add a new action, click the “Add action” button and then select “Make (Integromat)” as your integration.
Now define your action by selecting “Send data to webhook app”.
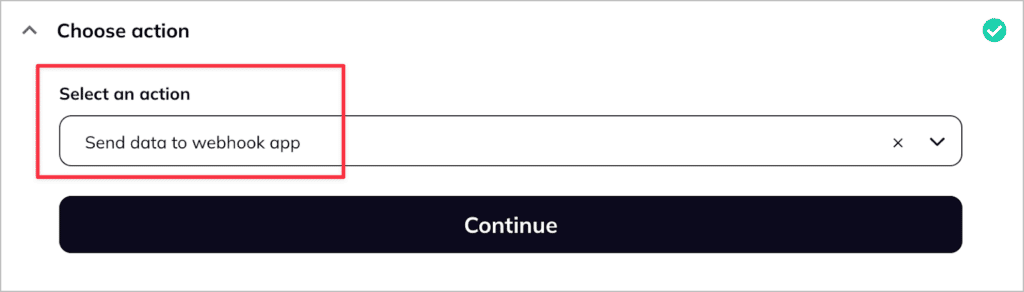
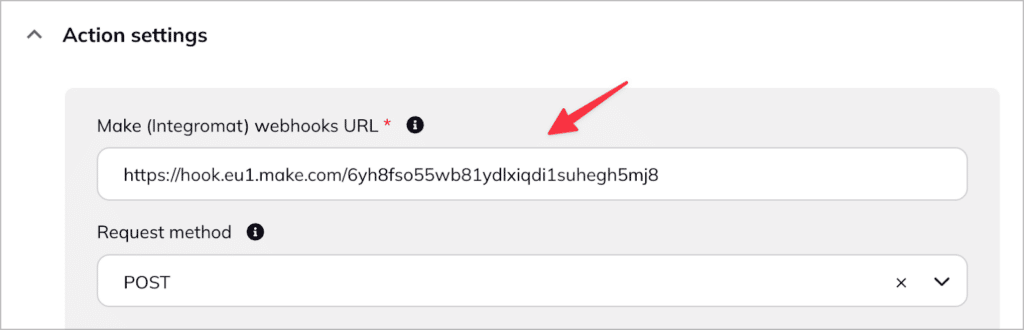
After that, click “Continue”. Now, open the “Action settings” dropdown and paste your Make webhook URL into the box. (This is the URL you copied from Make in the previous step).
Finally, you’ll need to specify the data you want to send to Make by modifying the body of your request. Here, you can include data from GravityKit using Key-Value pairs.

After adding your data, check to see if things are set up correctly by testing your integration.
Step 4: Test the integration
To test the integration, open the “Test action” dropdown, select “Fire webhook action” from the dropdown and then click “Fire Action”.

If everything is working as expected, move on to step 5.
Step 5. Add another module to your scenario in Make
After successfully connecting GravityKit with Make, you need to decide what to do with the data once it’s received. Make integrates with over 1,200 different apps so there are near limitless possibilities!
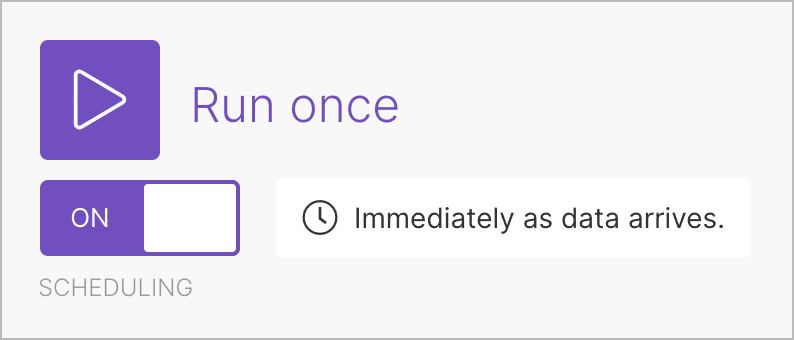
After selecting an integration for the final step of your workflow, go ahead and test the automation one more time to ensure it’s all working correctly! If everything is working, put your scenario live by turning scheduling on and selecting how often your scenario should run.
That’s it! You’ve successfully connected your GravityKit app to Make!
Connect GravityKit to Make using WP Webhooks
Make is a visual automation platform that allows you to connect over 1,200 different apps! In only a few clicks, you can set up automated workflows that save you time, energy and resources.
In this post, we showed you how to connect GravityKit to Make using the WP Webhooks plugin for WordPress. If you found this post helpful, check out some other ways to automate your GravityKit applications.

Helpful tips right in your inbox.
Subscribe to get the latest articles, information on releases and helpful Gravity Forms tips!
More articles

Launch Log: GravityView 3.0, plus upgrades to Block MCP and GravityKit MCP
GravityView 3.0 lands with the new Vantage theme, frontend bulk actions, and AI-assisted View creation. This launch log also covers updates to GravityKit MCP, Block MCP, and Dashboard Views.

Announcing GravityView 3.0: a fresh new look, AI View creation, and native page builder support
GravityView 3.0 is here: restyle Views with the new Vantage theme, build them with AI, embed them in any page builder, and run bulk actions on the front end.

Launch Log: GravitySearch arrives, plus AI spam review and GravityView fixes
This week, releases are anchored by a brand-new product! GravitySearch joins the GravityKit suite with cross-form entry search for Gravity Forms. Alongside it, Gravity Forms Zero Spam picks up an AI-powered review step, and GravityView sees fixes for Enhanced Security, Edit Entry, and Entry…