Looking to build a directory website on WordPress? Figuring out how to get started can be tricky.
What plugins do you need? Do you need a special theme? How do you import listings? How do you make your directory searchable?
These are just some of the questions we’re going to address in this post. Keep reading to find out everything you need to know about building a directory site on WordPress!
What themes or plugins do you need for a WordPress directory website?
A directory is simply a searchable collection of listings. These could be business listings, people profiles, events, or anything else that people are looking for!
Technically, you don’t need any plugins or special themes to create a directory on WordPress. You could use custom post types and taxonomies to input and organize your listing data. This would work perfectly fine for a basic directory.
However, adding additional functionality beyond basic sorting and filtering would require writing custom code, and that’s where things get tricky.
If you’re looking to build a directory with specific features, where you have more control over the layout and search filters, you’ll need to use plugins or themes.
How to choose a WordPress directory theme or plugin?
There are several WordPress themes and plugins that will make it easy to create a directory website. These themes and plugins extend WordPress, allowing you to create a searchable directory of listings without needing to write custom code.
So, how do you choose the right theme or plugin for your project? After all, there are a lot of options!
When looking at the different options, they mostly fall into one of three categories:
- Specific directory themes or plugins
- Plugins that act as frameworks
- Form-based solutions
Knowing what kind of plugin to choose will depend on the needs of your project, and your level of WordPress expertise. Let’s look at each one in more detail.
Specific directory themes or plugins
Level: WordPress novice
Customizability: Basic
There are plenty of directory plugins and themes available for WordPress. These can be useful if you find one with the exact features you’re looking for. Otherwise, you may find them limited, with low potential for scaling.
Plugins that act as frameworks
Level: WordPress expert / developer
Customizability: Excellent
Some plugins allow you to customize WordPress by adding your own custom fields, post types, and taxonomies. Popular examples include Advanced Custom Fields (ACF), PODs, and Toolset.
The downside to choosing one of these solutions is that the learning curve is rather steep. However, If you’re already a WordPress expert or developer, you’ll find these options useful as they are highly customizable!
Form-based solutions
Level: Any
Customizability: Excellent
Lastly, form-based solutions rely on popular WordPress form plugins for inputting and collecting listing data. You can then use an add-on to display that data on the front end. This is our favorite solution for creating WordPress directory websites!
Not only are form-based solutions easy to use, they include a wealth of powerful features, making them highly customizable and suitable for creating any type of directory.
An example of a form-based solution is Gravity Forms with GravityView.
Using Gravity Forms and GravityView to build a directory
Gravity Forms is the most popular and powerful form plugin for WordPress, powering millions of websites worldwide! Not only is it easy to use, Gravity Forms includes a range of advanced features and form fields for collecting and managing data.
With GravityView, you can harness the data you collect via Gravity Forms and build powerful front-end interfaces. With built-in search, a drag-and-drop builder, and customizable layout templates, building directories is easy!
Here are some other advantages of using Gravity Forms and GravityView to build directories:
- Modular add-ons: Gravity Forms and GravityView include a range of powerful extensions. Install only the ones you need to add features and avoid bloat.
- Support for payment gateways: Take payments directly through Gravity Forms and create a directory with both free and paid listings.
- Scalable: Build a scalable directory that’s easy to update, maintain, and expand.
- Customizable search: Configure search bars, and apply filtered using advanced conditional logic.
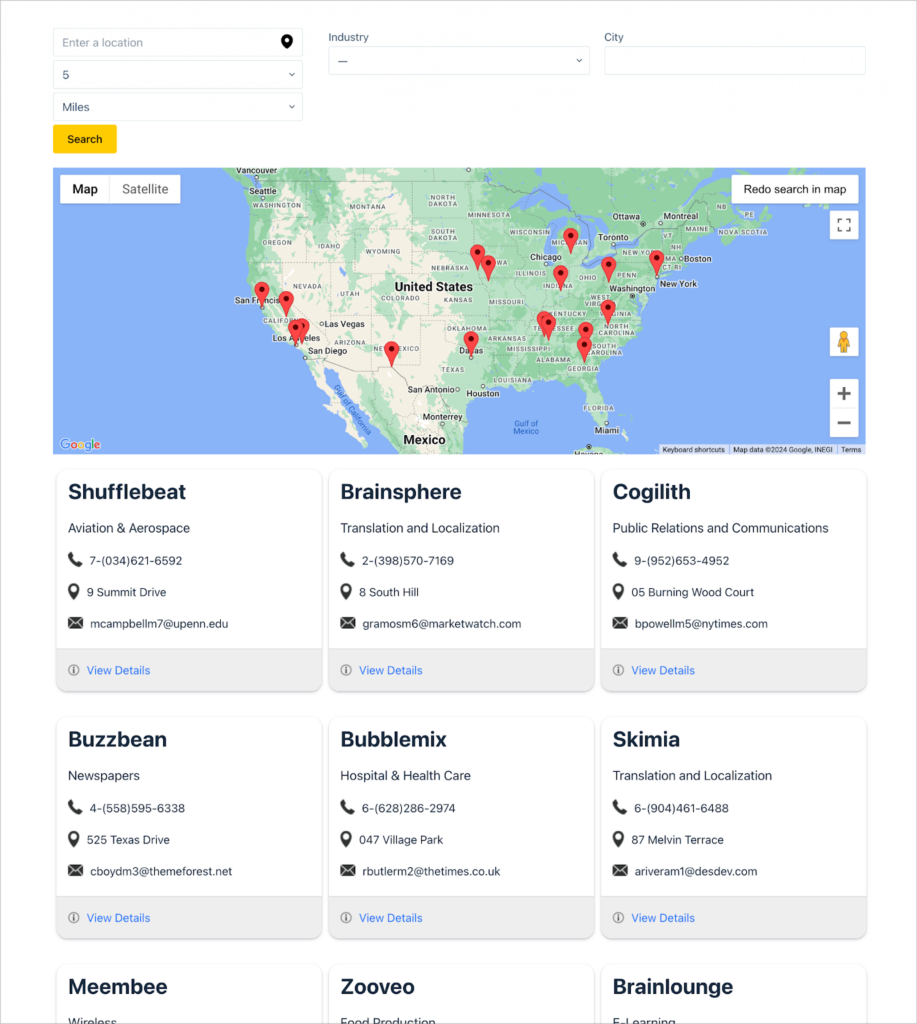
- Geolocation: Display listings on a map with geolocation search capabilities.
- Drag and drop: Build your forms and directory layouts using a simple drag and drop editor.
Now let’s go through an example of how you would set up a custom directory using these two plugins.
Step 1: Add or import your listings to Gravity Forms
The first step is to add your listings to Gravity Forms. If you’re starting from scratch, you can create a new directory listing form and use that to capture listing information for businesses, members, events, or whatever it is you’re building a directory for.
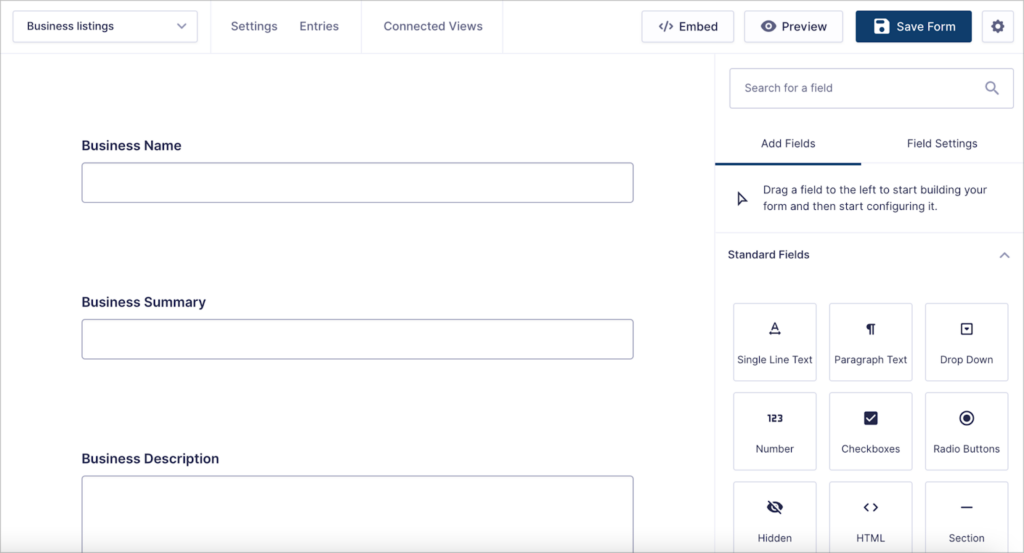
If you already have your directory listings, you can import them to Gravity Forms from a CSV file using a plugin like GravityImport.
Step 2: Choose your directory style and layout
Now that you have your listing data, you can start constructing your directory using GravityView. Start by selecting a View Type. Different View Types enable you to display your listings using different layouts.
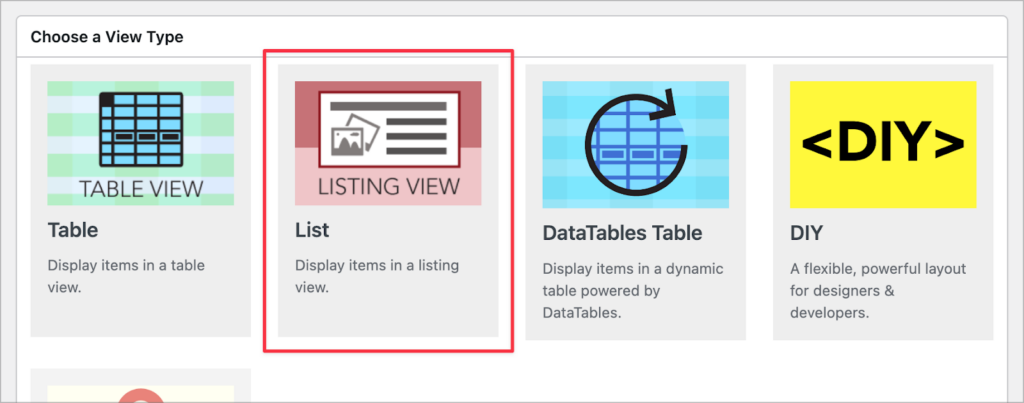
After choosing a layout for your directory, you can customize your directory using GravityView’s drag-and-drop builder.
Step 3: Select what data to display in your directory
GravityView enables you to select the data you want to display for each directory listing. You can also move fields to different locations by dragging and dropping them.
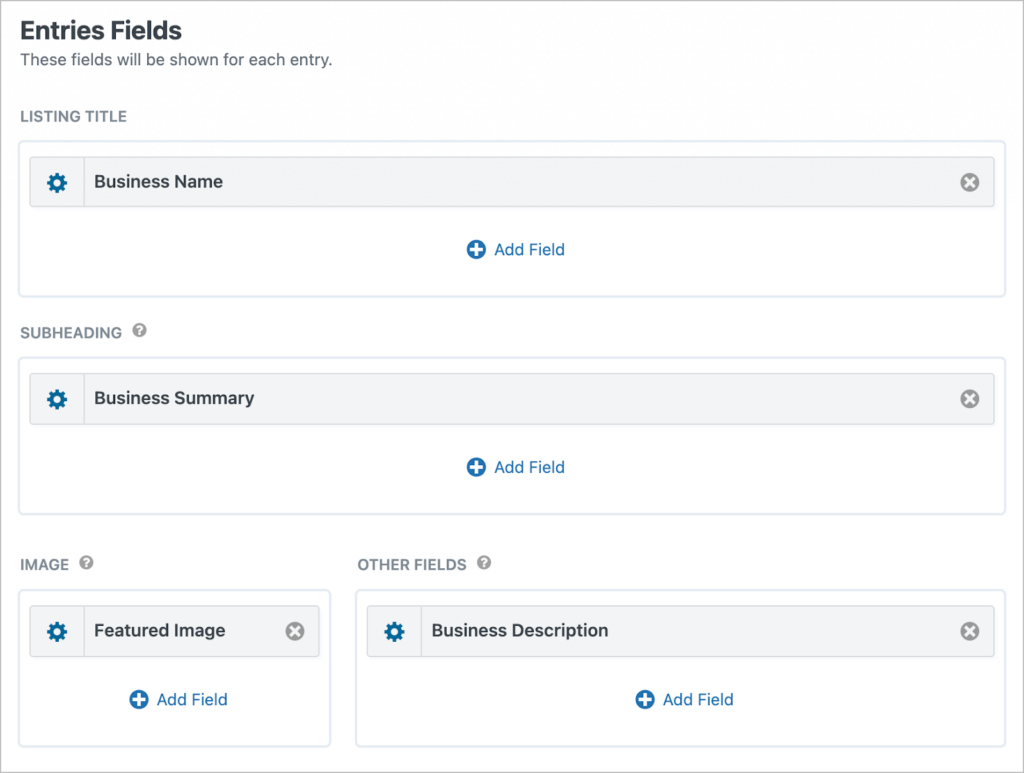
Additionally, GravityView’s “edit entry” functionality enables users to update their own listings directly from the front end (no backend access required!). You can also choose to approve entries first before they show up in a View.
Finally, you can add widgets to your directory, making it easier for users to navigate through the listings.
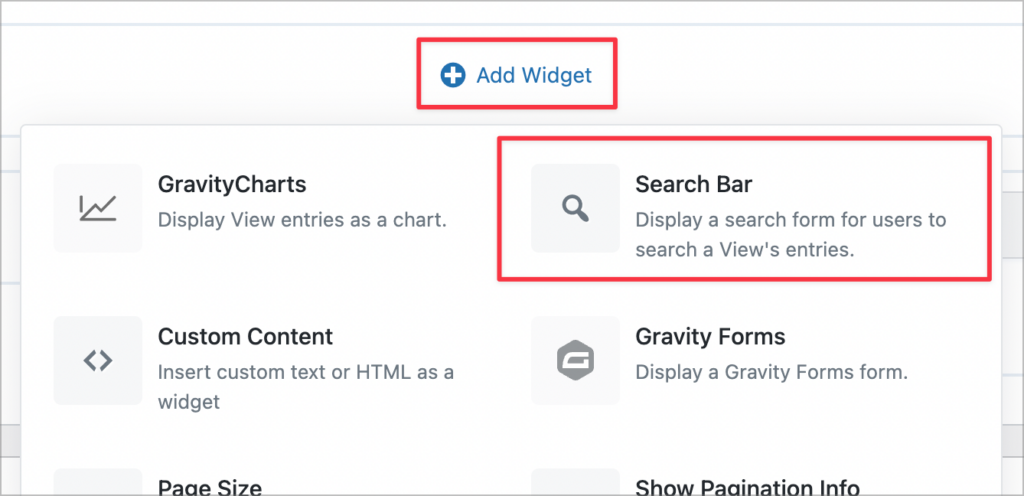
When you’re done, you can embed your directory on a page or post using a block or shortcode.
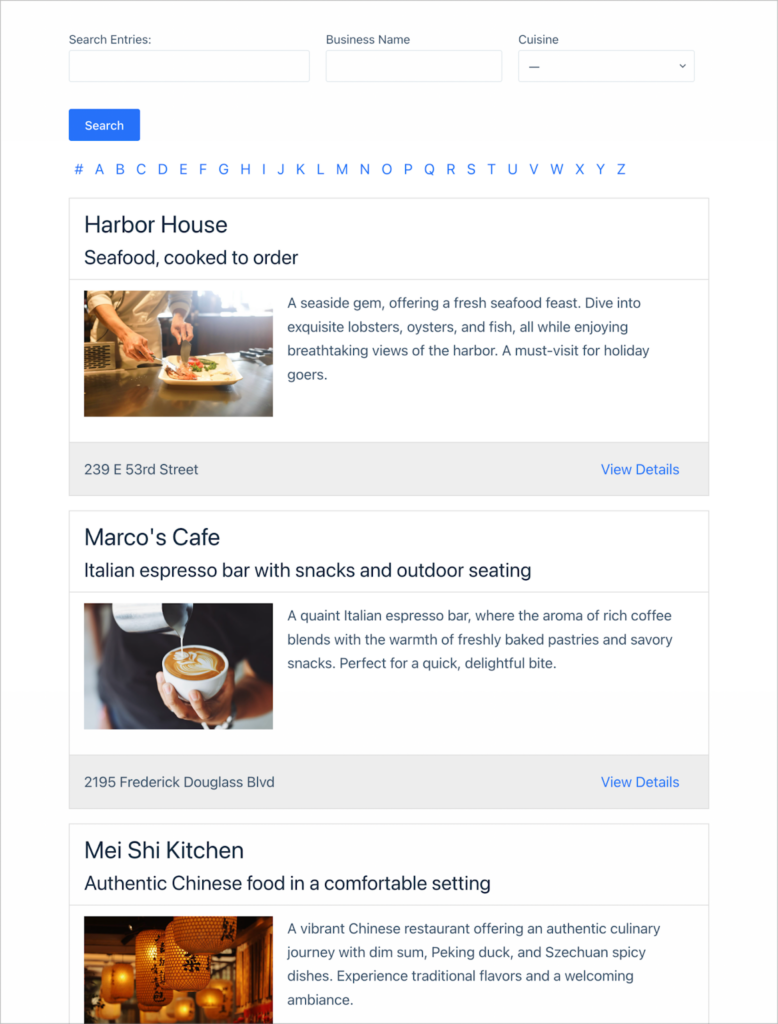
Here’s an example of a simple listing directory:
Here’s a more customized business directory that includes geolocation:
💡 Pro tip: Check out our live demo applications and try GravityView for free!
Step 4: Add additional features
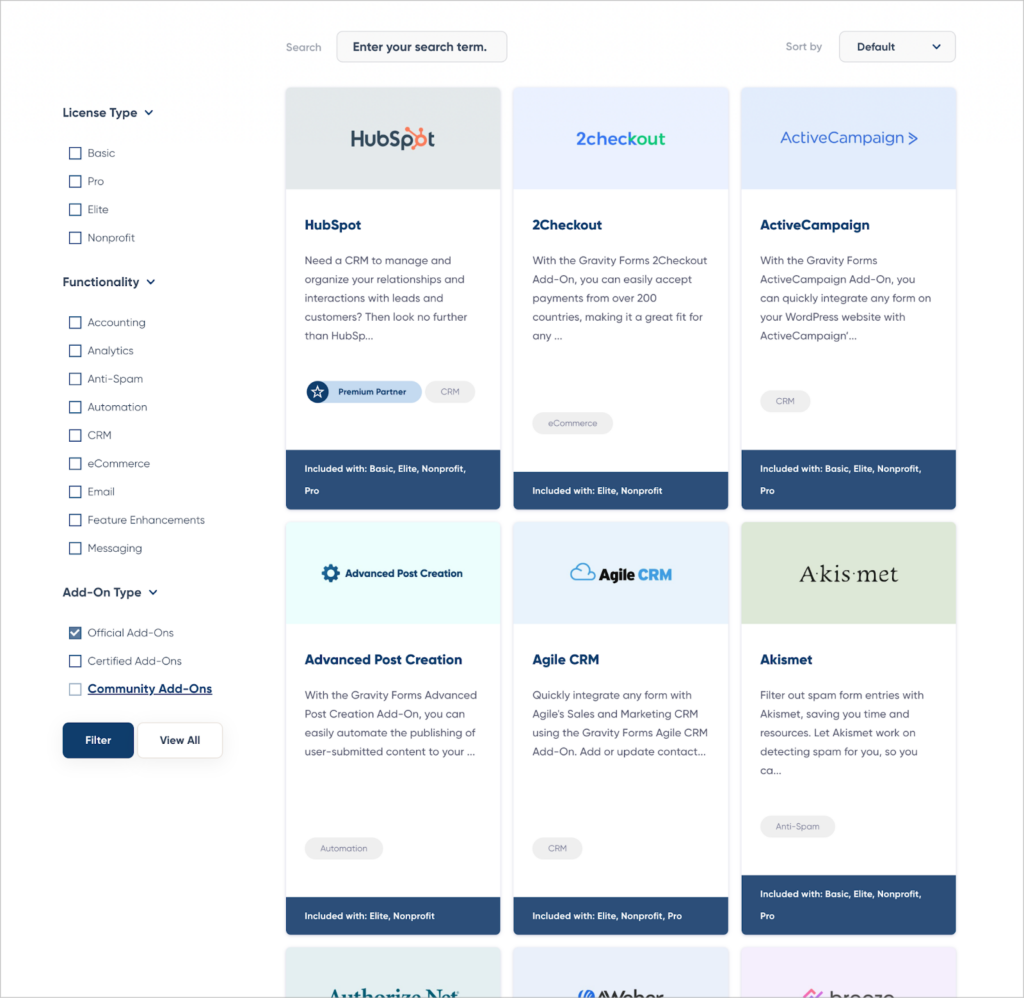
Gravity Forms includes a range of add-ons, enabling you to enhance and scale your directories with ease. You can check out the Gravity Forms Add-On Directory to see what’s available.
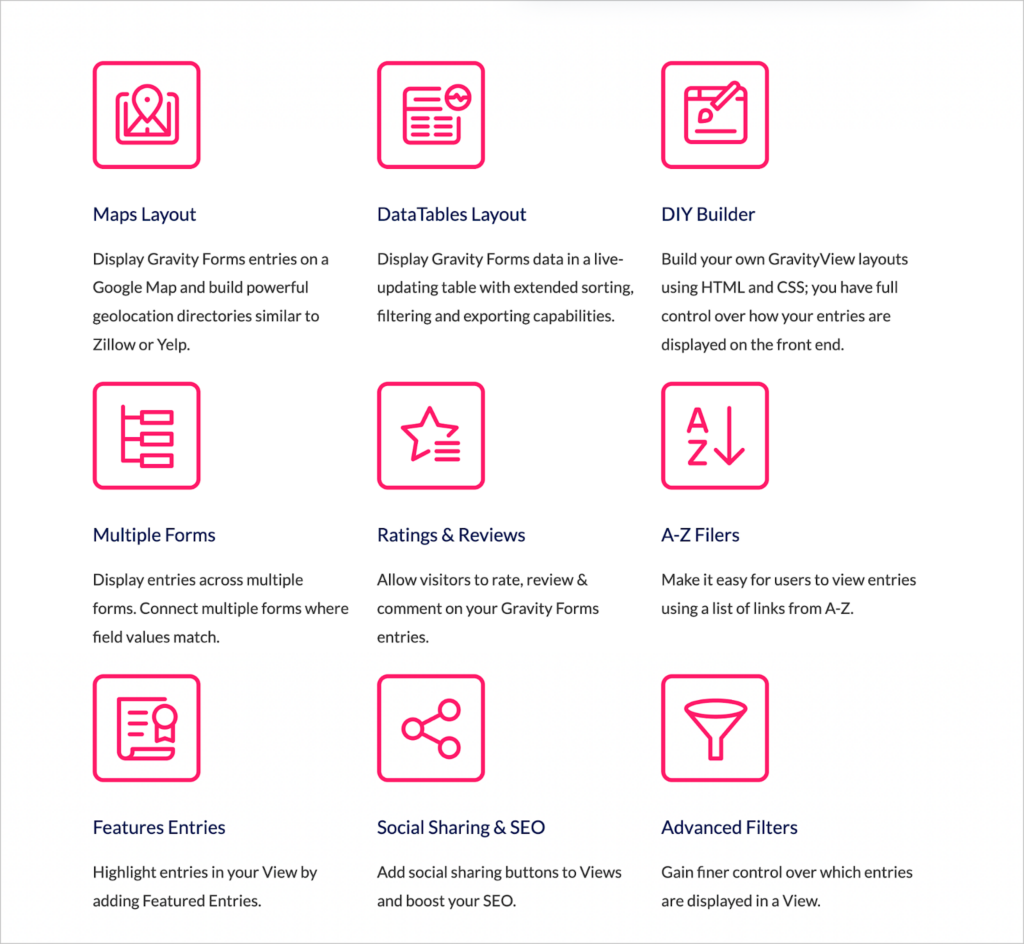
GravityView also includes additional layouts and extensions in its Pro license. This includes a geolocation map layout, a “featured entries” extension, and an advanced filter.
That’s it!
Build your WordPress directory website today
There are many ways to build a directory website with WordPress. That’s why it can be overwhelming trying to figure out where to start or which plugin to use!
In this post, we demystified the process by outlining how to identify the needs of your project, how to choose the right plugins/themes, and how to get started with a form-based solution like Gravity Forms and GravityView.
If you found this post interesting, make sure you read our full guide to creating a business directory next!

Helpful tips right in your inbox.
Subscribe to our weekly newsletter for tips, special offers, and more!
Helpful tips right in your inbox.
Subscribe to our weekly newsletter for tips, special offers, and more!
