Published
•
Updated
Creating a database of actors and actresses
On our blog, we recently featured a case study of one of our users, Adam Cavotta, who is a Senior University Training Specialist at New Mexico State University. NMSU uses GravityView in nearly 10 different ways. In this ongoing blog series, we’ll teach you how to create similar applications for yourself. Want to read more…
On our blog, we recently featured a case study of one of our users, Adam Cavotta, who is a Senior University Training Specialist at New Mexico State University. NMSU uses GravityView in nearly 10 different ways. In this ongoing blog series, we’ll teach you how to create similar applications for yourself. Want to read more about using GravityView at universities, schools, and other educational institutions? Check out our guide.
In this post, we’re going to create a database of actors and actresses. Whether you’re a university, local community board, or just a small media company, you’ll find this guide useful! Here’s what our application will look like: 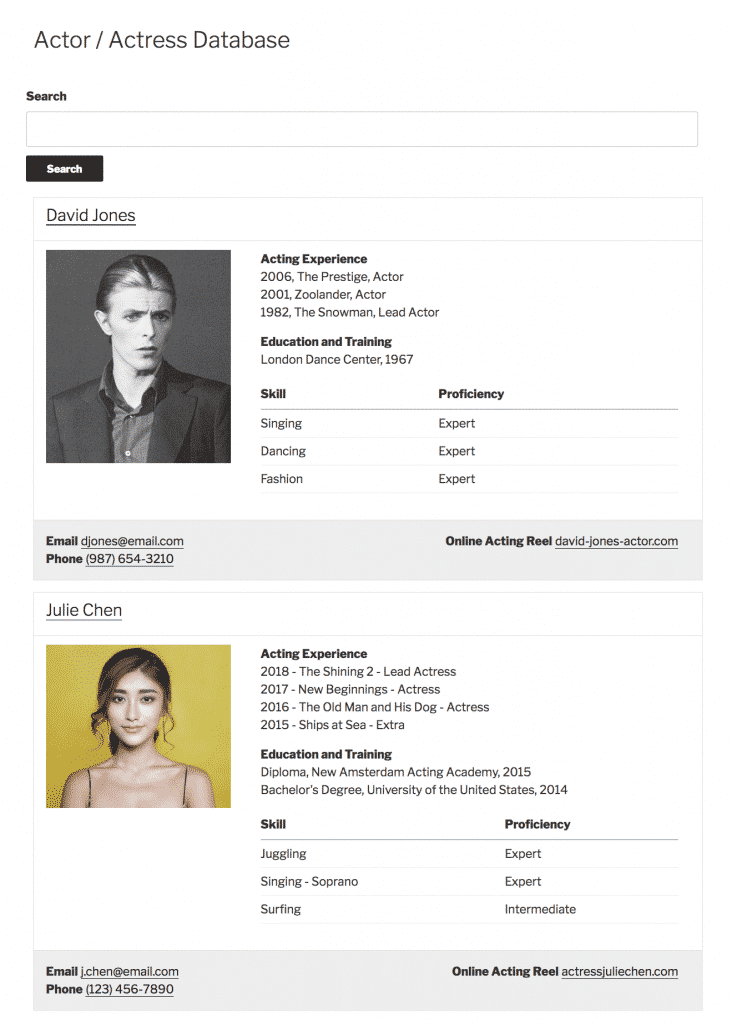 …and here’s what it will do:
- Allow actors and actresses to submit their information to a database and edit / revise it later
- Allow filmmakers to search the database by personal characteristics, like skills, education, eye color, hair color, acting experience, and more
Tip: Already have a directory file of actors/actresses? Not to worry. Importing it into Gravity Forms and GravityView is super simple with our Import Entries plugin. You can import CSV or TSV files in ten seconds, flat.
Step 1: Create the Form
First, we’ll need to create a submission form. To do this, go to Forms > New Form on your WordPress sidebar. 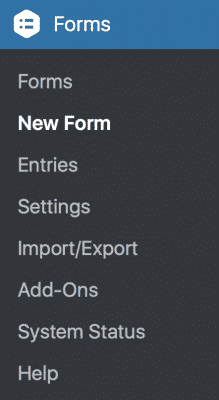 Title your form Actor / Actress Submission Form. Note that actors and actresses will submit their information directly through this form.
 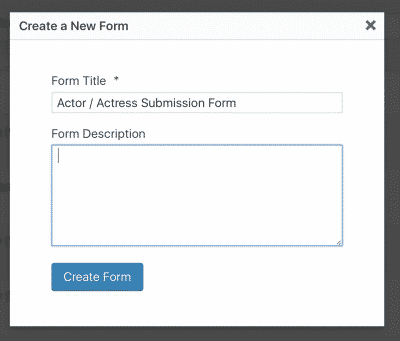 Now we need to add fields to our form. Depending on the specific nature of your Gravity Forms database, you will want to add different fields. Some typical choices might be:
- Name
- Phone
- Online reel of previous acting work
- Photograph
- Representation
- Physical description, including height, weight, hair color, eye color, etc.
- Acting experience
- Education and training
- Other skills, like surfing, rock climbing, ice skating, etc.
Tip: Want to make sure that all of the fields are filled out? Be sure to enable “Required” at the bottom of each field.  Let’s add all of these fields to our form, one by one. To add a field to the form, simply click on it or drag it into the form. For Name, we can use the Name field, which is under Advanced Fields.
 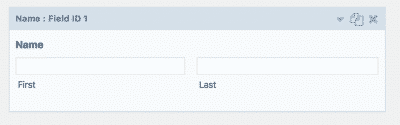 For Email, we can use the Email field, which is also under Advanced Fields.
 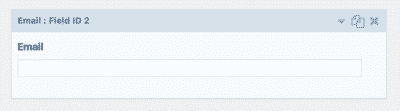 For Phone, let’s use the Phone field, also under Advanced Fields.
 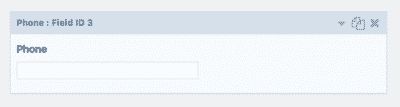 For Online Reel, we want to use the Website field, which is under Advanced Fields. You can rename it and add a description, if you like.
 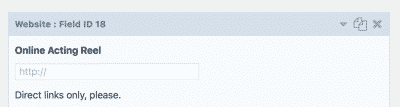 For Photo, we’ll want to use the File Upload field, which is under Advanced Fields. Once you add the field to your form, click on it to edit its settings. Rename it “Photo” and add a description (if you like). Then, type jpg, gif, png, pdf into the Allowed file extensions setting. This will restrict the file types allowed to image files. If you want to allow actors/actresses to upload more than one photo, enable Multi-File Upload. Finally, type in a maximum file size – typically an image shouldn’t be more than 5-10MB.
  Tip: You can divide your form into separate sections by using the “Section” field. For Representation, we’ll add a Radio Buttons field, which is under Standard Fields. Edit the field and rename it “Are you represented by an agency or firm?” Make the choices “Yes” and “No”.
 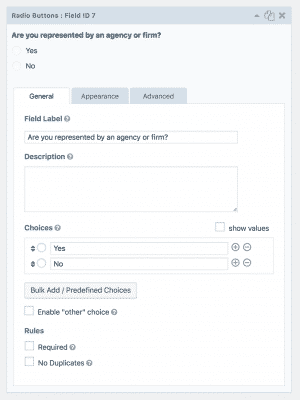 What if the actor/actress is represented by an agency? Naturally, we’d want to know which one. To do this, we want to use some Conditional Logic. Start by adding a Single Line Text field. Rename it “Name of Agency / Firm”.
 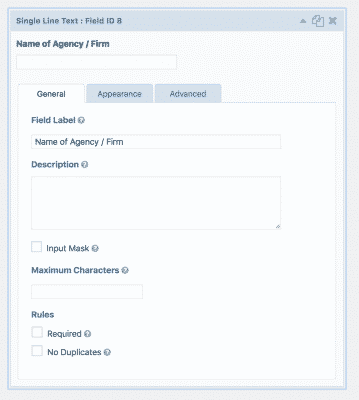 Then, click on the Advanced tab. At the bottom, check the box next to Enable Conditional Logic. You’ll see a few settings appear. We want this field to only appear if the Are you represented by an agency or firm? question is answered with a yes. So, customize the settings to Show this field if All of the following match: “Are you represented by an agency or firm?” is Yes.
 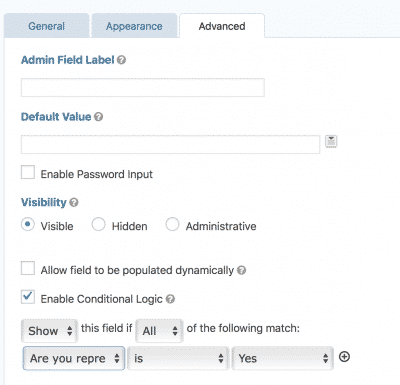 Now this field will only appear if the question is answered with a Yes. For the next field, Union Representation, we want the same basic functionality. Rather than create a form entirely from scratch, let’s just duplicate the two previous fields. To duplicate a field, press the document button in the top right corner of the field. Duplicate both the Are you represented by an agency or firm? field and the Name of Agency / Firm field and then drag them below. Then, rename them to “Are you a member of a union?” and “Name of Union”. Make sure to change the conditional logic field to Are you a member of a union?
 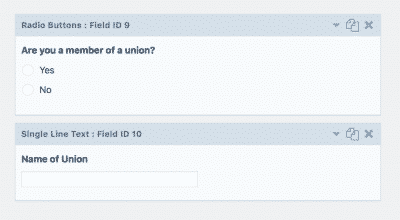 Now we want to add fields for physical description: height, weight, eye color, and so on. To do this, we’ll add a series of Single Line Text fields.
 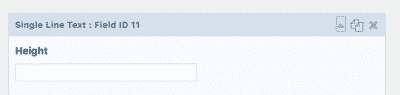 Radio buttons also make sense here, if you’d rather have users select between ranges or options, rather than a specific number (eye colors, for example).
 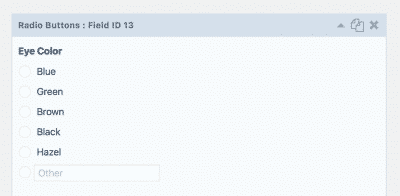 Tip: To let users write in their own choice, check the Enable “other” choice option.
 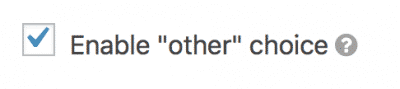 Now we want to add a field for Acting Experience. There are a few ways to do this, but probably the easiest is with the Paragraph Text field. This will allow the user to simply write about their work experience. You can also use the List Advanced Field, but it is more complicated to use. (We’ll use it in the next step.)
 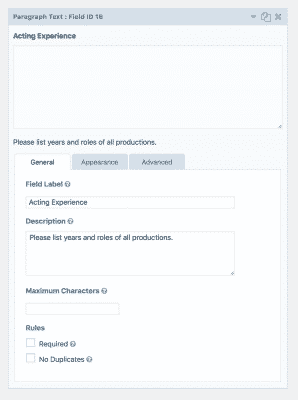 Be sure to rename the field and add a description. If you want the description to be above the field, you can change its location on the Appearance tab.
 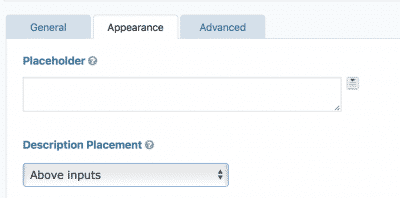 For the Education and Training field, we have the same dilemma. For this guide, we’ll keep it simple and use another Paragraph Text field.
 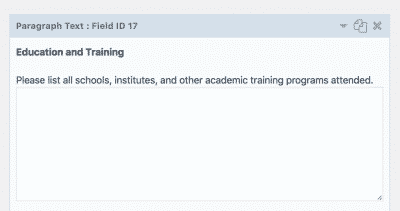 Finally, under Skills we want to use the List field, which we mentioned previously. Read more about the List field here. This will let actors/actresses add specific skills they may possess. Drag it from the Advanced Fields panel. Rename it and add a description. Then, click Enable multiple columns and type in “Skill” and “Proficiency.”
 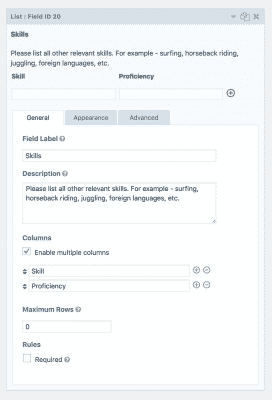 That should just about cover all of the fields we want! Click Update in the bottom right corner to save your form. Now, we need to add the form to a WordPress page. To do this, create a new page and click on the Add Form button.
 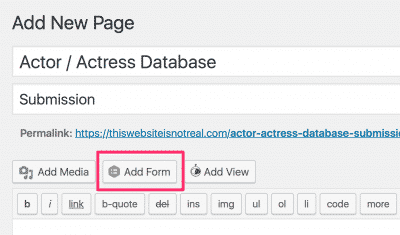 Publish your page and then view it.
 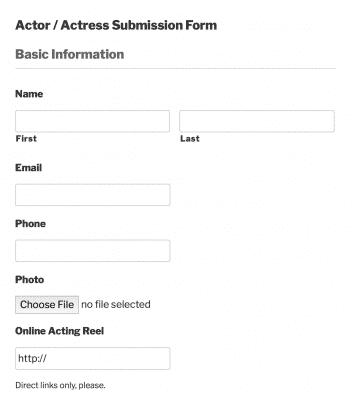 Everything looks good! Now let’s move on to the next step: Creating a View.
Step 2: Creating the View
Note: For this part, we’ll assume that you already have a number of submissions to your actor / actress database. Now that we have a form for submitting new actors and actresses to our database, let’s create a View for it. This will allow us to view, search, edit, and filter through all of our submissions. To create a new View, go to Views > New View on your WordPress sidebar. 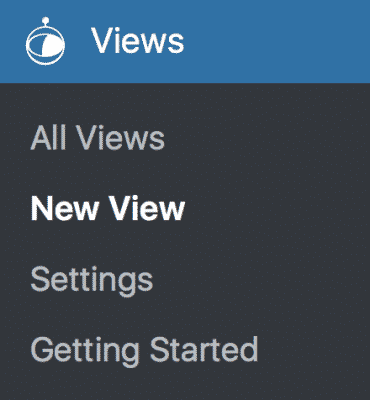 Name your View “Actor / Actress Database.” Then select the form Actor / Actress Submission Form as our Data Source.
 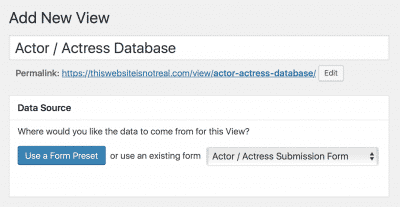 You’ll now need to choose a View type. There are two basic View types – Table layout, which displays the entries in a text table, and List layout, which displays them in a series listings. For our purposes, we’ll use the List layout. Now we’re on the View Configuration page. Here, we can customize how the View will look. Let’s start by adding some widgets to the top. For our actor/actress database, we definitely want to add a Search Bar. If we want, we can add pagination information (Show Pagination Info) and page links (Page Links.) We can also add some custom content, like a description of this database’s purpose. For now, let’s just add a Search Bar.
 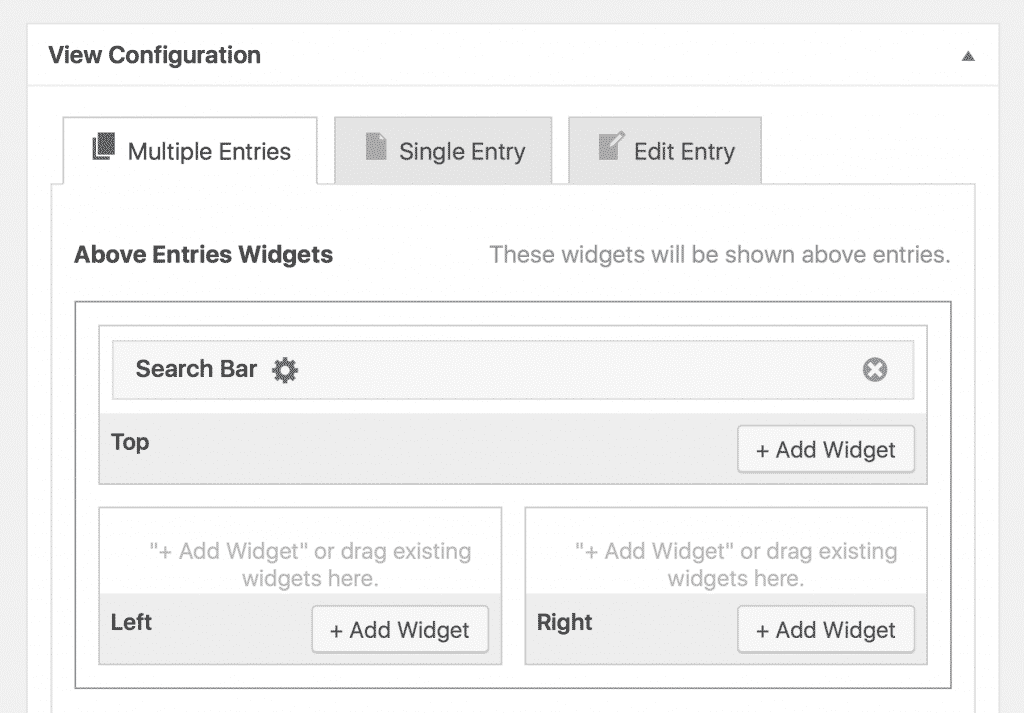 To edit a widget, click on the blue gear icon next to it. You can customize the various options of each widget. For example, the Search widget lets you create separate search bars for each field, if you so desire. Now, let’s configure the entries themselves. Since we are using the Listing layout, we have a number of field locations. To add a field, simply click + Add Field.
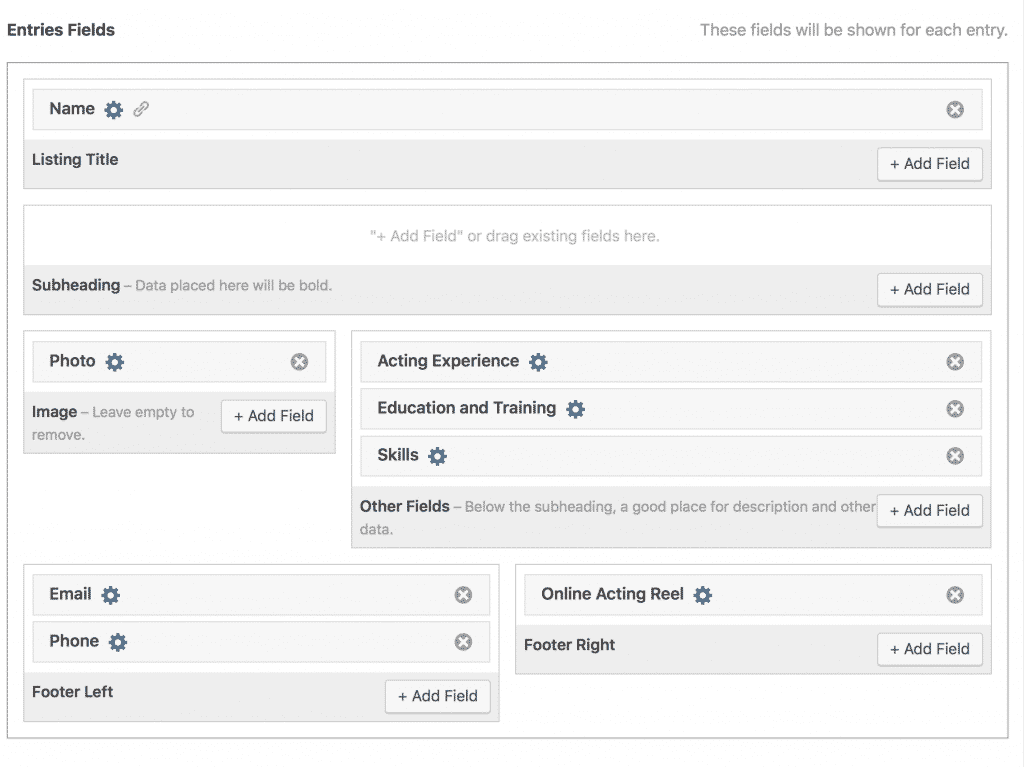
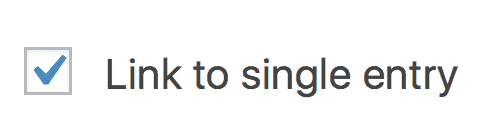
- For Listing Title, choose the Name field. After you’ve added the field, click on the blue gear icon and click Link to single entry. This will add a link to the name field that links to the detailed (single entry) page of the actor/actress
- We’ll leave the Subheading field blank
- For Image choose the Photo field
- For Other Fields, add a few of the most important fields. We’ll add Acting Experience, Education and Training, and Skills
- In the footer, we’ll add Email, Phone, and Online Acting Real
 Tip: hiding the label (“Photo”, “Name”, etc.) often makes the View look better. To hide a label, click the blue gear icon to edit the field’s settings and uncheck Show Label. Note that you can customize the CSS of all fields. Read this guide for more about using CSS in GravityView. For example, to make all the field labels bold, add this CSS code to your theme’s style.css file:
 .gv-field-label {font-weight: bold;} Now let’s see how it looks! Looking good! If you scroll down, you will see more of your entries. Now, let’s customize the Single Entry layout. To do this, click on the Single Entry tab. 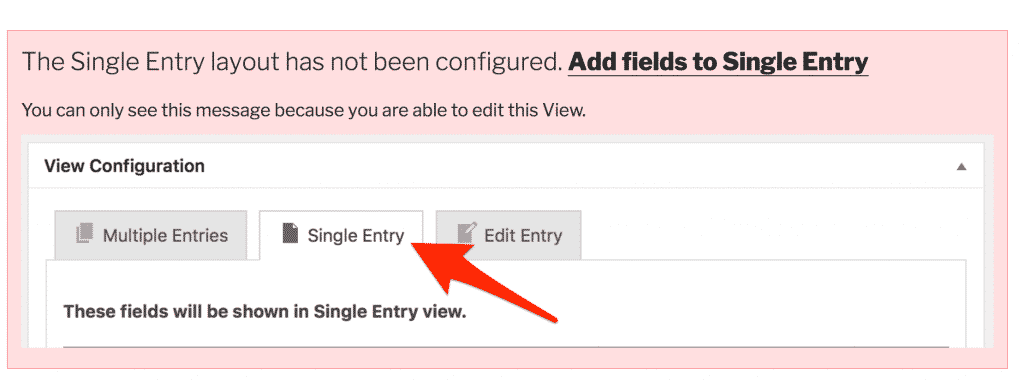 This page will display all of the information about our actor/actress. Let’s add all of our fields. By default, empty fields will be hidden. Ergo, if an actor/actress didn’t answer yes to Are you a member of a union?, the “Union Name” field will not be displayed at all. Here’s what our final product looks like:
 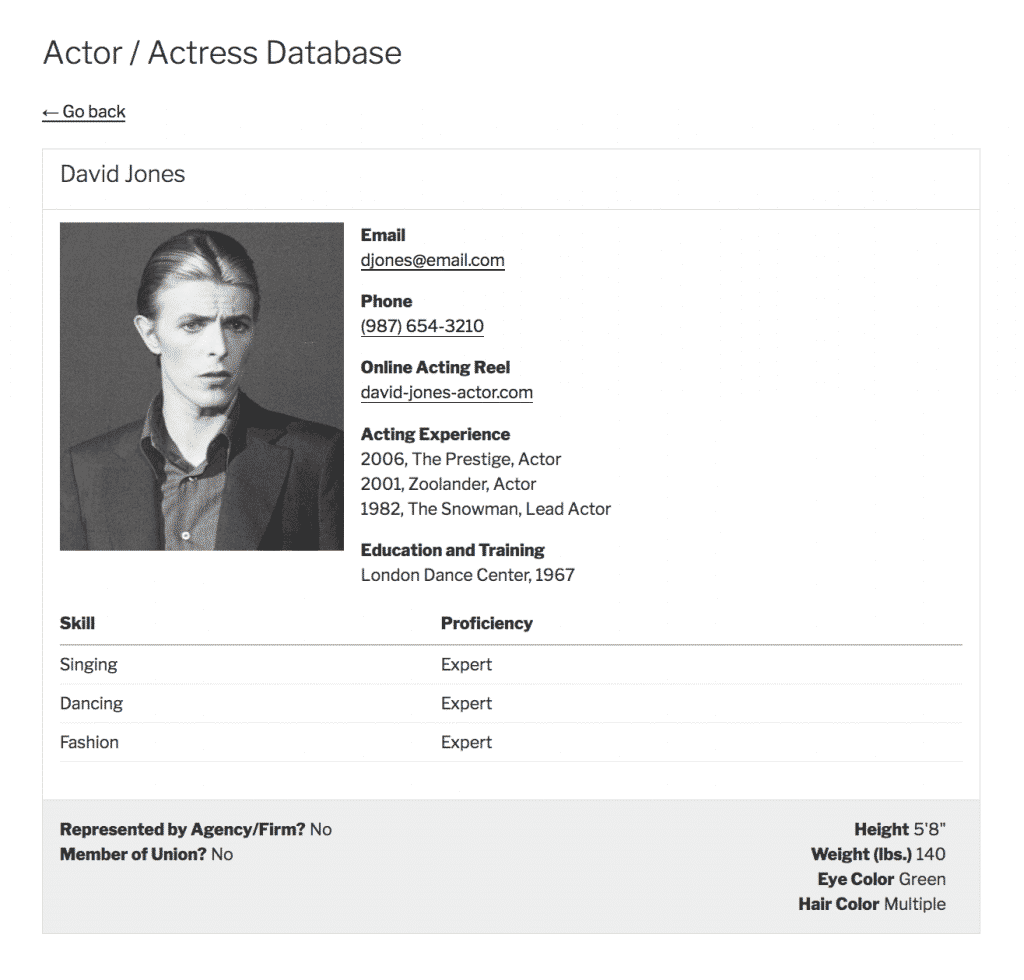 Pretty spiffy!
View Settings
Finally, let’s talk about the View Settings panel at the bottom of the page. There are a few specific settings that are relevant for our actor/actress database. 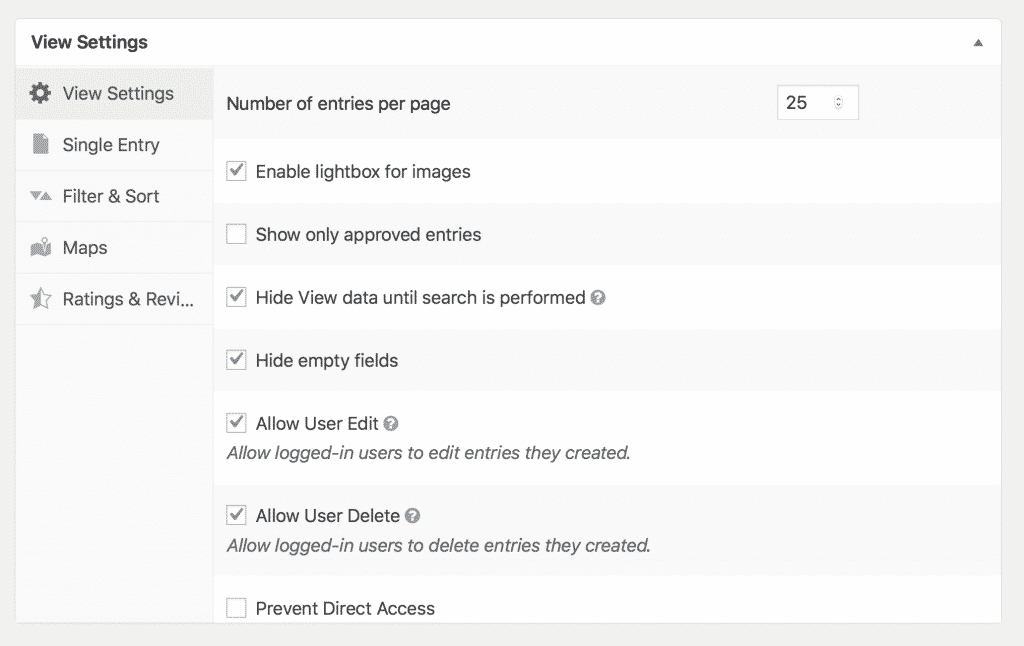
- Under View Settings, we can customize the number of entries per page.
- If you want actors/actresses to be able to modify or delete their own data, enable “Allow User Edit” and “Allow User Delete”
- Want to hide all actors/actresses until a search is made? Enable Hide View data until a search is performed.
…and that about covers it! You actor/actress database is now ready to rock and roll.
Ready to sign up?
Or check out our ultimate guide to learn more about displaying Gravity Forms entries.

Helpful tips right in your inbox.
Subscribe to get the latest articles, information on releases and helpful Gravity Forms tips!
More articles

Launch Log: theme template editing in Block MCP, Shield silentCAPTCHA for Zero Spam, and GravityView fixes
Block MCP adds safe theme template editing, Gravity Forms Zero Spam gains Shield silentCAPTCHA support, and GravityView fixes lightbox and notice bugs.

GravityKit turns 12: a year in review, and 30% off Lifetime All Access
GravityKit turns 12. A look back at a year of GravityView 3.0, GravitySearch, and AI-assisted building, plus a birthday sale on the Lifetime All Access Pass.

Launch Log: Row headers for screen readers, smarter conditional logic, and multi-View fixes
GravityView 3.1 adds row headers for screen readers, plus smarter conditional logic in GravityCalendar and fixes for DataTables, Maps, and Dynamic Lookup.
