Published
•
Updated
How to move your Gravity Forms add-on data and settings from one site to another
Move Gravity Forms add-on data, feeds, and plugin settings between sites using GravityMigrate. Covers migrating configurations that Gravity Forms' built-in export tool cannot handle.
Migrating add-on data and settings between sites has long been a difficult task for Gravity Forms users. While Gravity Forms allows you to export forms and entries, there’s no way to migrate add-on data, feeds, and plugin settings to a new site.
Migrating data manually is a daunting task and, depending on the nature of your setup, can take a significant amount of time and effort.
Enter GravityMigrate! In this guide, we’ll walk you through the process of migrating your Gravity Forms add-on data, feeds, and settings to a new website. Let’s get started!
Introducing GravityMigrate: A migration plugin for the Gravity Forms ecosystem
The Gravity Forms ecosystem is expansive, comprising numerous add-ons, extensions and integrations. While this makes it possible to create almost anything using Gravity Forms, it also raises an issue: how does one migrate and manage all of this data (including forms, entries, settings, add-on feeds, and files) across multiple websites?
Introducing GravityMigrate, our latest add-on designed to simplify the process of migrating forms and their associated data between websites. We’ve made the migration process super easy. With GravityMigrate, exporting essential Gravity Forms data and seamlessly importing it to a new website becomes effortless—no technical expertise needed.
Now let’s go through the process, step-by-step, of exporting and importing Gravity Forms add-on data and settings from one site to another.
Install GravityMigrate
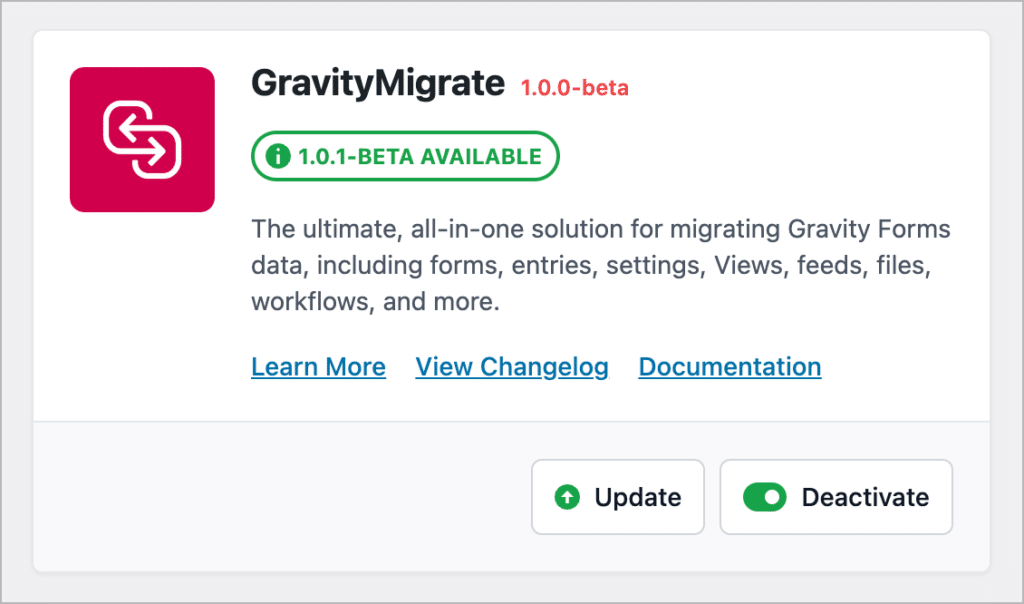
The GravityMigrate plugin is currently in beta and only accessible to users with a GravityKit All Access license. If you are an All Access customer, you can install GravityMigrate from the “Manage Your Kit” screen in your WordPress dashboard.
If you’re not a GravityKit All Access customer, don’t fret! GravityMigrate will be released to a wider audience very soon.
After installing and activating the GravityMigrate addon, the next step is to choose the data you want to migrate.
Select the feeds and settings that you want to export
After installing GravityMigrate, log in to your old site, hover over “GravityKit” and click “GravityMigrate”. Now scroll down to “Export” and select the forms and data you want to export.
The first thing we’ll need to do is choose which of our forms to export. In this example, we’ve selected our “Vacation Request” form. Next, we need to select which other additional data to export along with our form.
Gravity Forms add-on data is stored as feeds, so we’ll go ahead and select “Add-on feeds”. We also want to preserve our Gravity Forms configuration, so we’ll also select “Gravity Forms Settings”.

After selecting the data you want to export, there are a couple of other options you may wish to configure. When you’re done, click “Export” and GravityMigrate will generate a ZIP file containing your data.
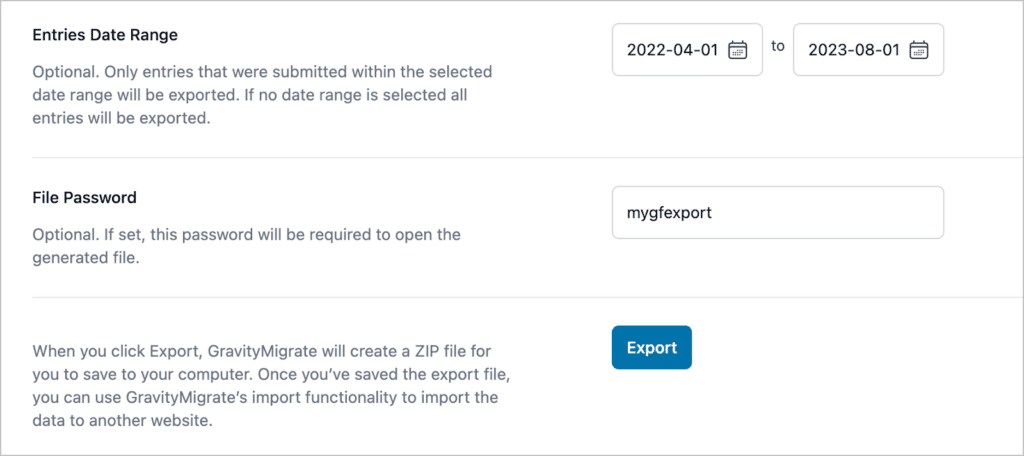
Save the ZIP file to your computer.
Pro tipWith GravityMigrate, you can move any data related to Gravity Forms, including entries and forms, files, workflows, and more.
Import the add-on and settings data to the new site
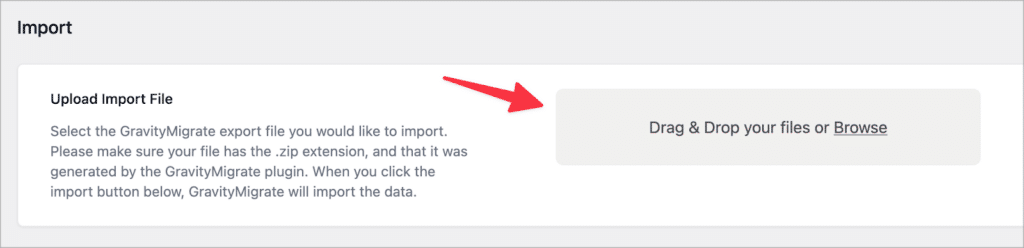
After saving the GravityMigrate export file, the next step is to import the data to your new website.
Start by logging in to the WordPress dashboard of your new website. Next, hover over “GravityKit” and click “GravityMigrate”. Now drag and drop your ZIP file into the box to begin the import process.
After GravityMigrate processes your file, you will need to select the data you want to import. To import everything that you exported from the old site, simply click “Select All”.
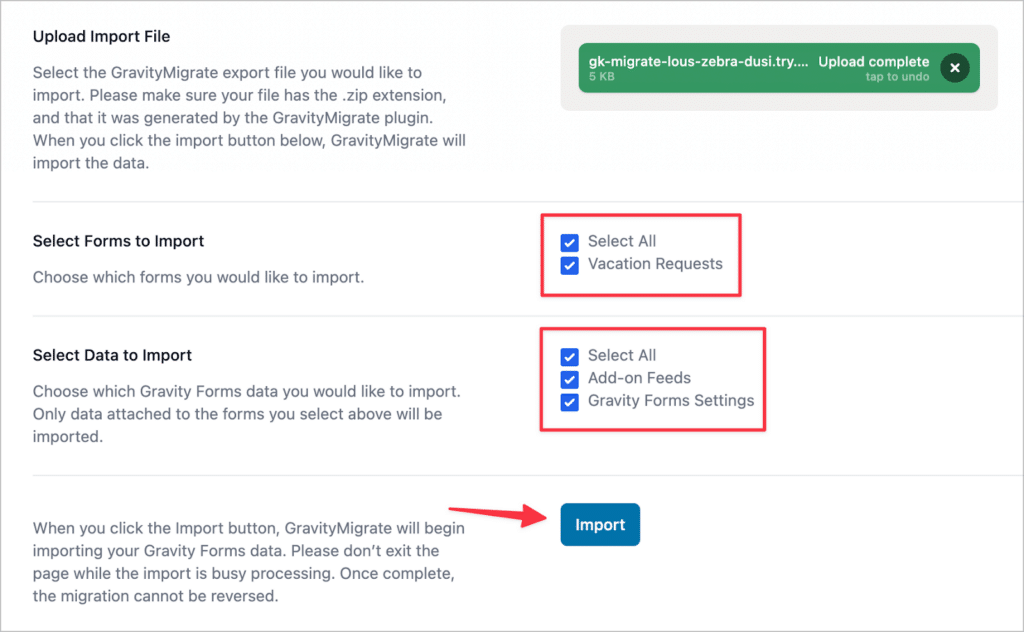
When you’re done, click “Import”. GravityMigrate will then begin importing your data. This process can take several seconds, depending on the amount of data you have. When the import has finished, your forms, add-on feeds, and settings will be on your new site, exactly the way they were on the old site!
It’s important to note that GravityMigrate will not migrate the actual plugin files, only the data associated with the plugins. So, you will still need to install the relevant add-ons on your new website.

Pro Tip
To ensure your migration proceeds smoothly, make sure to follow our best practices.
Migrate your Gravity Forms add-on data from one site to another
The Gravity Forms ecosystem includes a range of powerful add-ons and integrations that empower users to build custom applications on WordPress. However, this robust versatility makes it challenging to migrate data from one site to another.
The need for a way to effortlessly move this valuable data has created the demand for a comprehensive solution. And now there is one—GravityMigrate!
In this article, we delved into the process of migrating Gravity Forms add-on data and settings using GravityMigrate. However, it’s essential to understand that GravityMigrate allows you to export/import any data related to Gravity Forms!
So what are you waiting for? Get GravityMigrate today.

Helpful tips right in your inbox.
Subscribe to get the latest articles, information on releases and helpful Gravity Forms tips!
More articles

Launch Log: Row headers for screen readers, smarter conditional logic, and multi-View fixes
GravityView 3.1 adds row headers for screen readers, plus smarter conditional logic in GravityCalendar and fixes for DataTables, Maps, and Dynamic Lookup.

Ecommerce platform market share 2026: WooCommerce leads the web, Shopify leads the top tier
Ecommerce platform market share in 2026, from HTTP Archive data. WooCommerce leads the whole web at 6.64%, but Shopify already leads the top 1M sites.

Launch Log: 3D map enhancements, smarter filtering, and improved performance on large data sets
GravityKit’s July 9 launch log: 3D map starting views and viewport loading, searchable field-to-field filtering, and fixes across DataTables and more.